
Basement Playroom Makeover Reveal + Amazing Decor GIVEAWAY! (Special Discount Included)
Last year as we awaited the arrival of Penny, our 3rd baby, we realized that we desperately needed more usable space in our Toronto home. We made the big decision to finish our basement, and set out to create a comfortable space for our family that wouldn't break the bank. Originally it was a dark and dingy 70's inspired space with cement floors covered in ripped linoleum and walls cladded in old-school wood panelling. My inspiration for the makeover was light and bright.
Last year as we awaited the arrival of Penny, our 3rd baby, we realized that we desperately needed more usable space in our Toronto home. We made the big decision to finish our basement, and set out to create a comfortable space for our family that wouldn't break the bank. Originally it was a dark and dingy 70's inspired space with cement floors covered in ripped linoleum and walls cladded in old-school wood panelling. My inspiration for the makeover was light and bright.
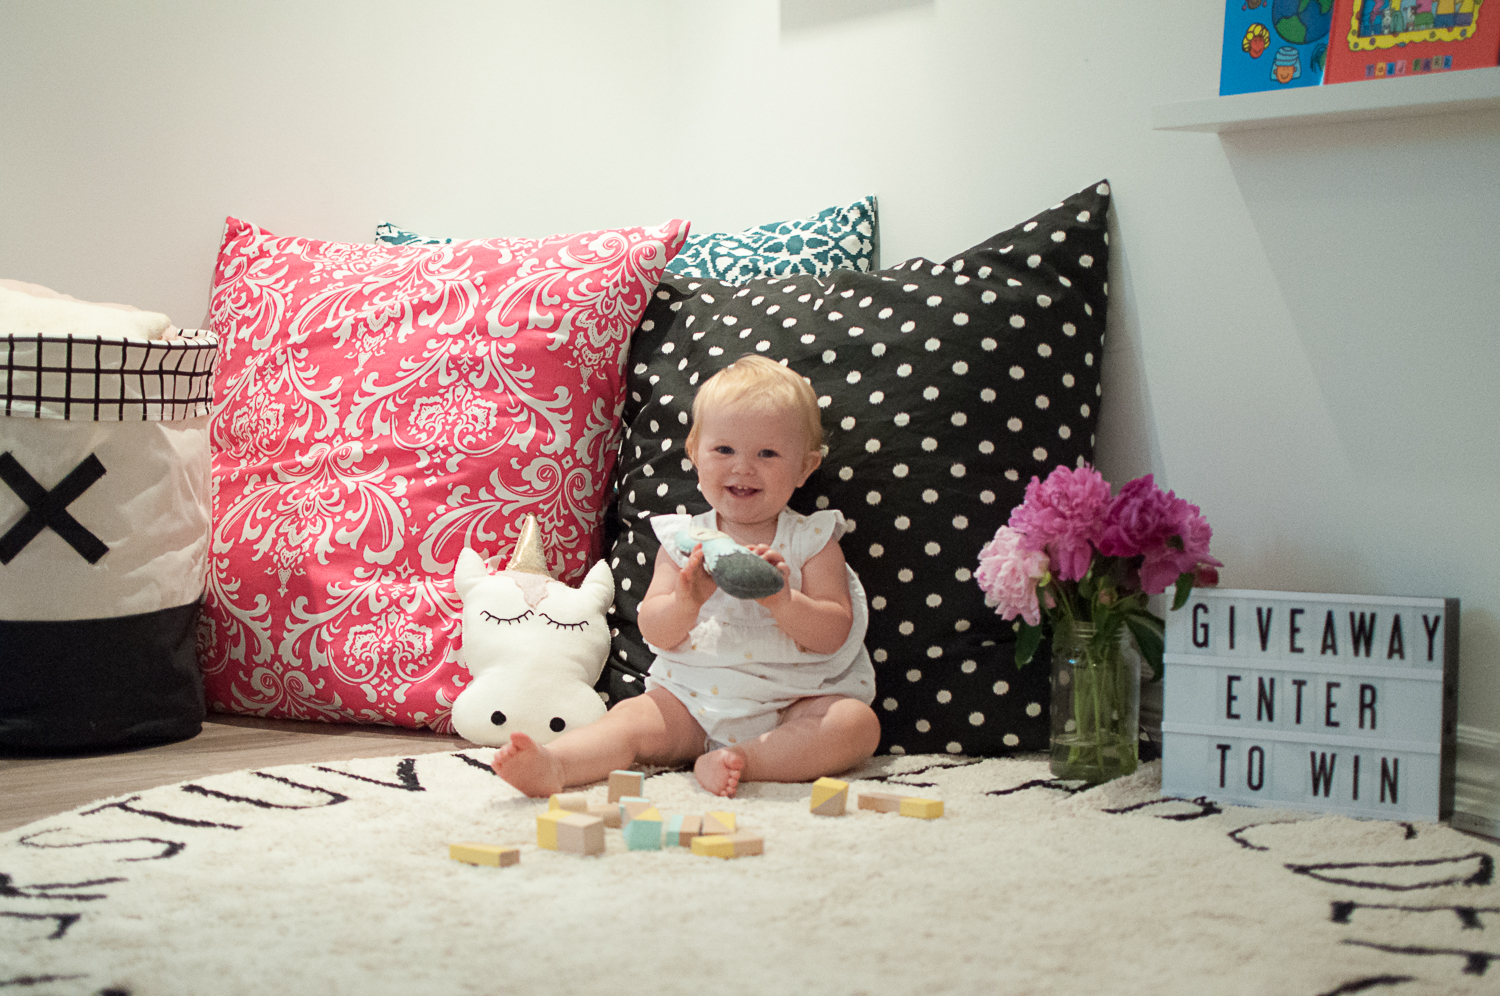
The main part of the renovations were completed just days before Penny's arrival. Every contractor who entered our house looked terrified when they saw me waddling around talking about my home water birth, that was to be held in said basement ;) With 3 kids in tow it has taken me a year to pull together accessories and fun stuff for this kid friendly space. I'm so excited to finally share the kids' favourite new space and give away shop credits for two of our favourite finds! *Please note: the playroom was only this tidy for photos. Typically every basket and bin get emptied out onto the floor daily ;)

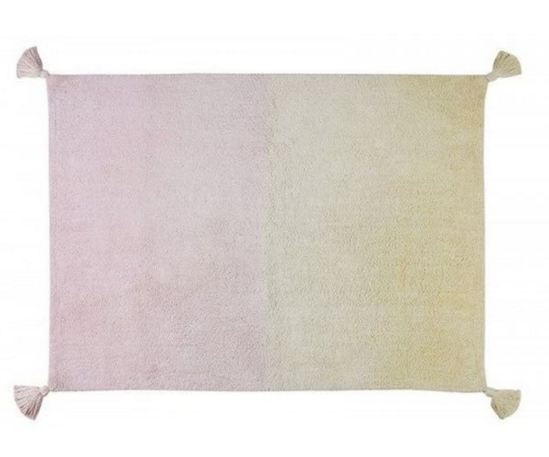
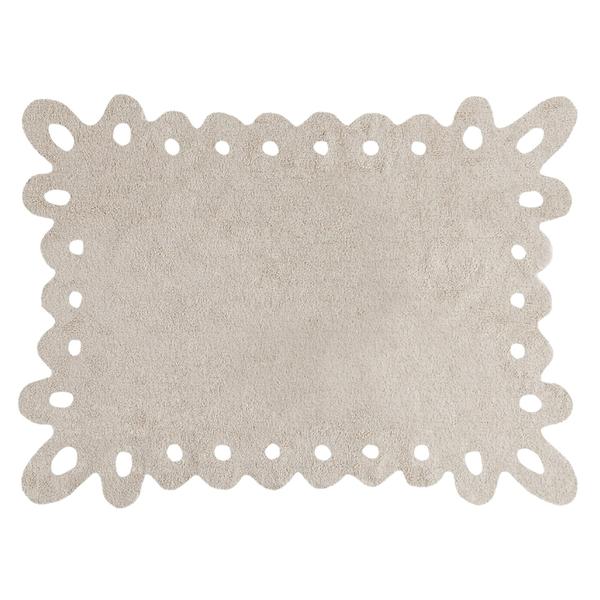
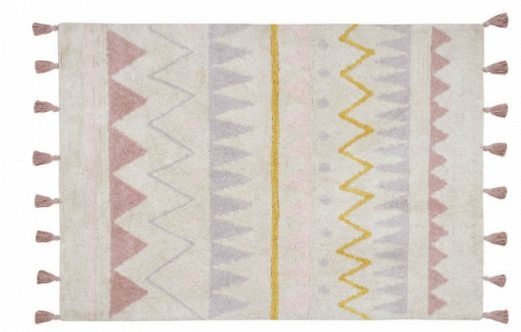
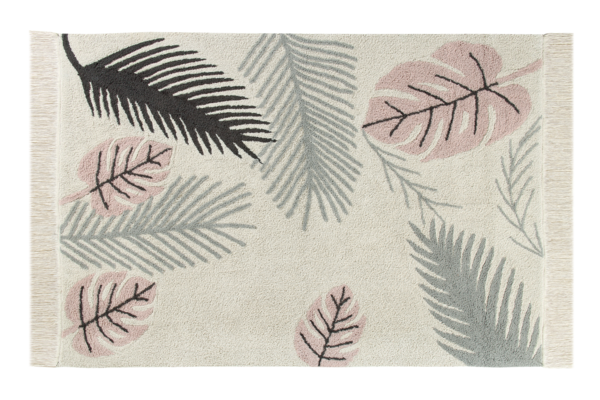
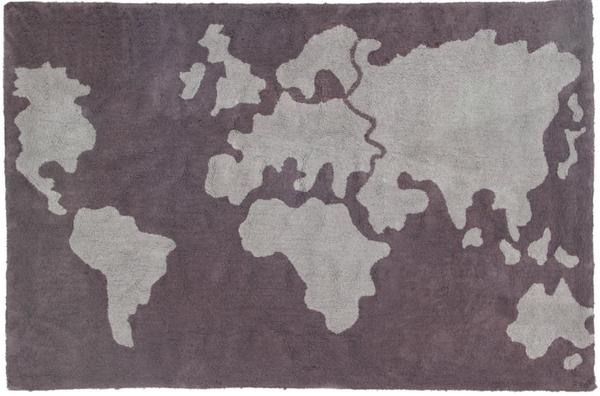
1. Lorena Canals Machine Washable & Dryer Friendly Rugs
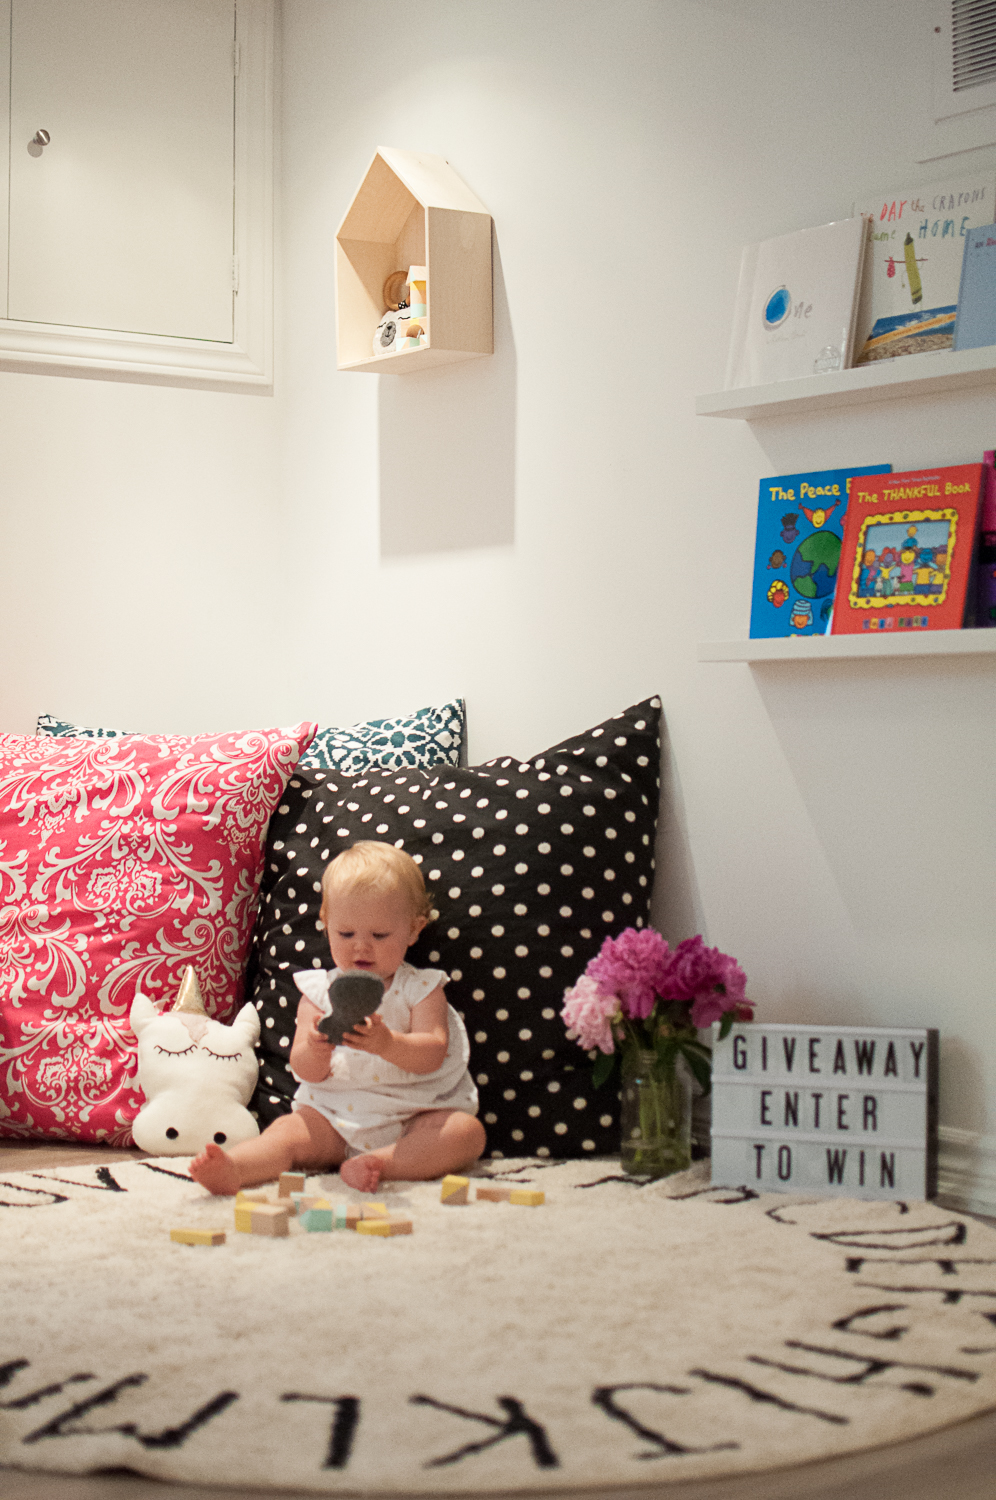
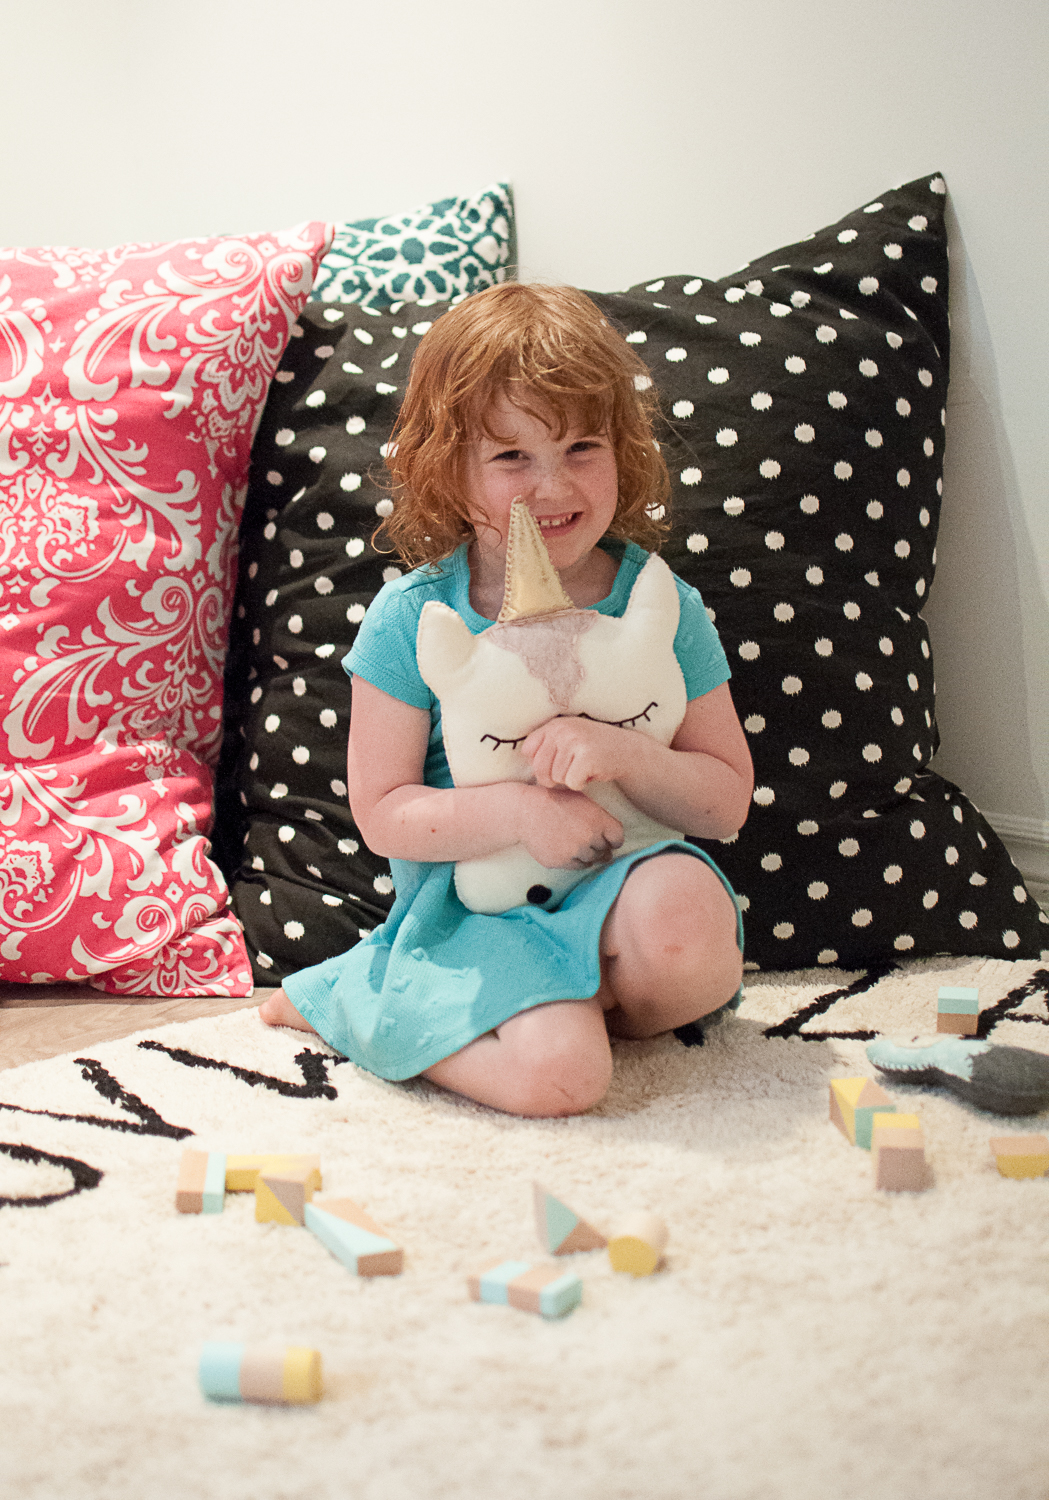
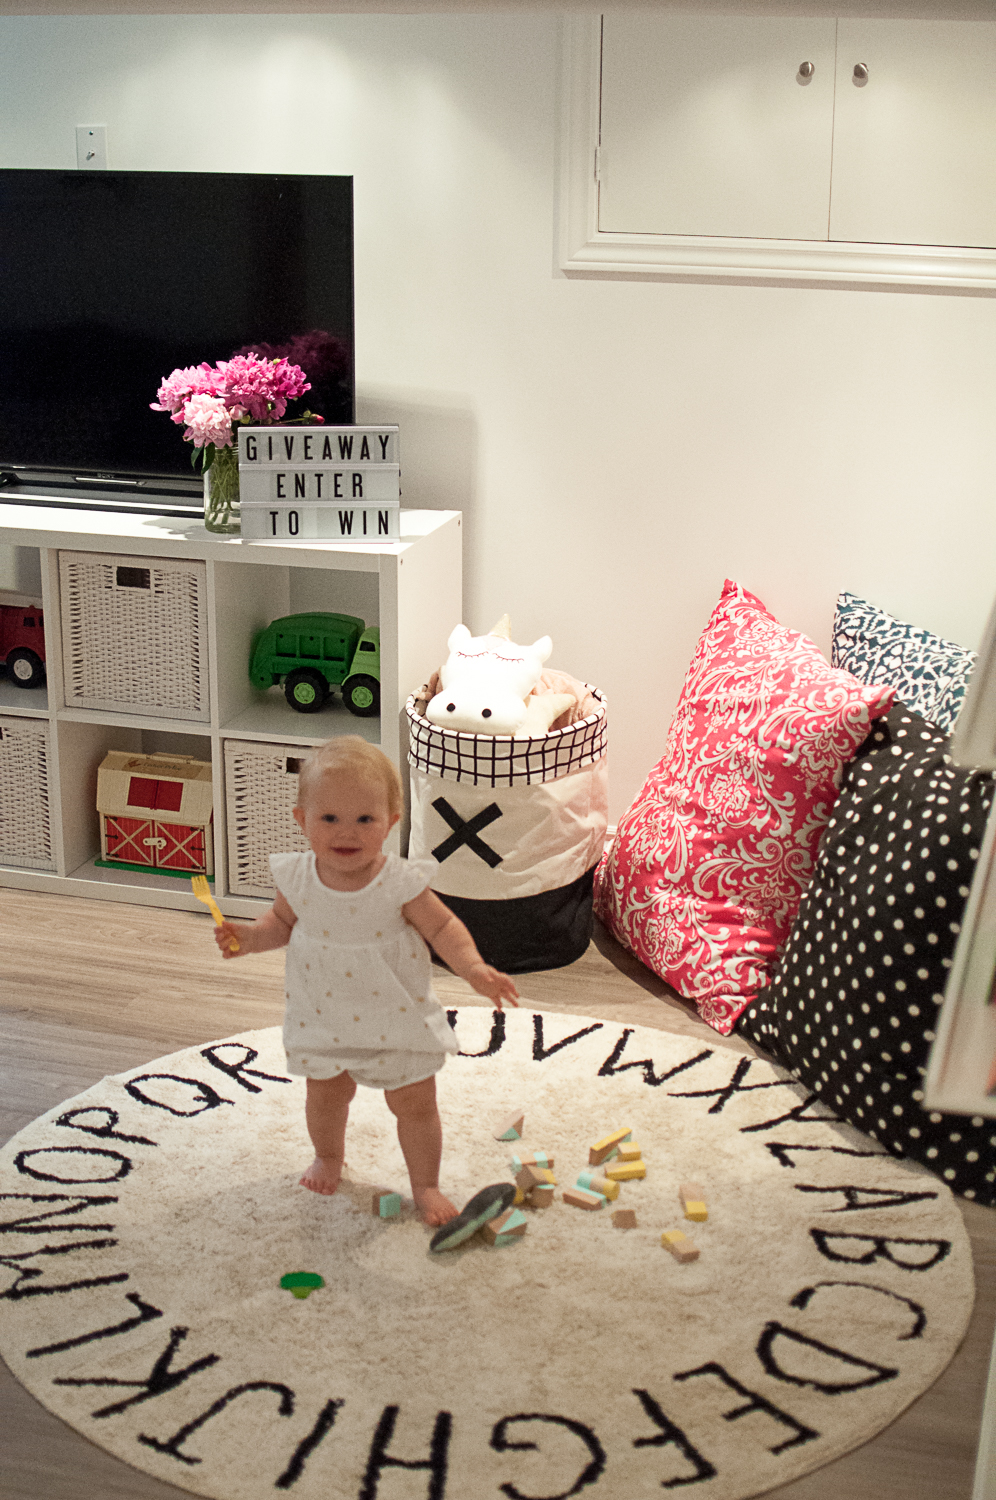
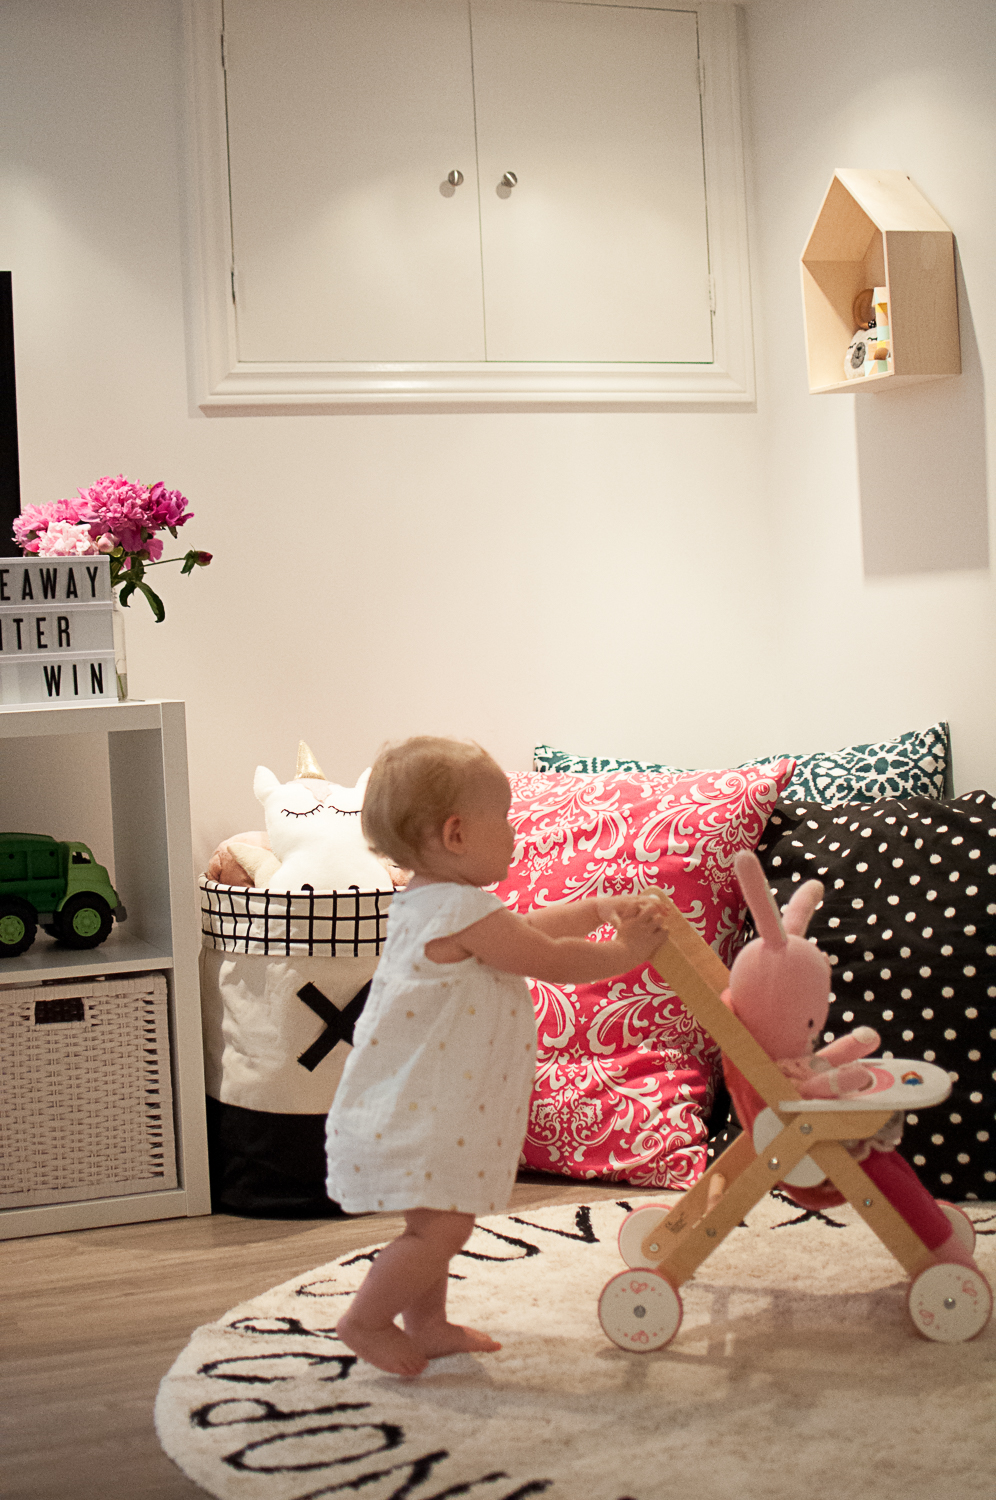
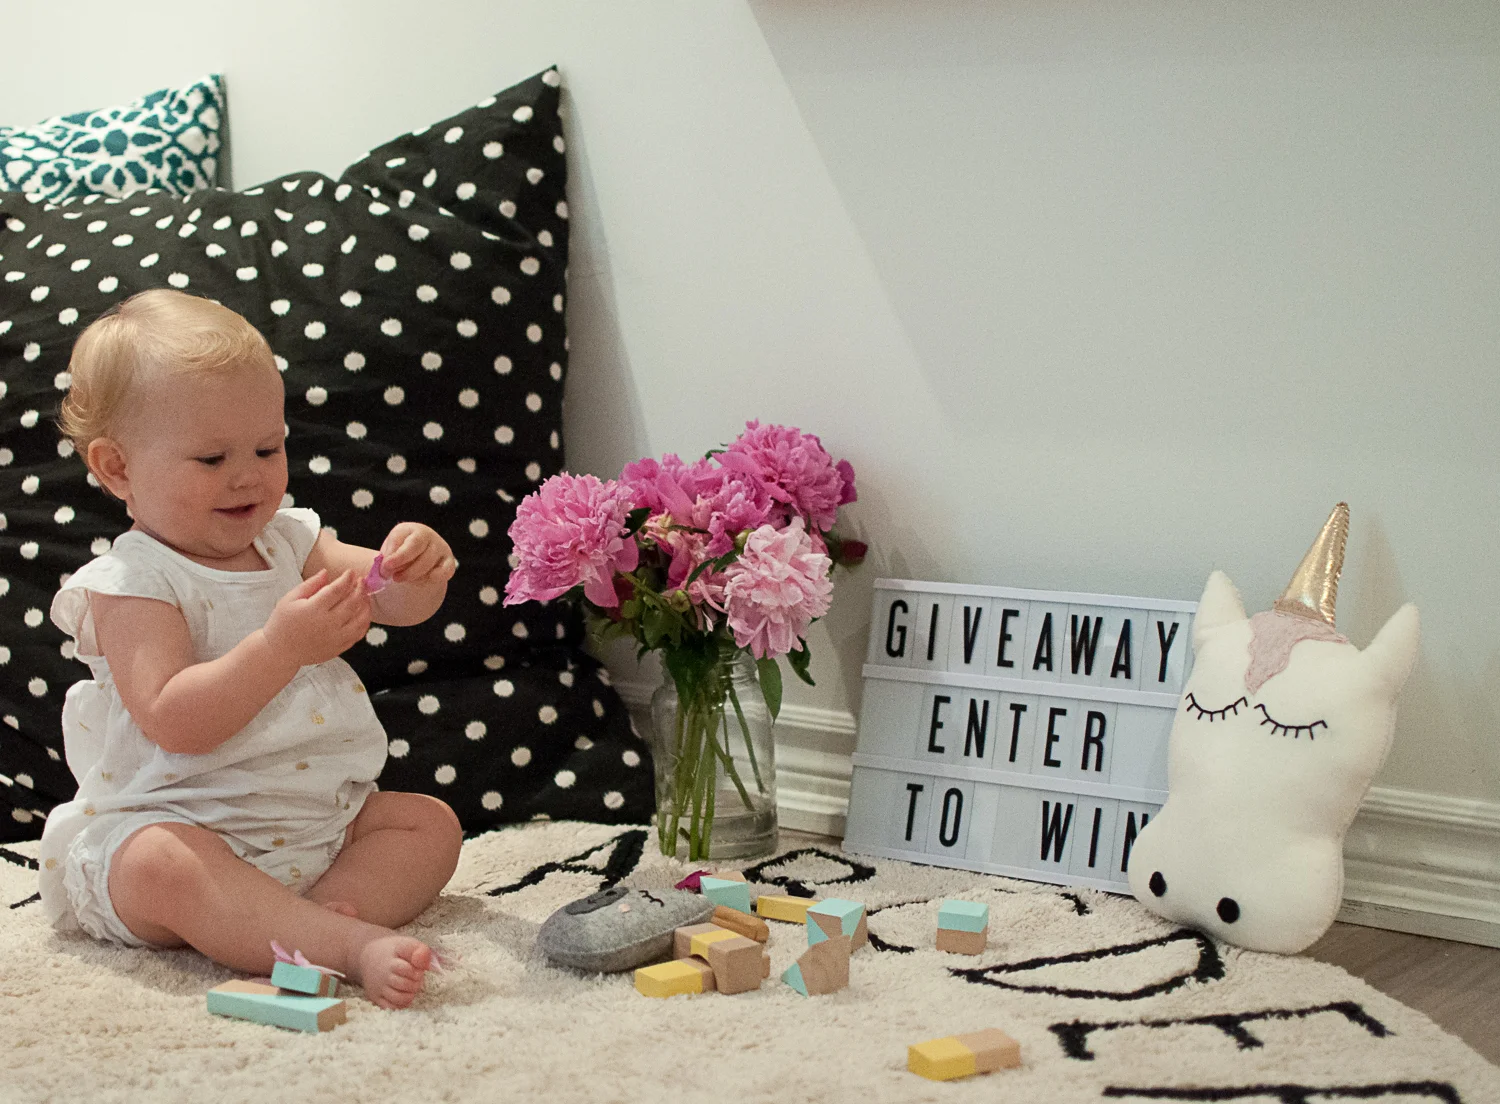
Kid's are messy little creatures, so when I set out to find a rug to make a cozy reading space for the kids I knew I wanted a Lorena Canals. These rugs are incredible. They are machine washable, made from all natural materials and dyes, and free from any dangerous chemicals. We have already washed and dried our rug a few times and I can tell you I am so happy with the choice. There are tons of amazing designs and colours to choose from at Amelie & Max. I loved so many of them, but was limited to choosing one without fringe, because we have a cat who loves to destroy all fringe. I love this ABC one the kids helped me choose. Enter for a chance to WIN a $100 credit toward a Lorena Canals Rug from Amelie & Max! (entry details below)

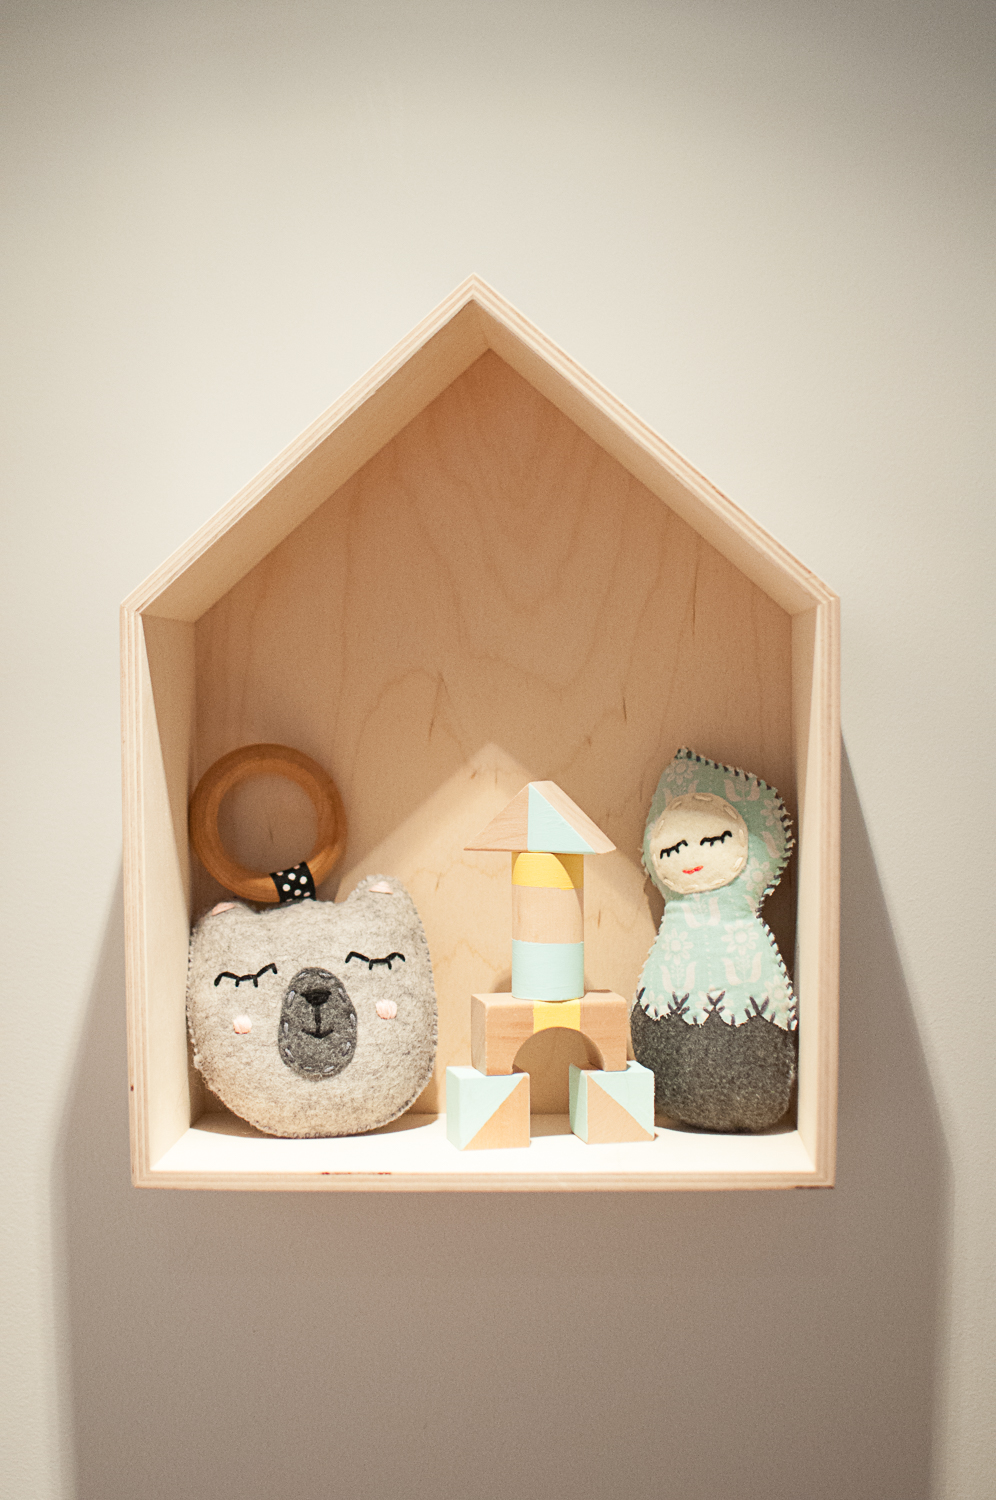
2. Newmies Eco-Friendly Baby & Toddler Developmental Toys
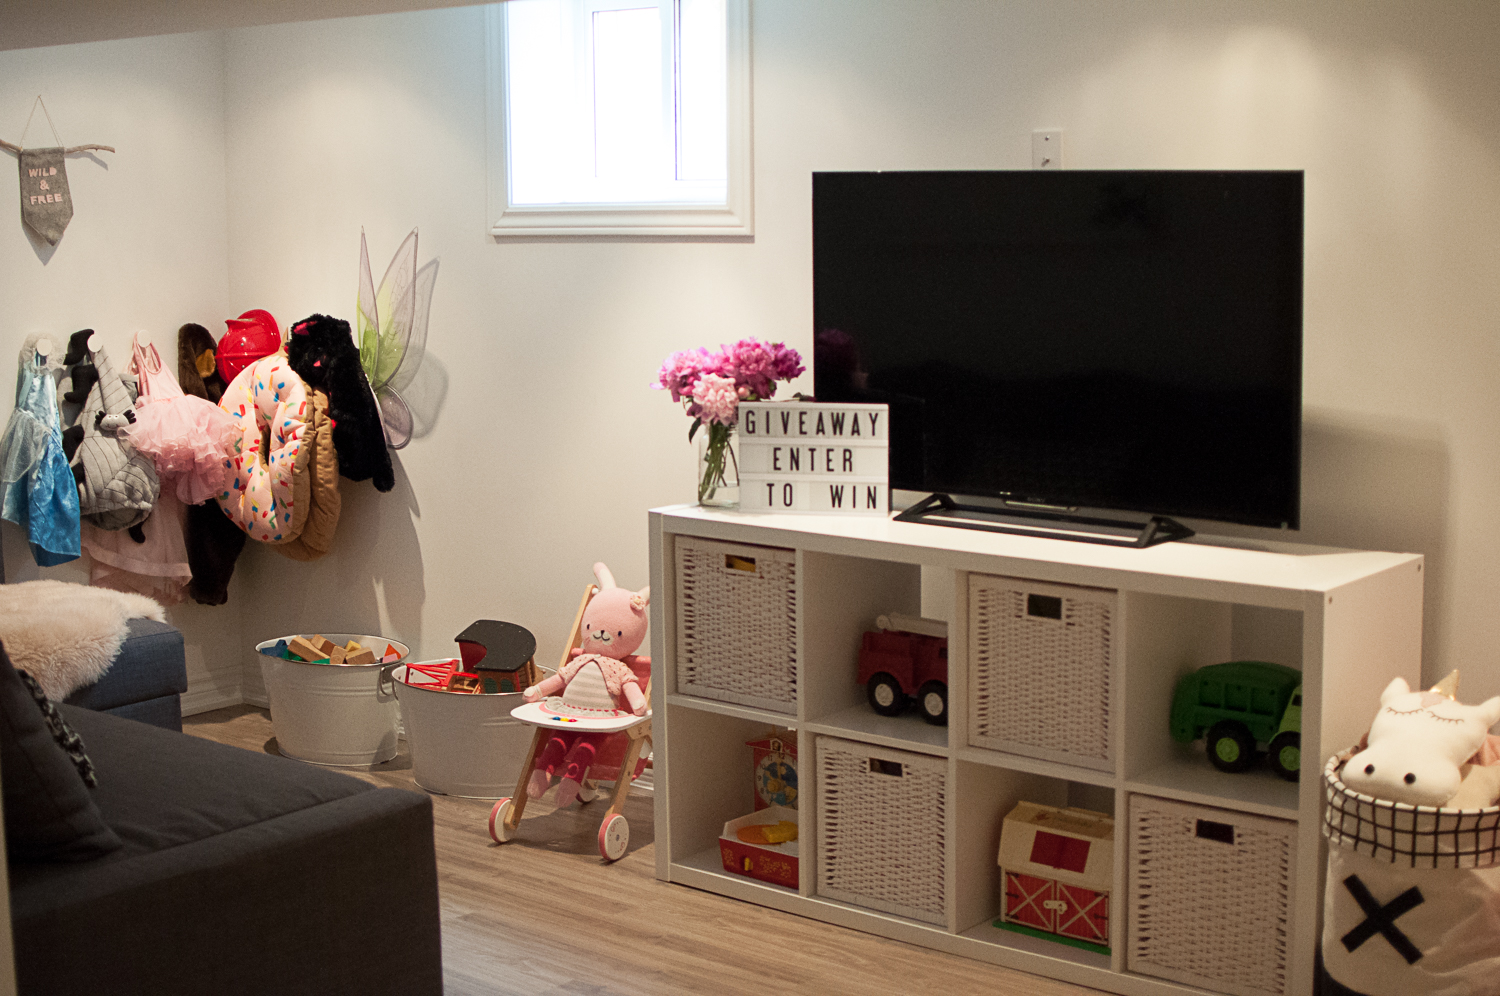
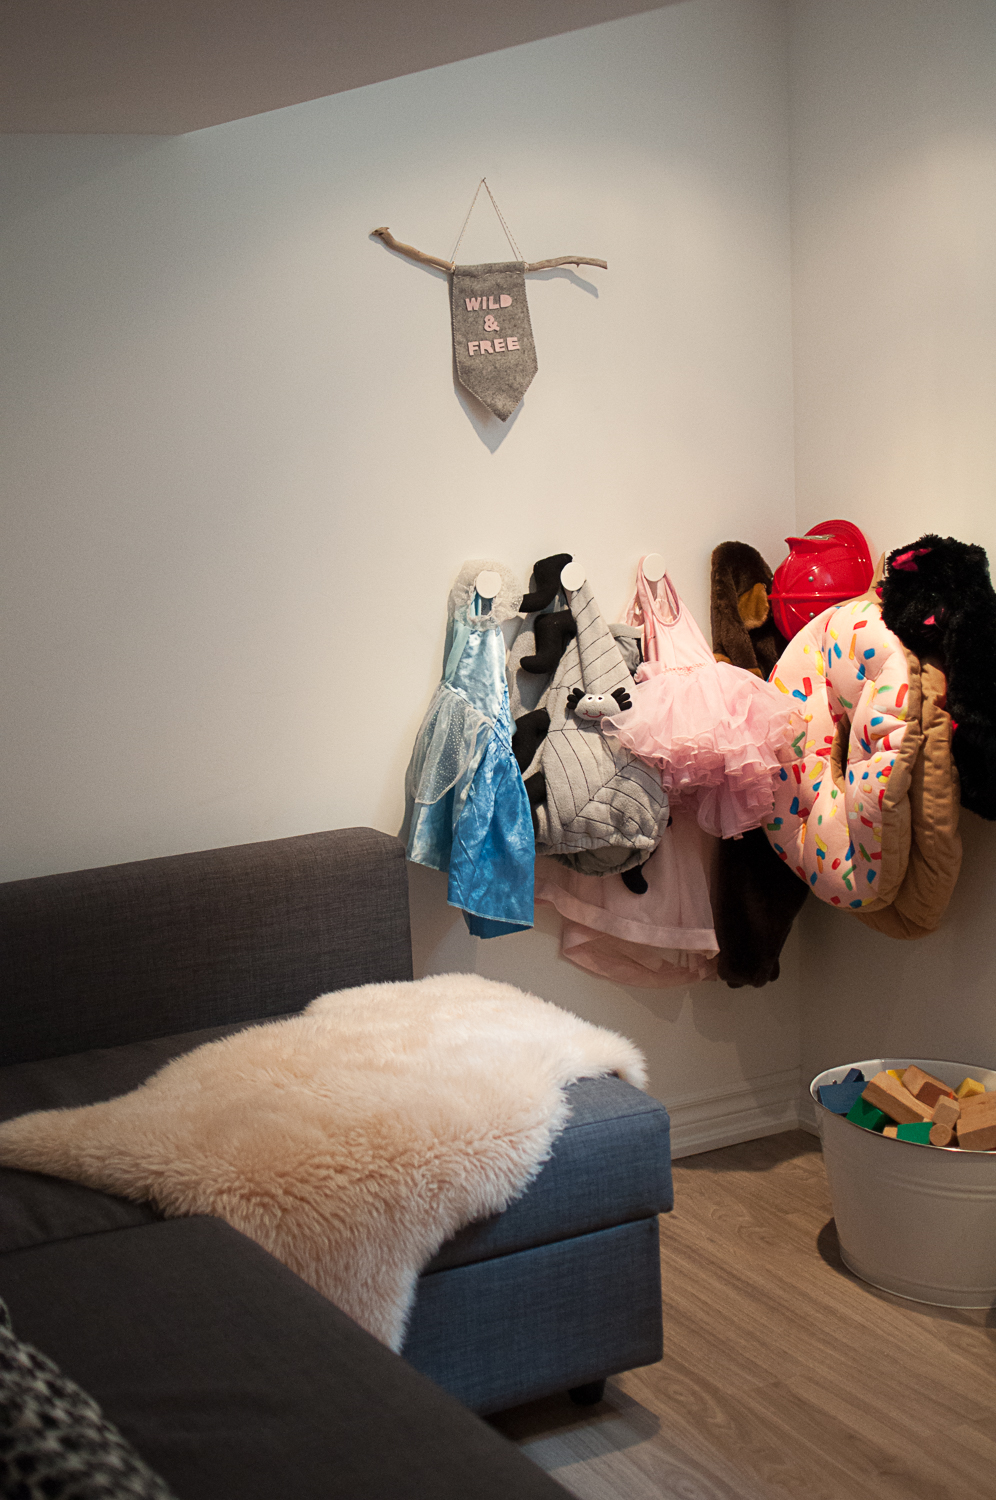
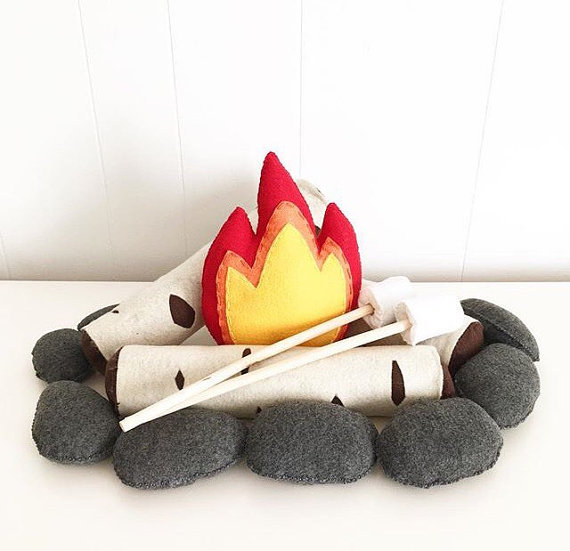
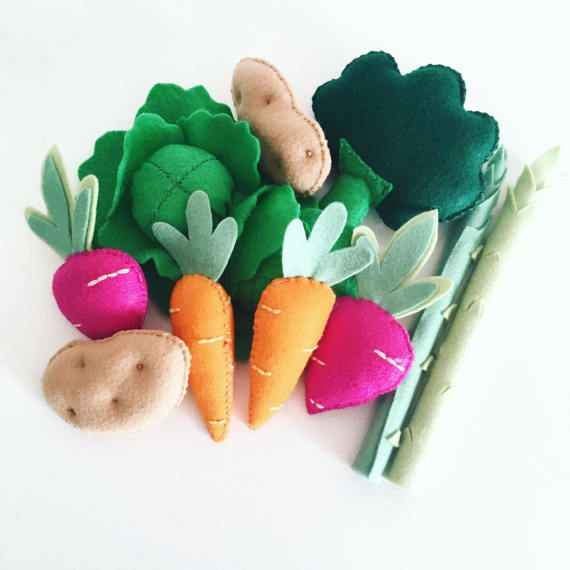
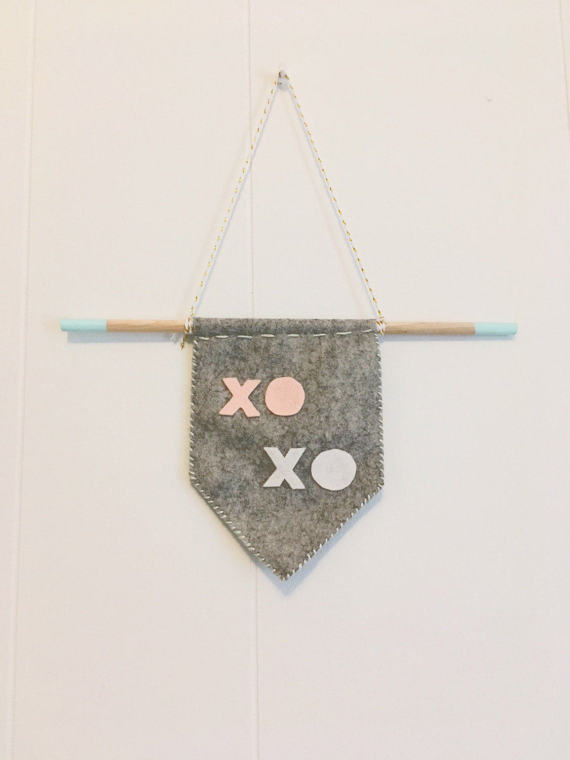
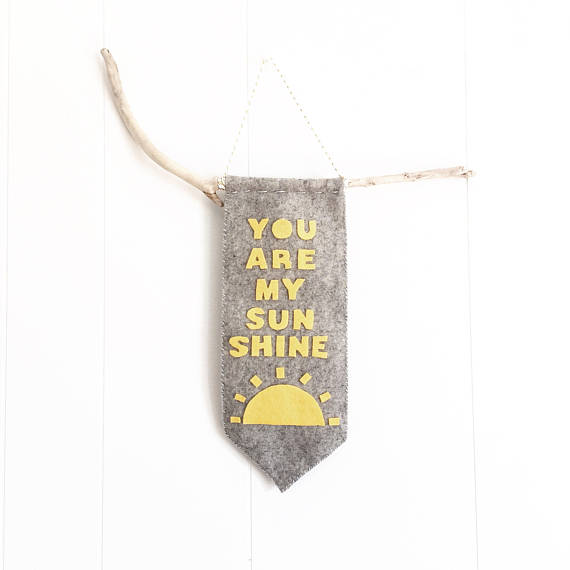
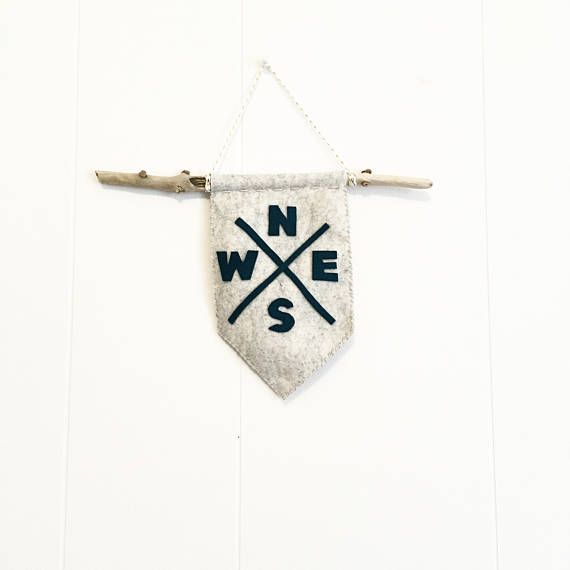
I love supporting small local businesses, so when I met Amanda, the owner of Newmies, at The Bump to Baby Show I knew it was a perfect fit. I absolutely love her handmade stuffed toys, rattles, teethers, painted wooden blocks, and most of all her wall hangings. They have such great positive messages for our kids. We picked the "Love is Love" and "Wild & Free" hangings, but there are tons of adorable ones in her etsy shop, so check it out. Such a unique gift for baby showers or birthday parties. I'm also obsessed with the Farmer's Market set and the Campfire Set that comes complete with S'mores! Enter for a Chance to WIN a $40 shop credit with Newmies. (entry details below)

Enter for a chance to WIN a $100 Credit for a Lorena Canals Rug with Amelie & Max* + a $40 Shop Credit with Newmies! (*Rug design choices subject to availability at www.amelieandmax.ca at time of ordering)
To Enter simply comment below with your name and email address, or alternatively you may comment below and submit your email address to care@with-care.ca for entry. Plus make sure to check out our Facebook page & Instagram feed for 2 more ways to enter! Contest is open worldwide for anyone 25+ and closes Thursday June 22nd at 11pm EST. A winner will be chosen at random and contacted within 24 hours. Good Luck!
*As a special treat use code "WITHCARE" for $10 off your 1st purchase over $50 with Amelie & Max and $10 off your 1st purchase over $40 with Newmies.
Don't wait, Enter NOW! Plus don't forget to enter on Facebook & Instagram. Good luck!
Care
In this post:
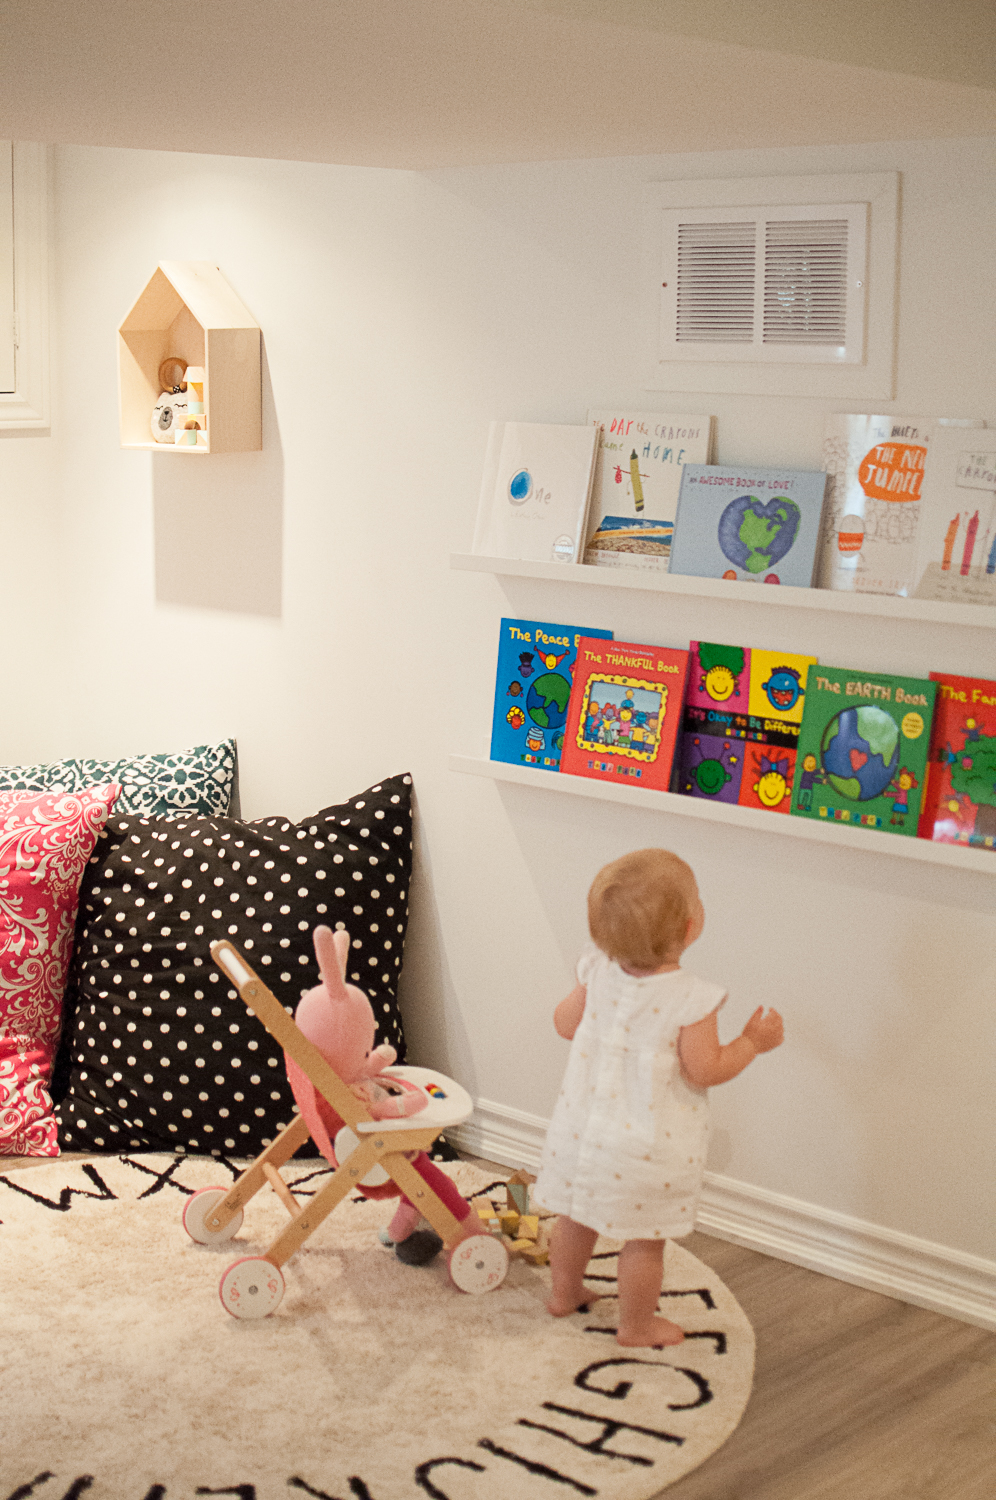
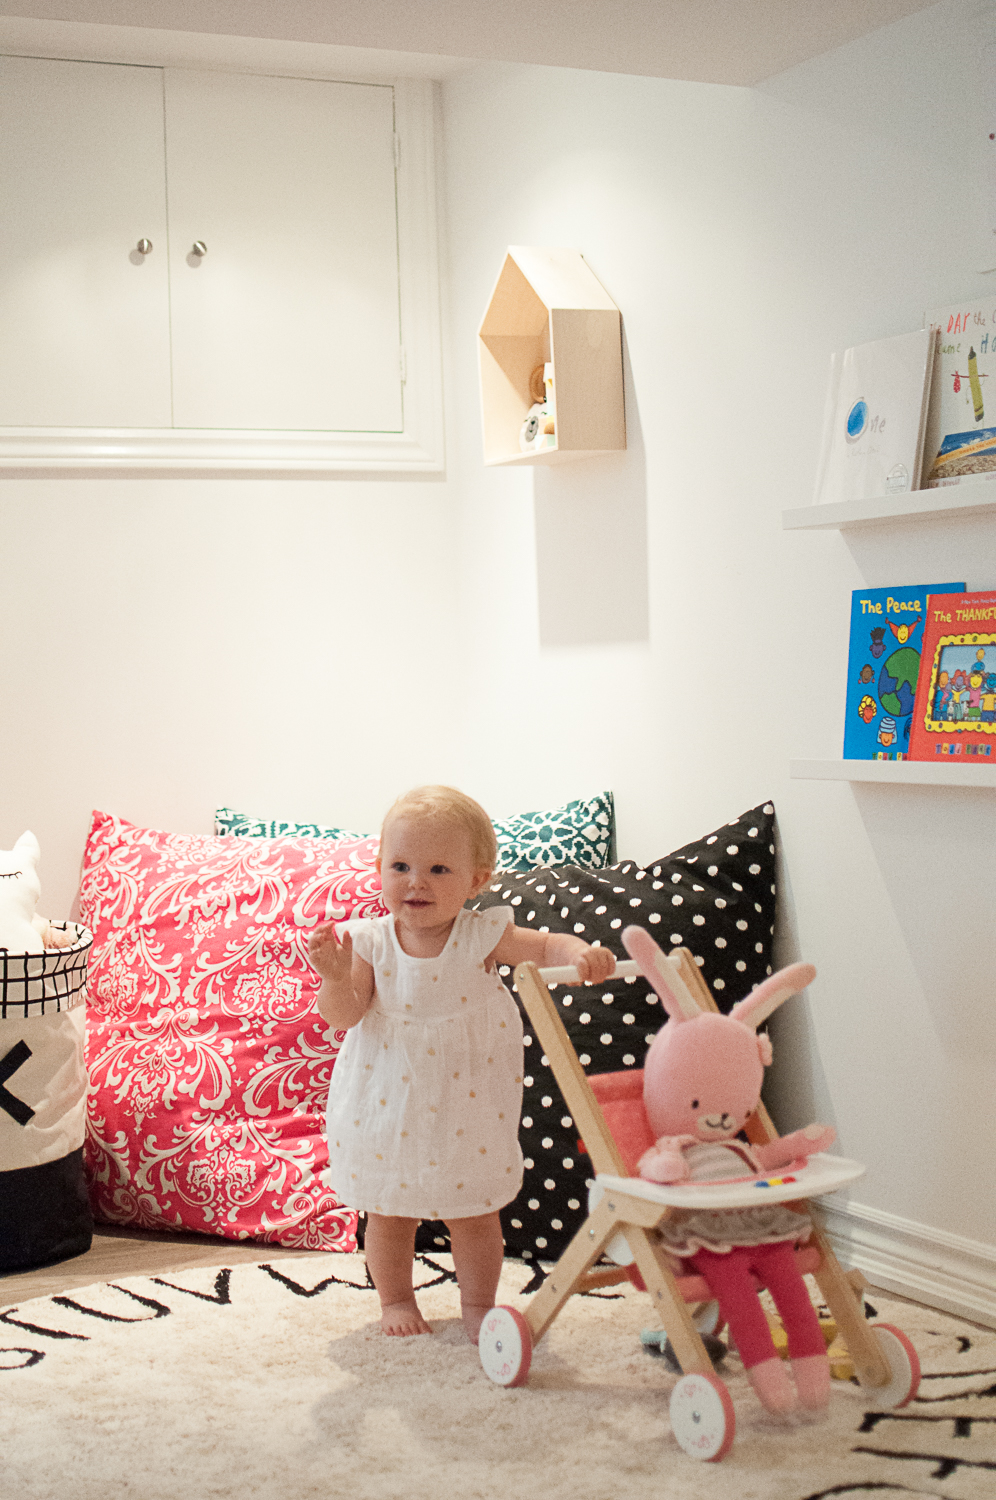
Amelie & Max: rug, sheepskin, house shelf, toy hamper, lightbox | Newmies: hand painted blocks, rattle, teether, wall hangings, stuffed unicorn | Ikea: book rails, couch, shelving unit, baskets, play kitchen | With Care: DIY Simple Floor Cushions | Tiny Trendsetters: Penny's dress & bloomers
*This is a sponsored post which means I was provided compensation and/or product for this post. All thoughts and opinions are 100% my own.

Simple DIY Floor Cushions
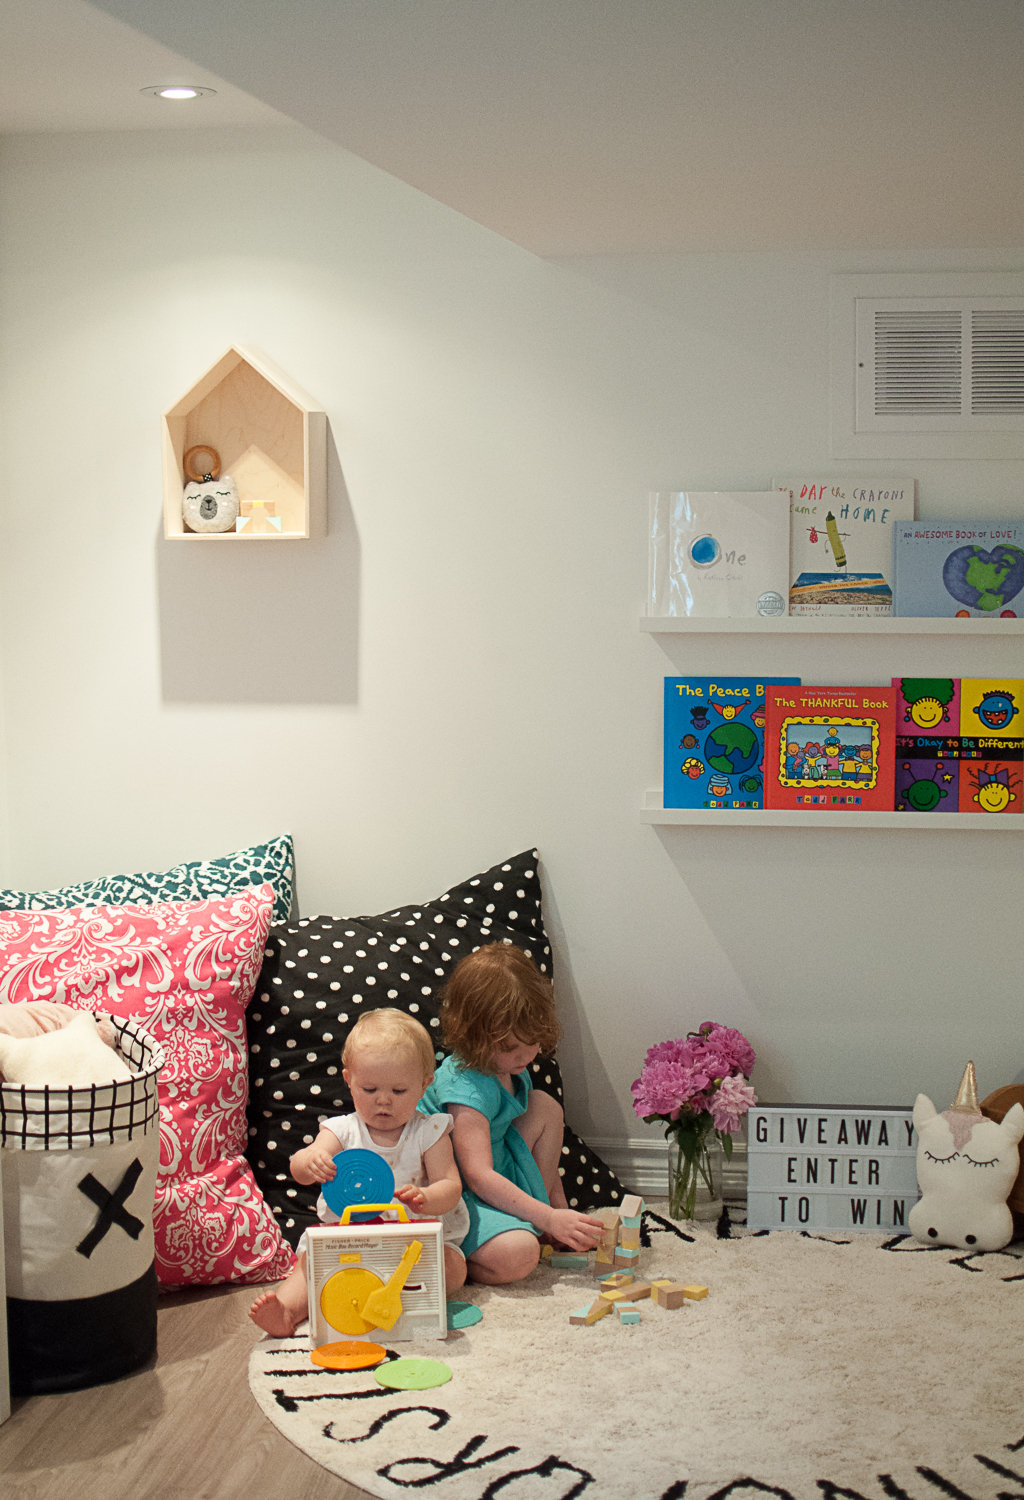
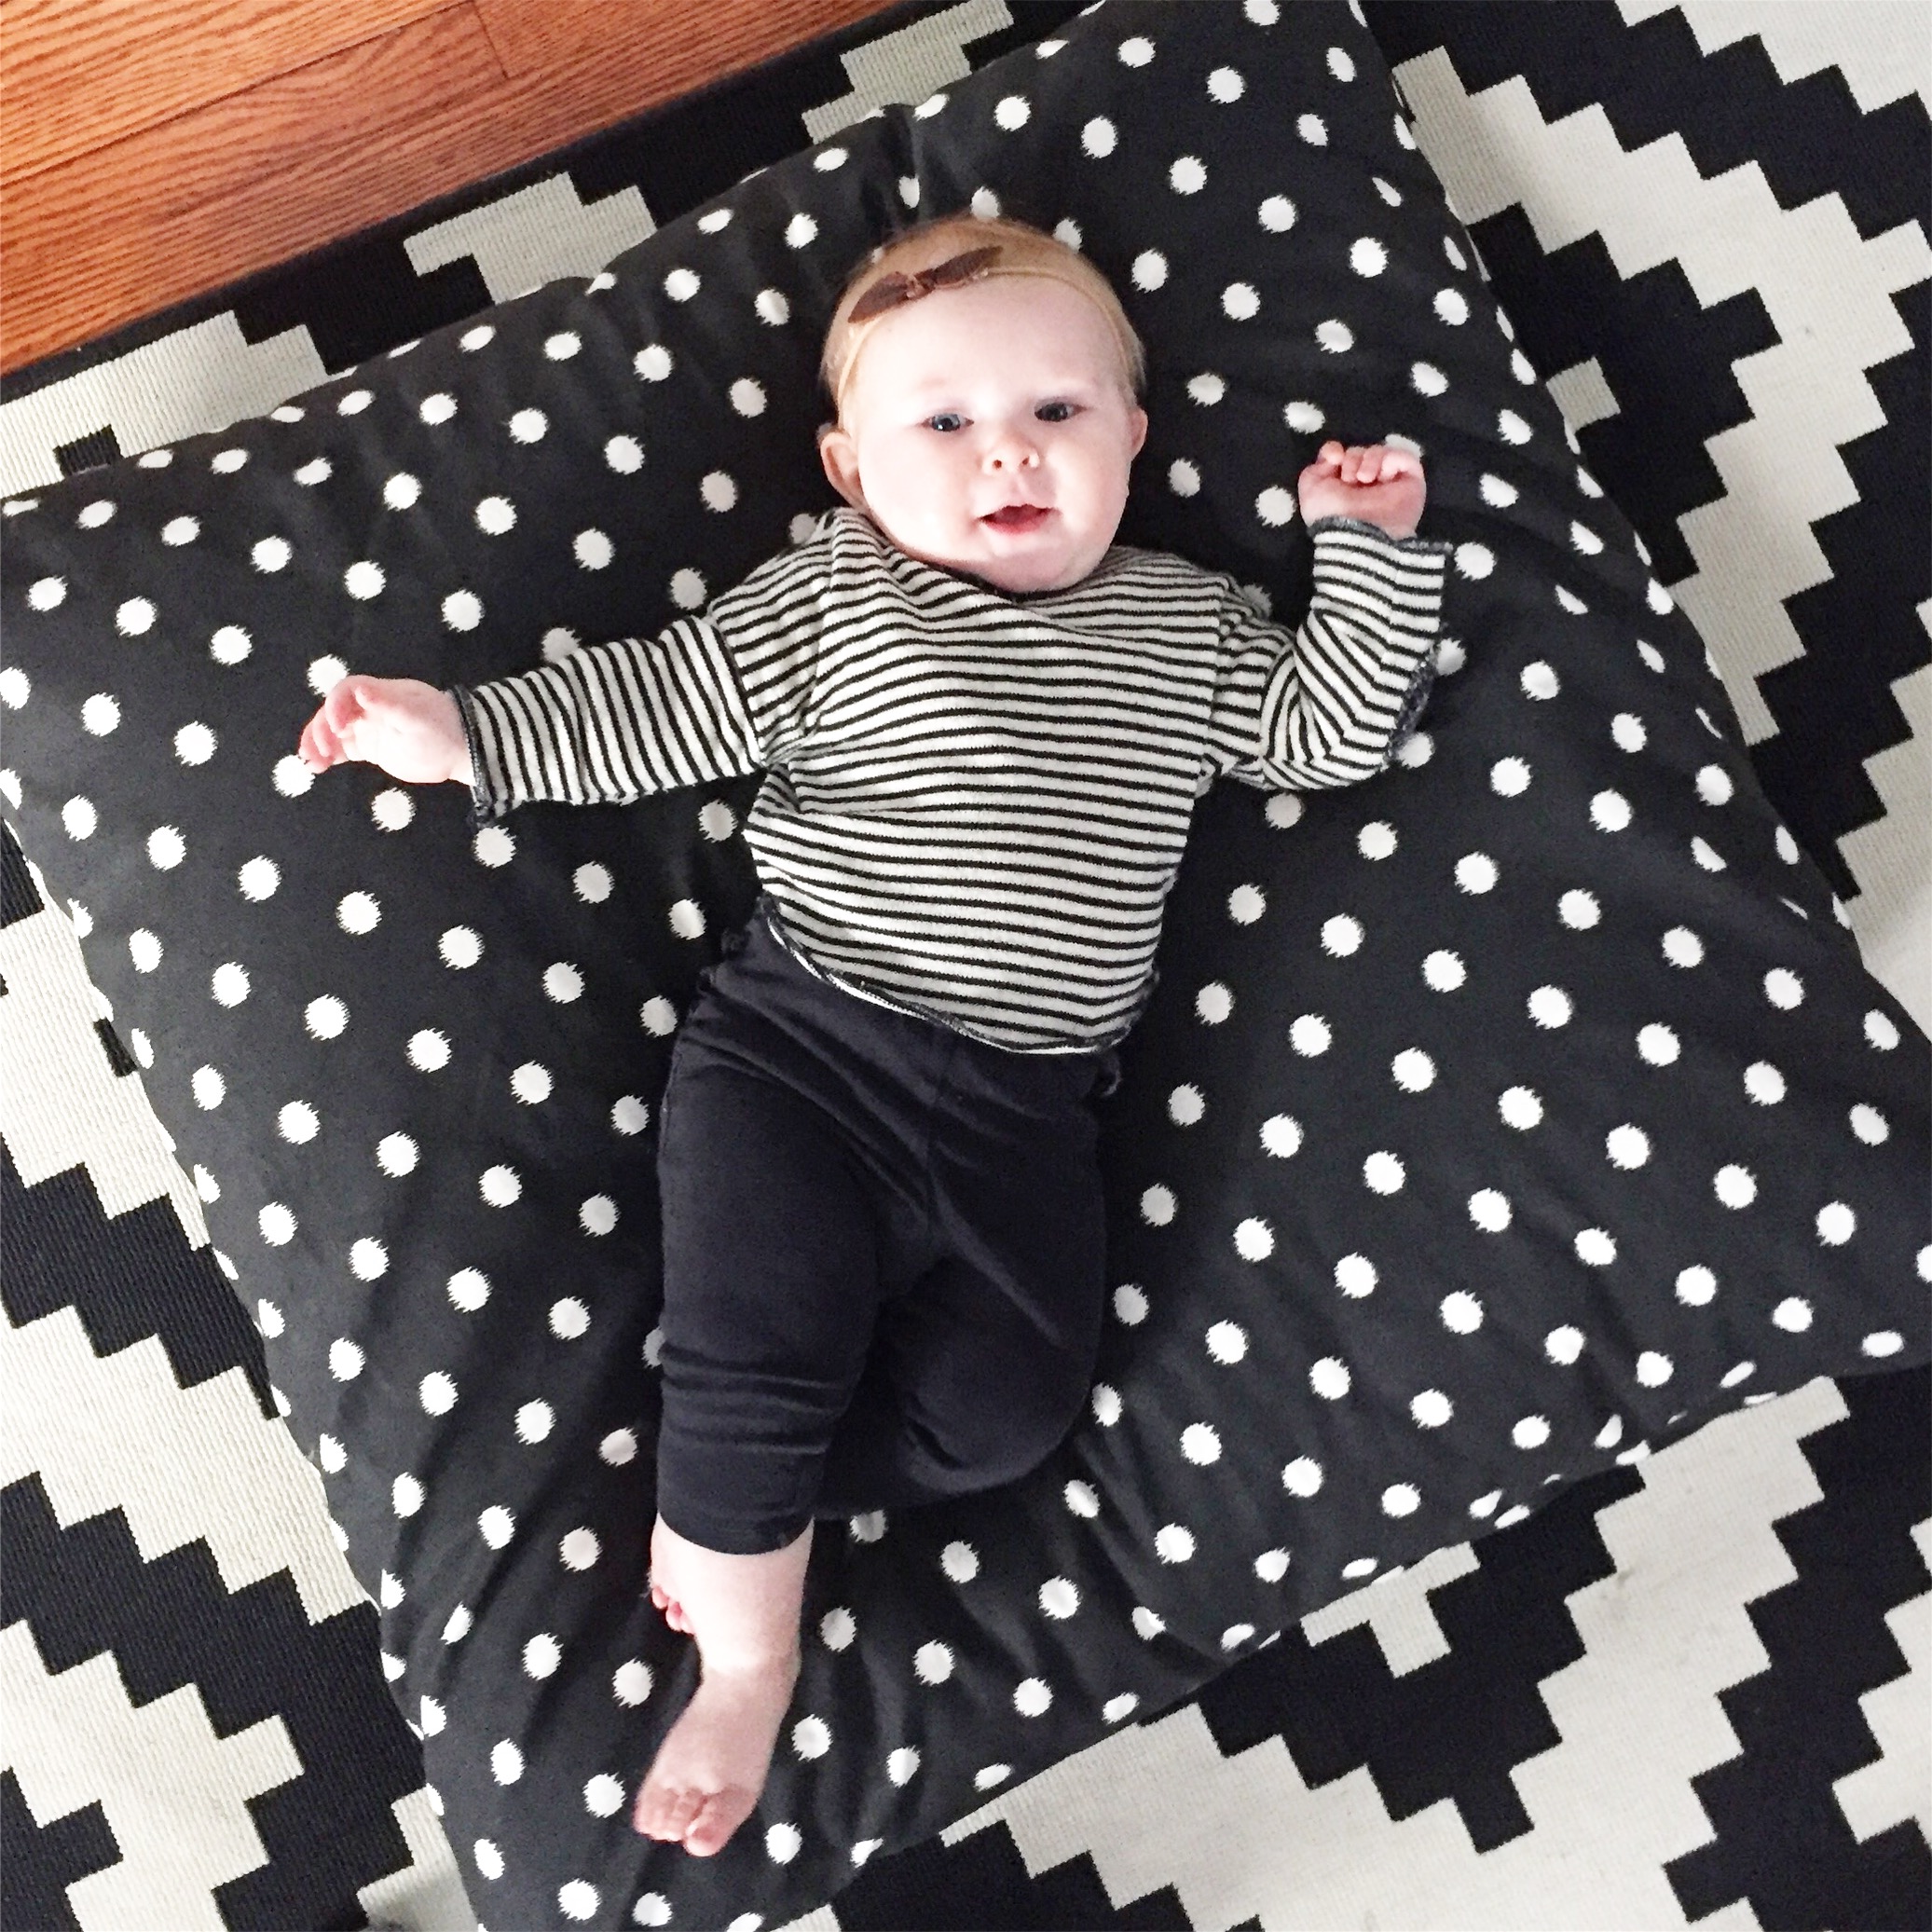
If your kids are anything like mine, they probably don't actually sit on furniture the way it's intended. Mine seem to sit on the floor most of the time, so I decided to make them some oversized floor pillows to make a cozy spot for reading books or watching a movie.

If your kids are anything like mine, they probably don't actually sit on furniture the way it's intended. Mine seem to sit on the floor most of the time, so I decided to make them some oversized floor pillows to make a cozy spot for reading books or watching a movie.
I searched high and low on the good old internet for some appropriate cushions, but the prices were ridiculous. $150-$300 for a big cushion with cover! Not exactly what I wanted to spend on cushions that I knew would be covered in peanut butter and apple juice within hours. I wanted something that I could machine wash and toss on the floor without concern for ruining them. I even looked at dog beds, but turns out people spend A LOT on their dogs. Not that I don't love my kids, but seriously, I just couldn't justify that kind of money on floor cushions. So I decided I would make them myself.
I found an amazing textile place in West Toronto, Nusso Textiles, that has an incredible selection of pillows and cushions, as well as options for custom orders. If you oder more than $100 at a time it's considered wholesale and much cheaper. I ordered a dozen throw pillows of various sizes for our screened in porch bench seats and 4 giant 32" x 32" pillows for the kids. I opted to upgrade to the polycotton covering so they would stand up to any necessary laundering. They came to $22 each and were ready to pick up in about 4 days.
Next I wanted to make covers for the pillows, but again wanted to keep it simple and affordable. I chose some durable cotton canvas fabric (I recommend a cotton canvas or cotton twill, something with a little more strength than a soft quilting or craft cotton) from my favourite local fabric store Fabric Fabric. This place might seem a little rough around the edges, but I promise it has great fabrics and even better prices. I find I get my best deals from the ladies there when I'm pregnant or toting around a cute baby. Just a tip ;)
I found this dead simple envelope pillow case tutorial online and set to work. This is definitely a project appropriate for a beginner, and can be adapted to fit any cushion size. The project involves:
- cutting one piece of fabric
- ironing said fabric
- hemming two ends of the fabric
- folding the fabric into the appropriate shape &
- sewing a straight edge along 2 sides.
For each of my 32" cushions I needed 2 meters of fabric, which left me with extra fabric for smaller cushion covers or other projects. I cut 1 piece of fabric 32" x 72" (32"x2 +8" for overlap and seam allowance) and created my cover. Once I figured out my measurements each pillow case only took about 20 kid free minutes to make...if a baby or child is around this could be extended to several days ;)
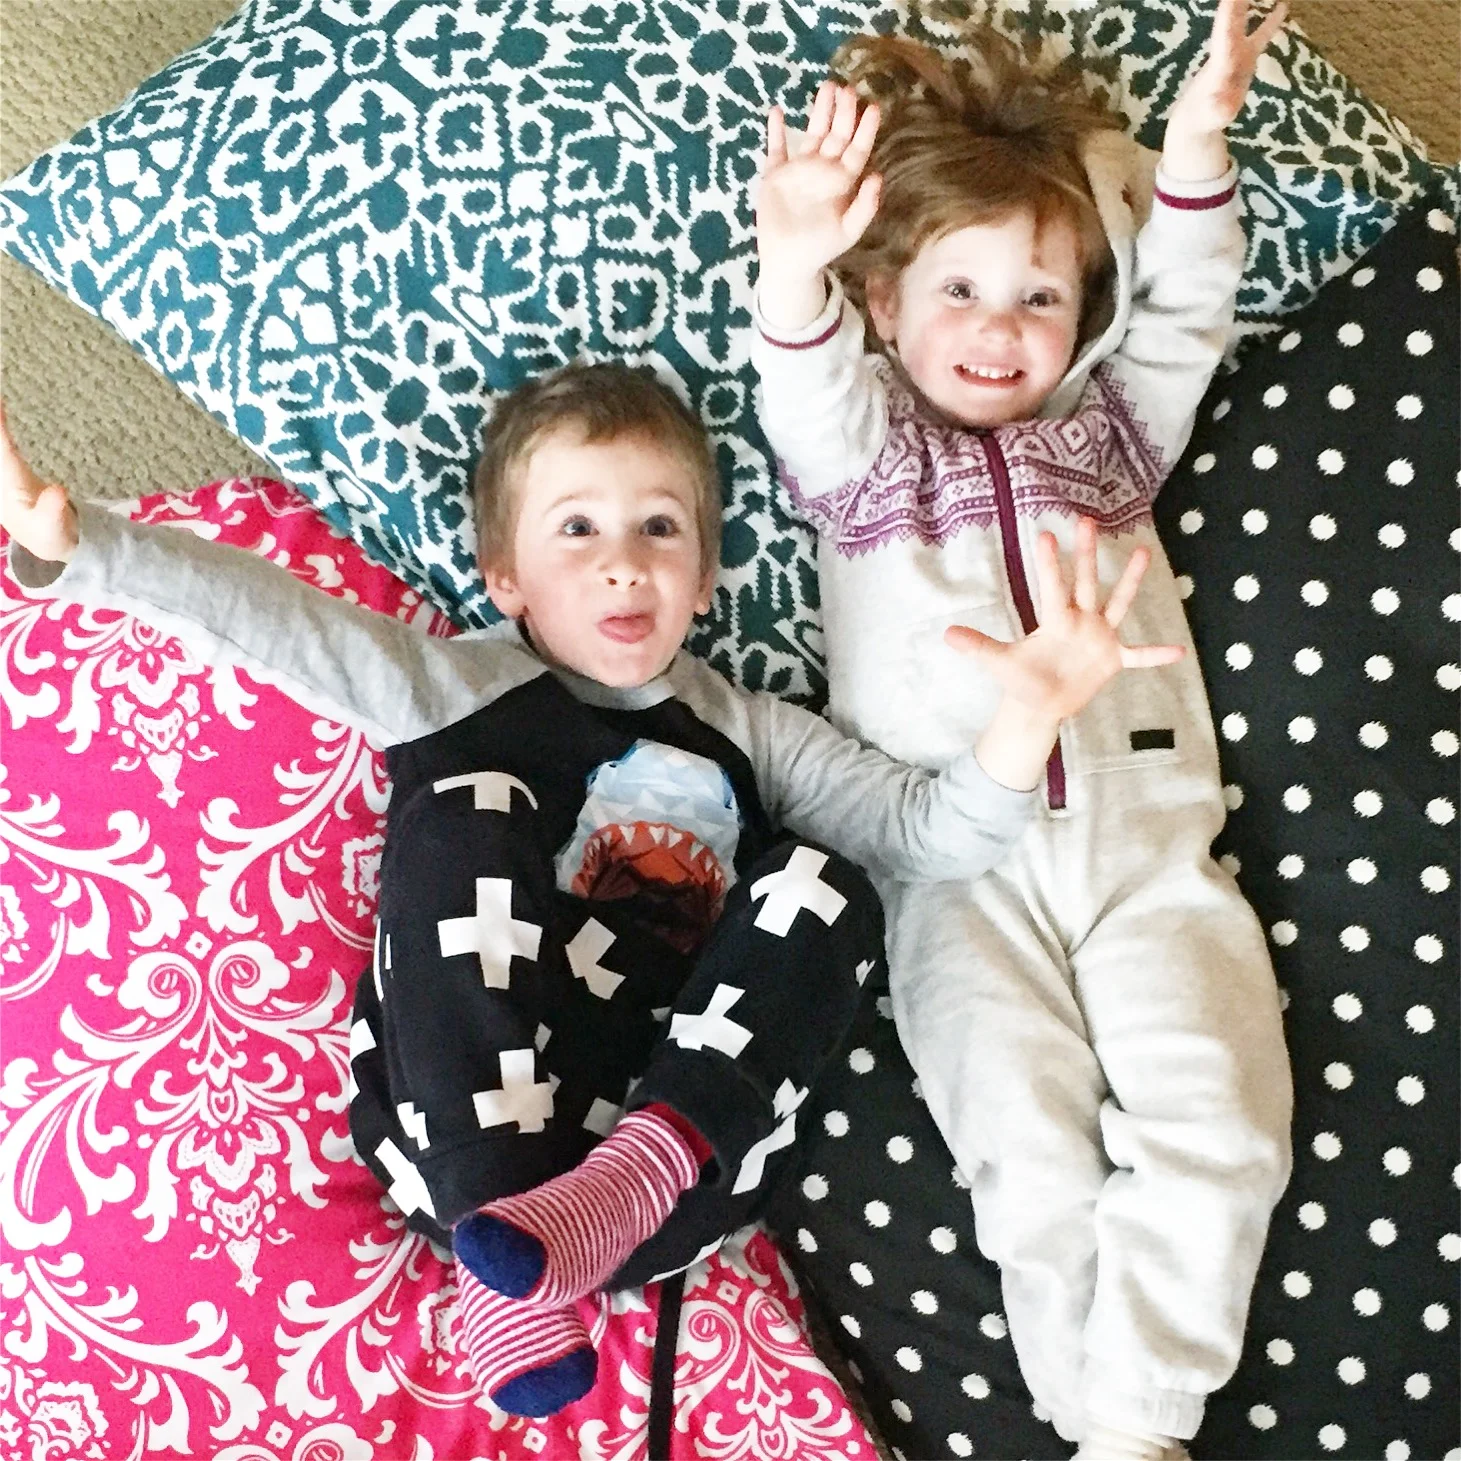
As you can see the kids are loving the finished project. The best part is that they cost about $40 each to make. A huge savings from the original ones I found on Etsy and other sites, not to mention you can customize them to suit your style. Hope this inspires you to make some cozy floor cushions for your family.
Care