

What's really new in the New Allergy Guidelines for Babies?
A new guideline came out this week from the National Institute of Allergy & Infectious Disease focusing on peanut allergies and specifically when to introduce high allergen foods to babies. When I heard the news of the new guideline I felt like I could hear every parent collectively sigh out of frustration...

A new guideline came out this week from the National Institute of Allergy & Infectious Disease focusing on prevention of peanut allergies, and specifically when to introduce high allergen foods to babies. When I heard the news of the new guideline I felt like I could hear every parent collectively sigh out of frustration. It seems like every few months a new guideline is being released, making it hard for parents to stay up to date on safe practices. Unfortunately that's just the way it is in this day and age of non-stop research, but hopefully that's for our benefit.
The new guideline made headlines Thursday and I've already had a few parents contact me wanting to know if I'll be addressing them in my Starting Solids Workshop. I always incorporate the most up to date guidelines and research in my courses, but thought it would be helpful to break it down for everyone here, to save you the headache of actually reading the entire guideline.
Rest assured that for the vast majority of babies there is absolutely no change. In 2015 Health Canada released a Guideline that covered feeding your baby from 6-24 months and in it the recommendation was made for high allergen foods such as nut butters and cooked eggs (yolk & white) to be introduced around 6 months with the introduction of solids. This new guideline agrees with this practice, and reminds parents not to be afraid of feeding age appropriate nut products to babies regularly in your homes, starting around 6 months. Research has shown that frequent early exposure is beneficial to reducing life threatening allergies, so it's important not to let your fear of an allergy keep you from introducing this important food group.
Where the new guideline has made changes is with "high risk children." This category includes all babies with diagnosed egg allergy or severe eczema. In these babies the recommendation is now to start high allergen foods earlier, if the baby is showing signs of readiness. Parents of high risk babies should work in partnership with their baby's physician to plan exposure to high allergen foods starting between 4-6 months when the baby is ready. Nut products and high allergen foods should be started after the baby has started solids "so that the child can demonstrate the ability to consume solid food without evidence of nonspecific signs and symptoms that could be confused with IgE-mediated food allergy." Again this is only for high risk babies. This new guideline is not advocating that we start all babies on solid food earlier. Breastmilk or Formula is still the appropriate food for the vast majority of babies for approximately the first 6 months of life.
Parents can feel very guilty when new guildelines emerge that conflict with how they raised their children. It's important to keep in mind that this ever changing research is not perfect. As always, it could change in years to come, so all we can do is educate ourselves with the best information we can, and focus on feeding our babies a variety of healthy foods. Babies around the world start solids in many different ways, and no one way is proven perfect. Follow your instinct and your baby's lead and speak to your baby's health care provider if you have any concerns about starting solids.
When feeding any nut products to your baby please remember that whole nuts, and large globs or thick layers of nut butters, are choking hazards. Always apply a thin layer of nut butter to toast, crackers etc, or create a thin puree mixed with other foods. Avoid whole nuts with young children. Everyone who feeds your baby should know how to help them in the event of an emergency such as choking, or a life threatening allergic reaction. For more information on how to be prepared to start solids safely with your baby check out my Starting Solids & Infant CPR Workshops and subscribe to my YouTube channel to watch my baby Penny's journey through starting solids.
- Care

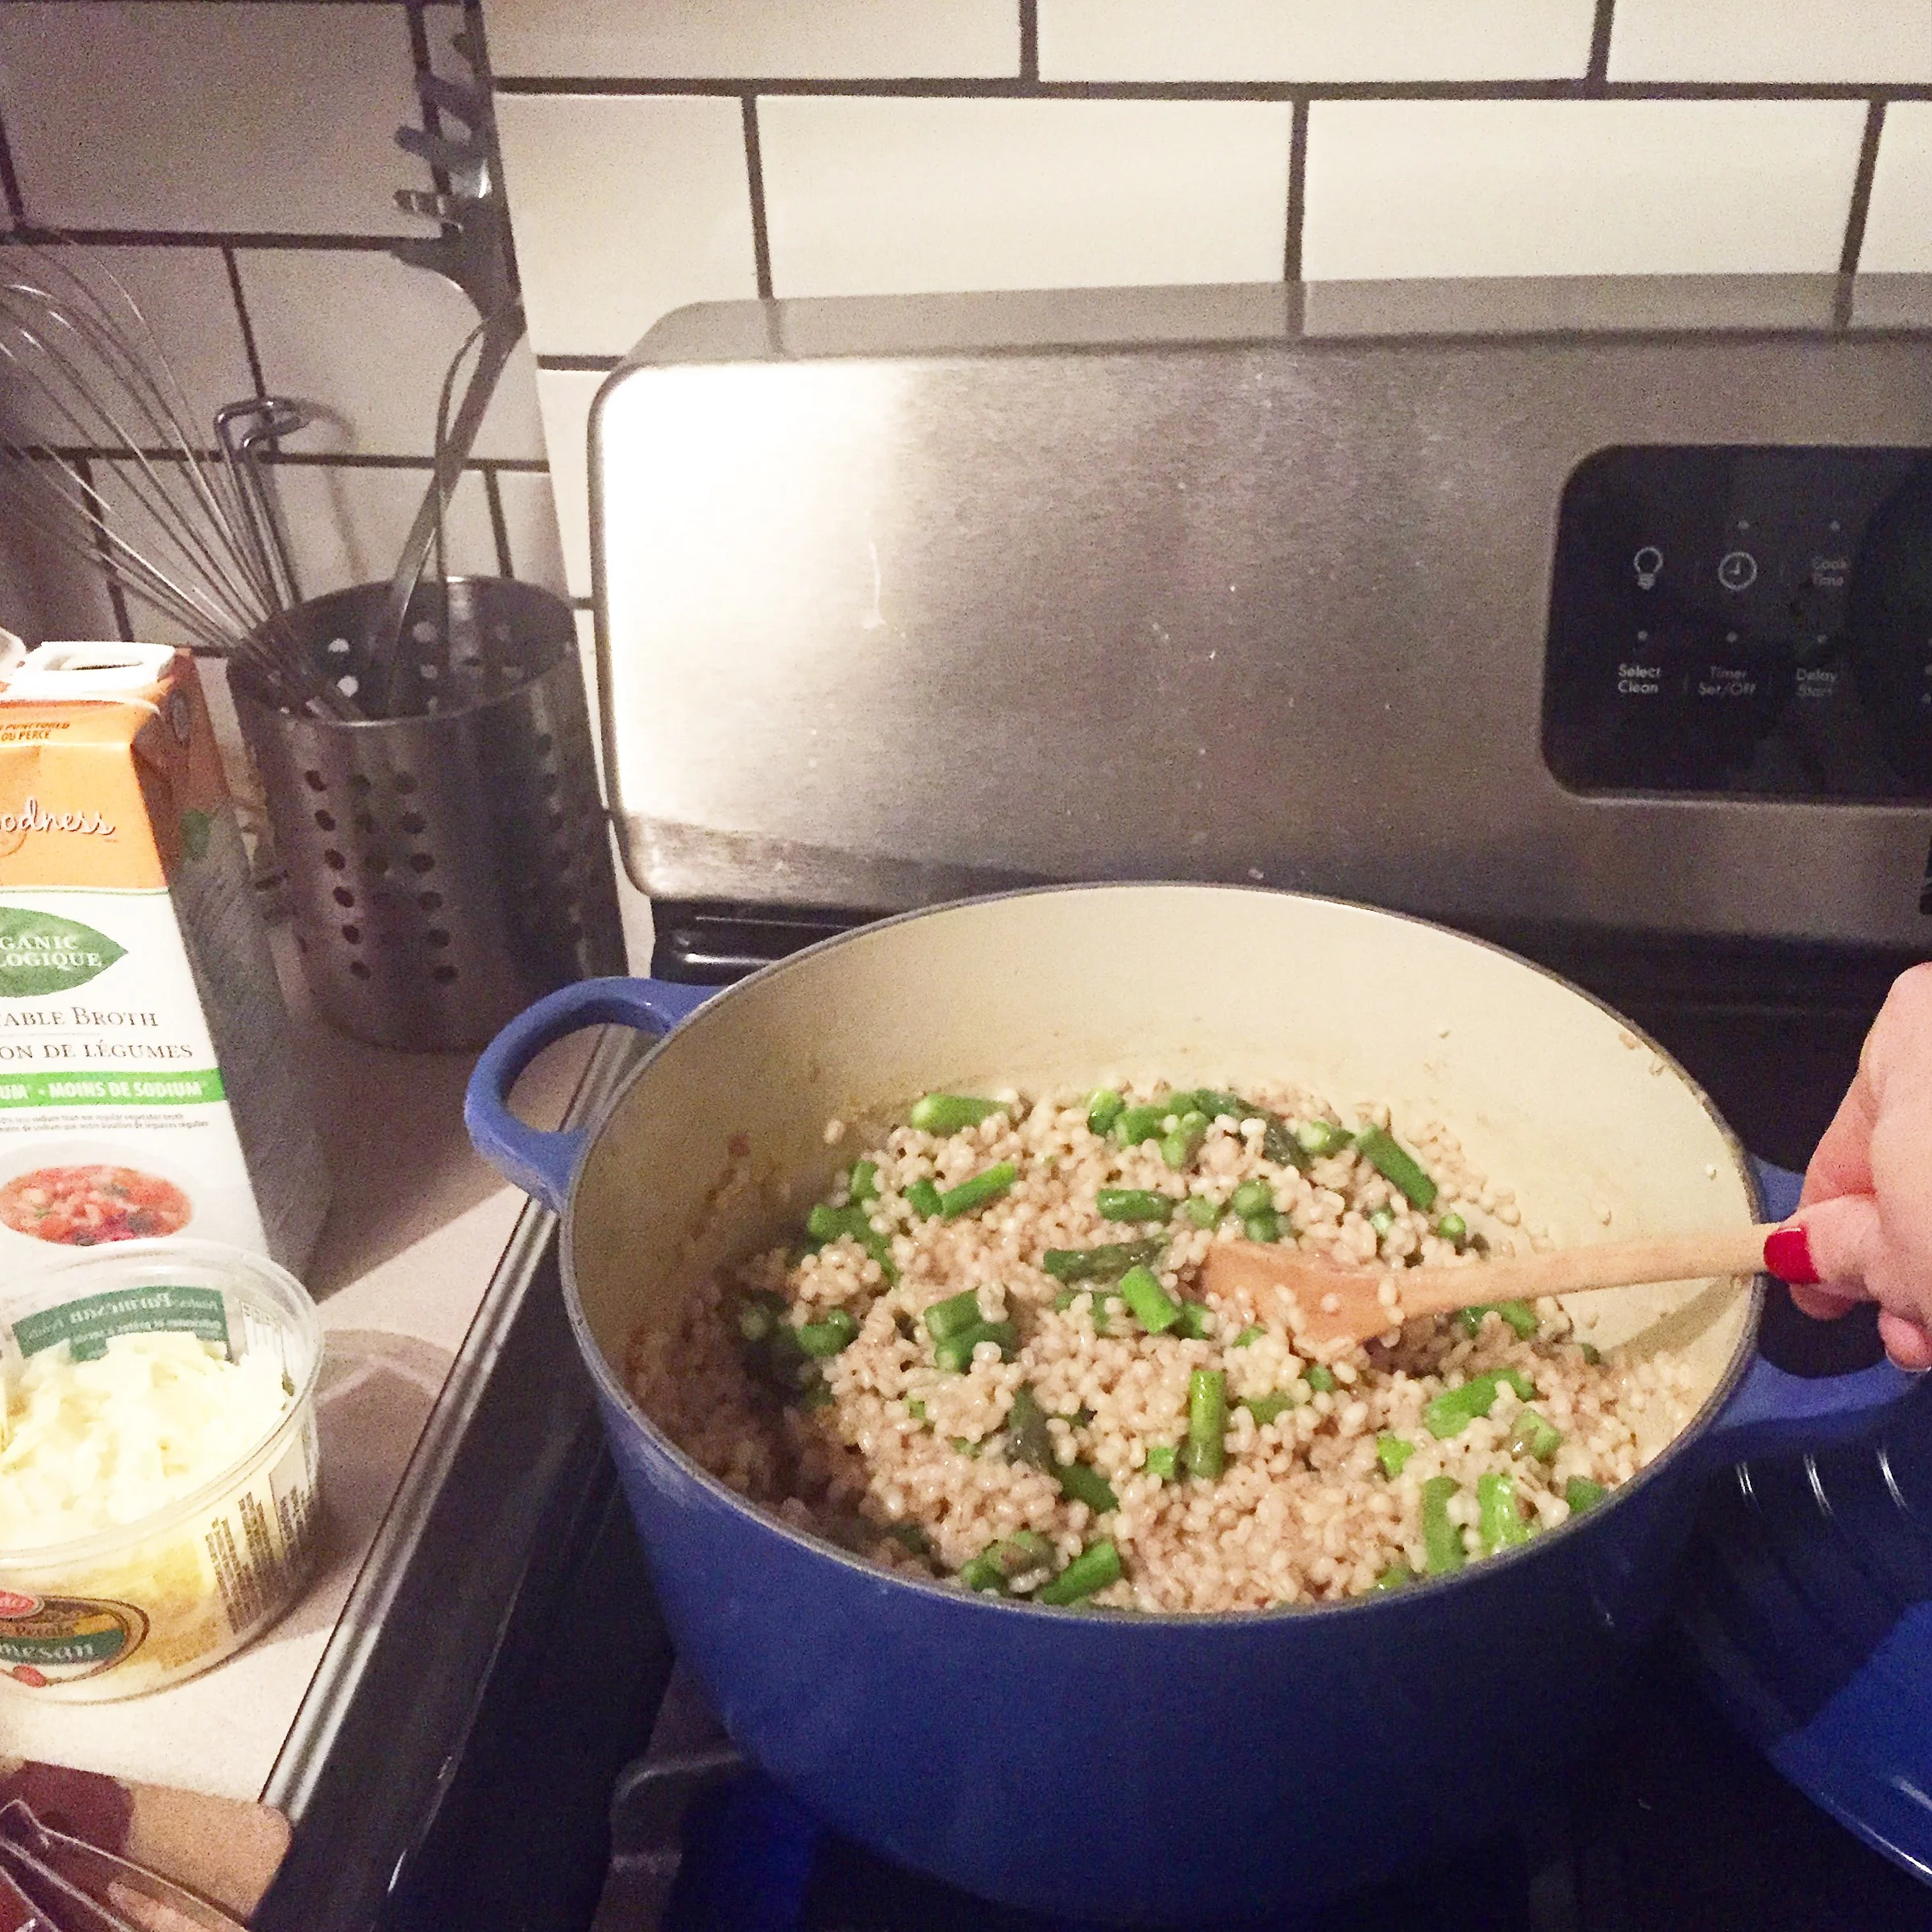
Parmesan Asparagus Barley Risotto
With winter weather making its appearance this week, it seems like the perfect time for some cozy and hearty meals. Here is one of our all time favourites, a delicious Parmesan Asparagus Barley Risotto. A great alternative to rice risottos and a little more forgiving when cooking. Hope you enjoy it as much as we do.
With winter weather making its appearance this week, it seems like the perfect time for some cozy and hearty meals. Here is one of our all time favourites, a delicious Parmesan Asparagus Barley Risotto. A great alternative to rice risottos and a little more forgiving when cooking. Hope you enjoy it as much as we do.
Ingredients
- 2 Tbsp olive oil
- 1 large onion, finely chopped
- 1 large clove garlic, finely chopped or crushed
- 1 ½ cups pearl barley
- 1 cup white wine
- 4 cups vegetable broth
- 1 bunch asparagus
- salt & pepper to taste
- ½ -1 cup grated parmesan
Instructions
- Heat oil in a large pot over medium heat and sauté onion until soft, about 5 minutes. Add garlic and cook 1 minute more.
- Add barley and cook stirring frequently for 2 minutes. Add wine and cook until absorbed. Add ½ cup broth at a time while stirring frequently and allow barley to absorb broth well before adding more.
- Add asparagus with last ½ cup broth and cook until liquid is absorbed. Remove from heat, add parmesan and season with salt and pepper to taste. Serve with fresh parmesan topping.
- Great for leftovers : )
- Care

3 Must Haves for Veggie Garden Success!
Spring is here and it's officially gardening season. Yay! My hubby and I are avid gardeners and have been busy at work over the last few weeks preparing and planting our annual fruit, veggie and herb garden. As I've been posting pics to Instagram I've been getting lots of requests for details about our garden accessories, so I thought I would share my must haves with everyone...
Spring is here and it's officially gardening season. Yay! My hubby and I are avid gardeners and have been busy at work over the last few weeks preparing and planting our annual fruit, veggie and herb garden. As I've been posting pics to Instagram I've been getting lots of requests for details about our garden accessories, so I thought I would share my must haves with everyone. These 3 items are a big investment up front, however all of them will serve your garden well for many years to come, and impact the survival, growth and yield of your garden each year.
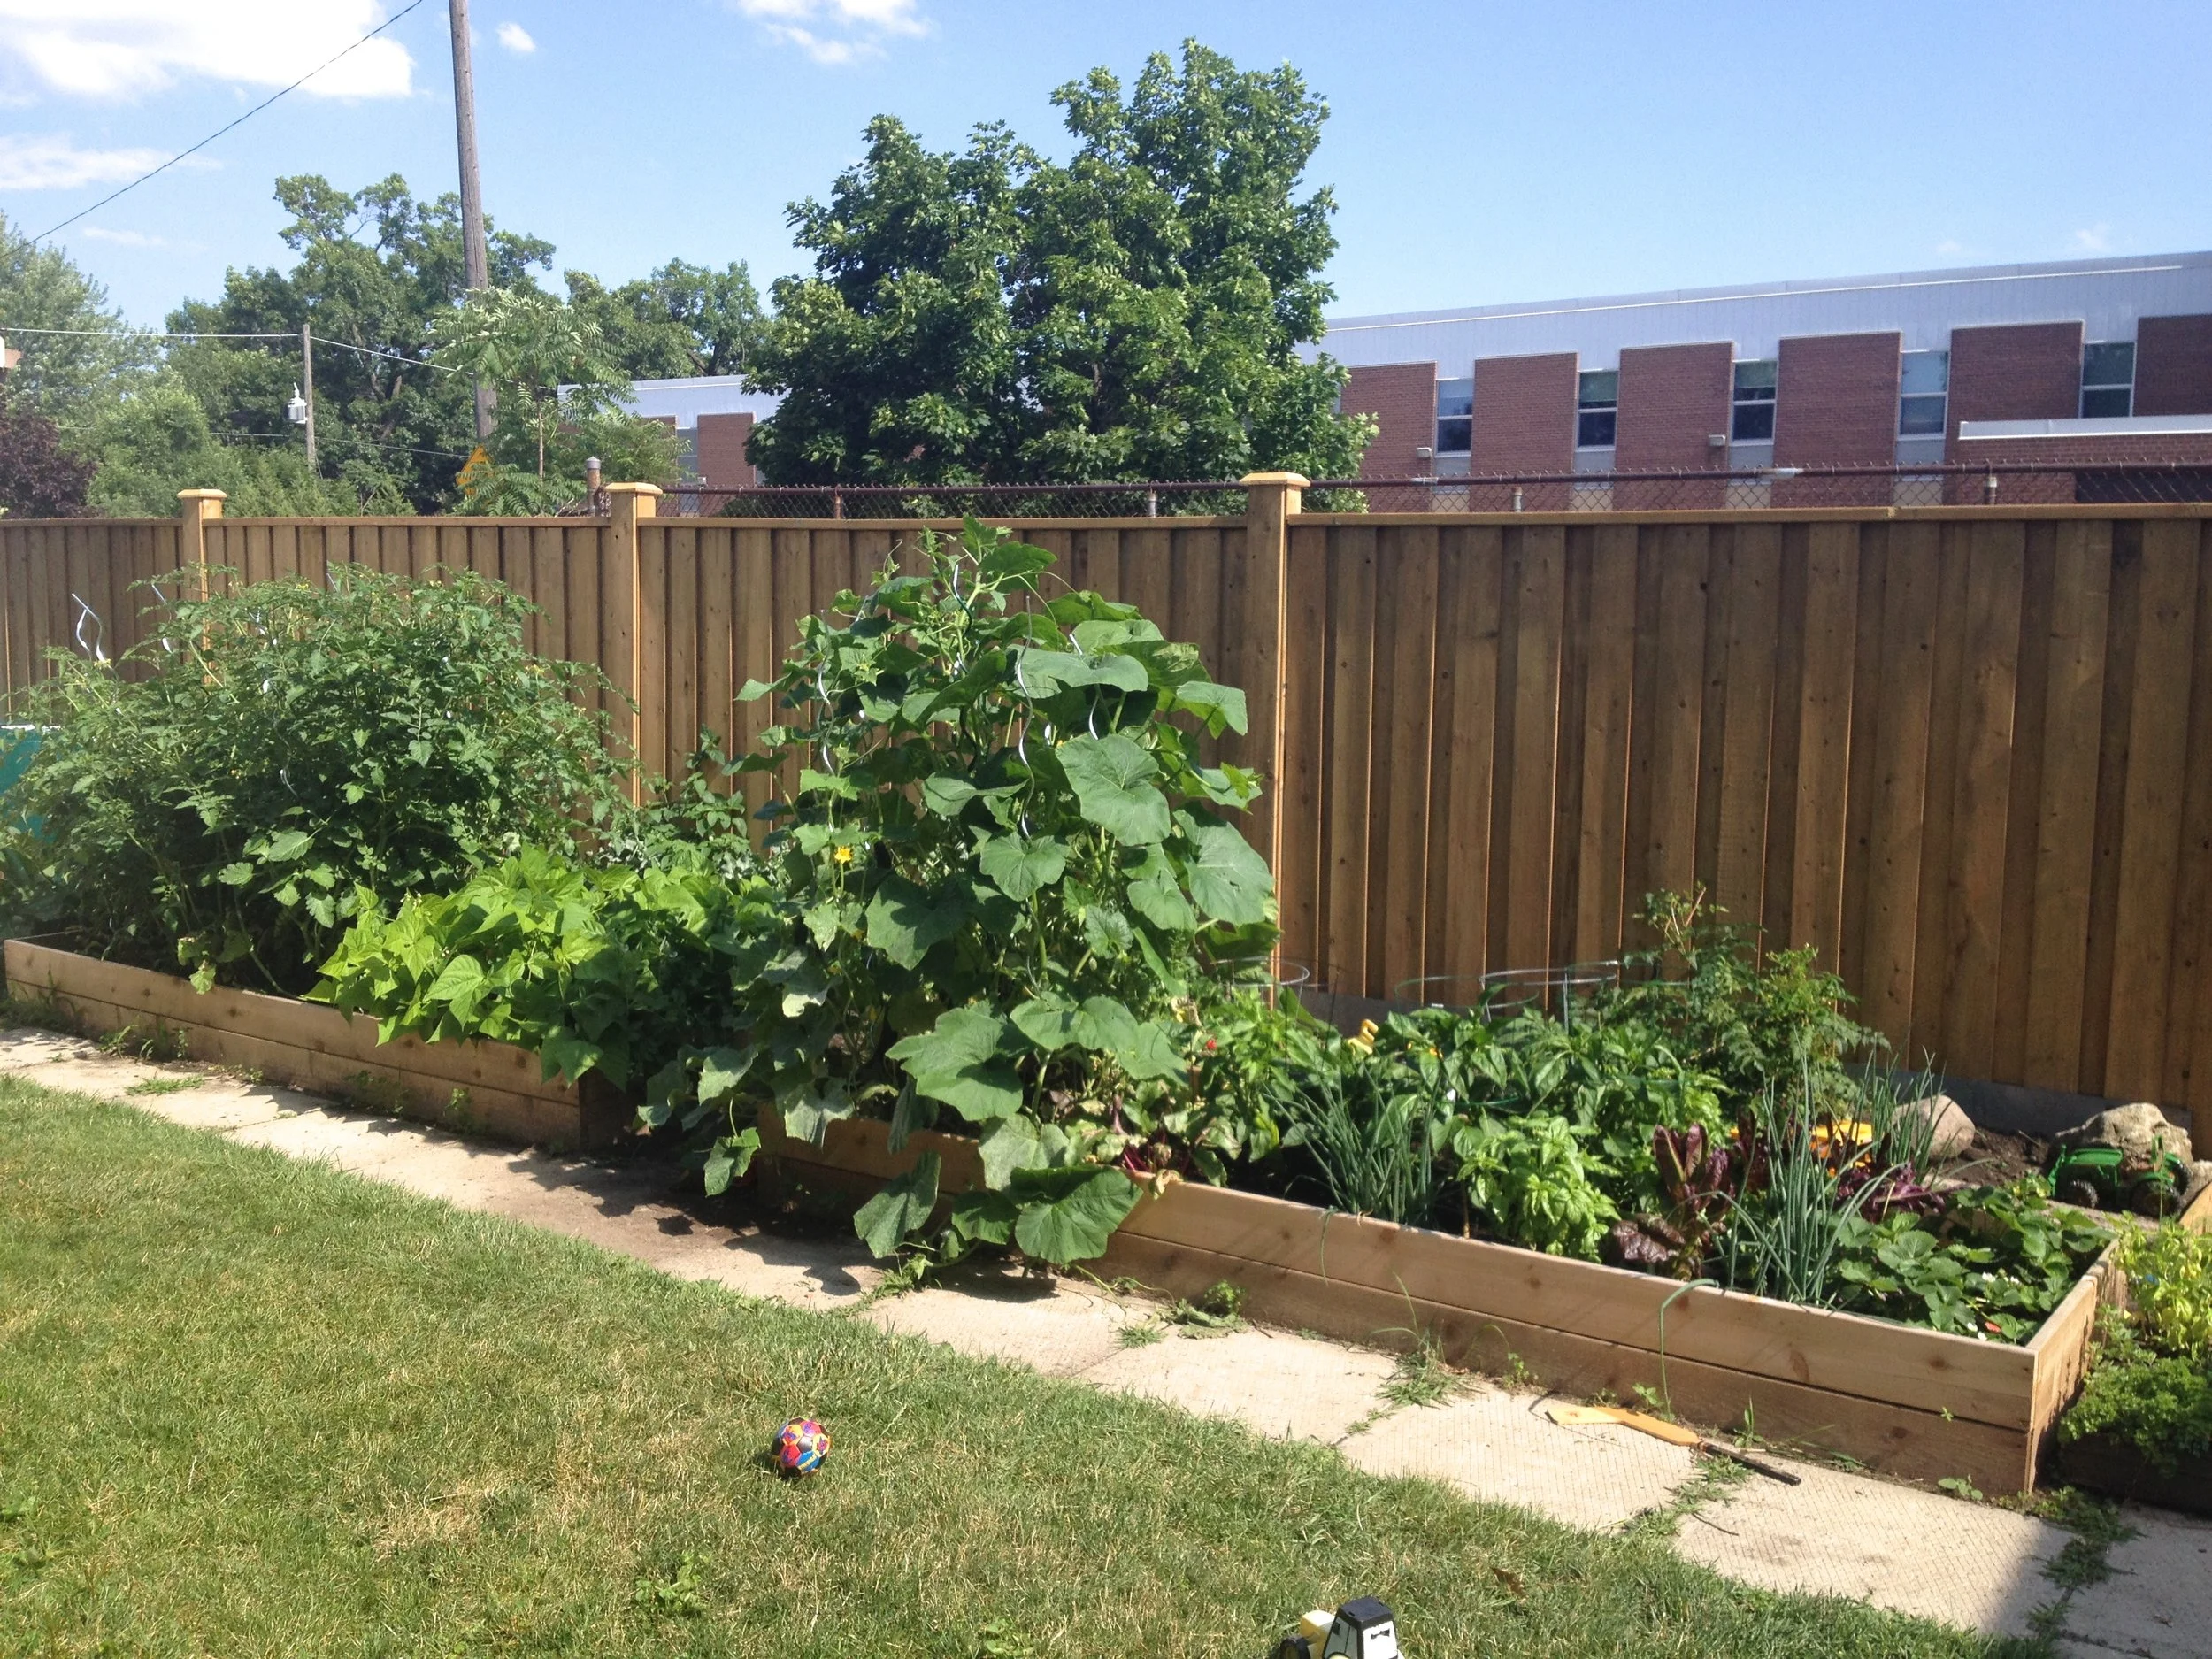
Here's a glimpse of our garden in July 2014. Needless to say we hope to have another year just like it.
Care's 3 Must Haves for Veggie Garden Success!
1. Rain Barrel
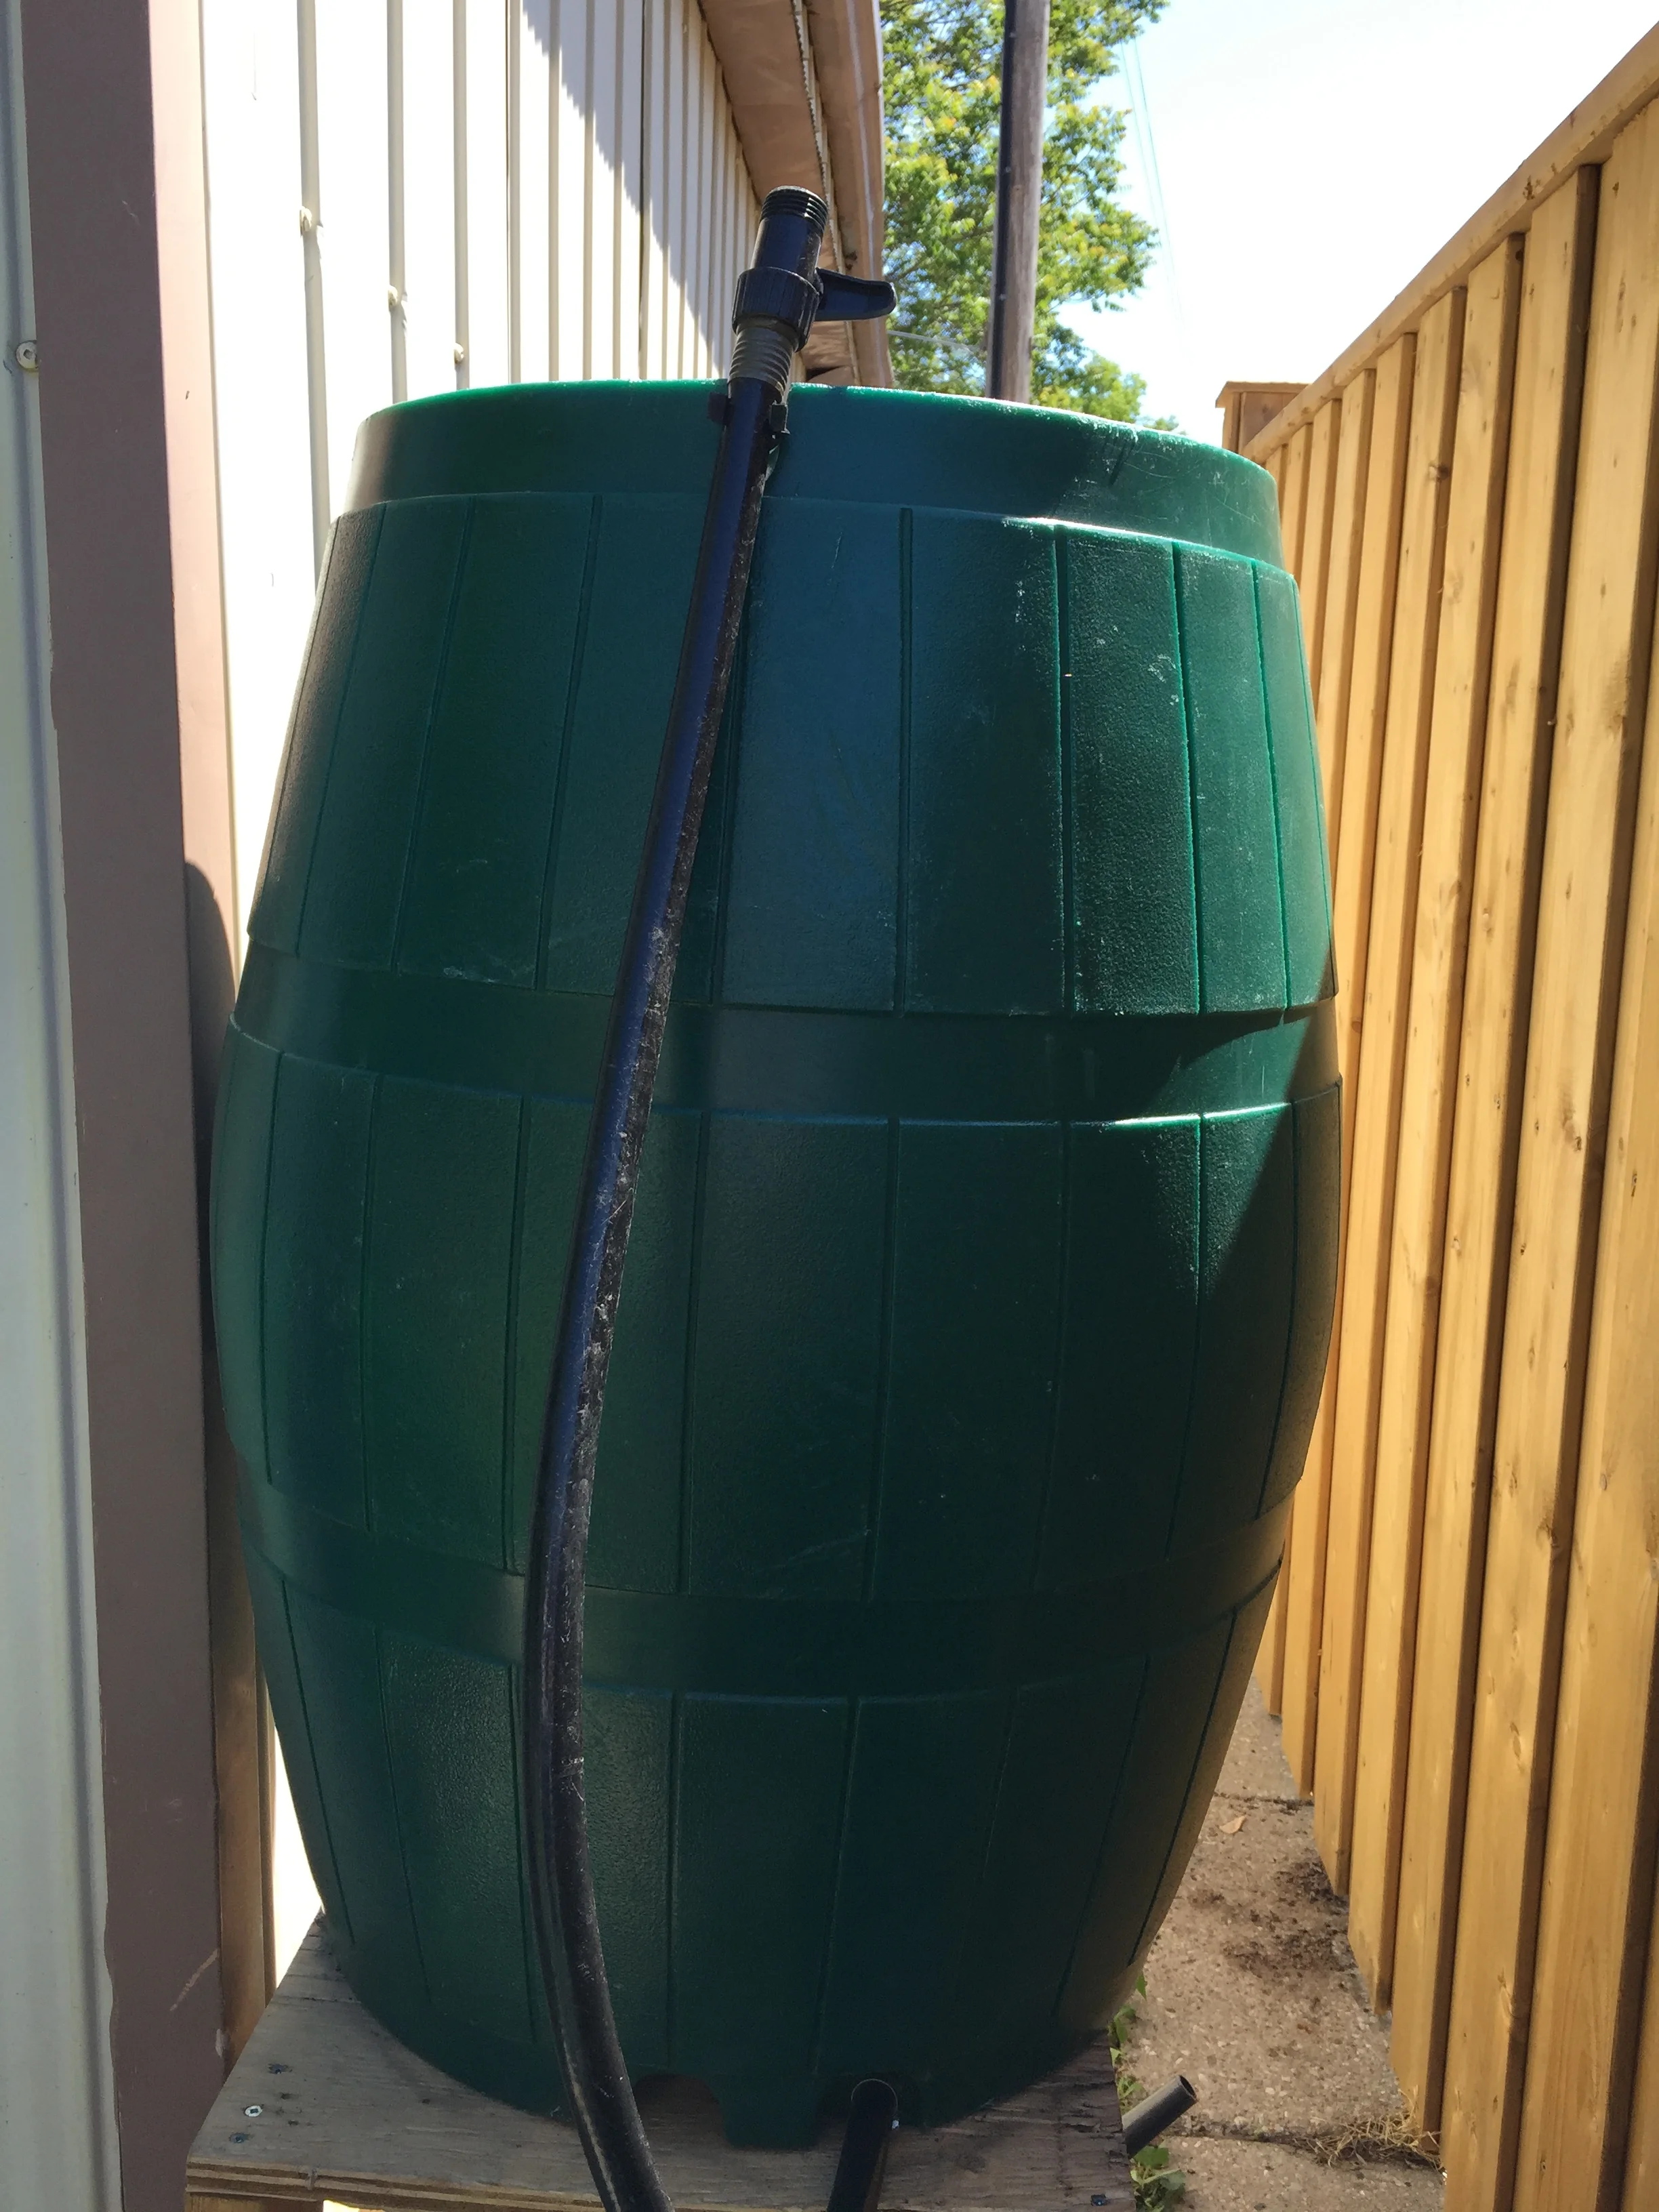
All gardens need water, so this one is a no brainer. A rain barrel is simple to set up under any eavestrough and collects rain water to use for your garden. Not only does this save money and water, but it's actually better for your plants. Rain water doesn't have the chemicals used to treat our drinking water such as chlorine and fluoride, which can impact the growth and yield of your plants.
You can get rain barrels from stores like Home Depot or Costco for $100-$350, depending on the size and material used. Craigstlist & Kijiji are also great places to check for gently used rain barrels. A word to the wise, we got ours via a community project last year for $50, so I encourage you to look online and check sales around the GTA. There are lots of special water events throughout the year, where they discount barrels to encourage people to use them. Always worth checking.
Note: If you don't have a rain barrel or space for one, consider filling a bucket or bin with hose water and allow it to sit in the sun for a few hours to help burn off the chemicals before using it to water your garden.
2. Garden Covers

There is nothing worse than going to all the work of planning and planting a beautiful garden, only to find the whole thing pillaged by pests. Garden covers allow your plants to get the sunlight, rain and fresh air they need, while preventing rodents and neighbourhood pets from using your garden as a litter box or buffet. This is especially important in the early days of planting seeds or seedlings, because these young plants are tender and sweet and animals love to snack on them. I find they're also essential in keeping plants safe from curious toddlers and clumsy preschoolers.
I love these Pop Up Plant Covers from Lee Valley that we got last year. (**Updated to note that Lee Valley is no longer selling this product. They can be found online at www.gardenguard.net) They are adjustable with zip in panels, so you can tailor the size of the cover for your specific garden, plus they fold up nice and small for winter storage. We love the way they cover our raised beds and make our garden look way more hardcore than it actually is ;) An 8 foot section costs $39.50 and additional 2.5 foot zip in sections can be purchased for $19.50.
Note: When we're out in the garden we open the ends to allow bees and other insects access to help with pollination. Especially when plants like strawberries are flowering.
3. Spiral Stakes
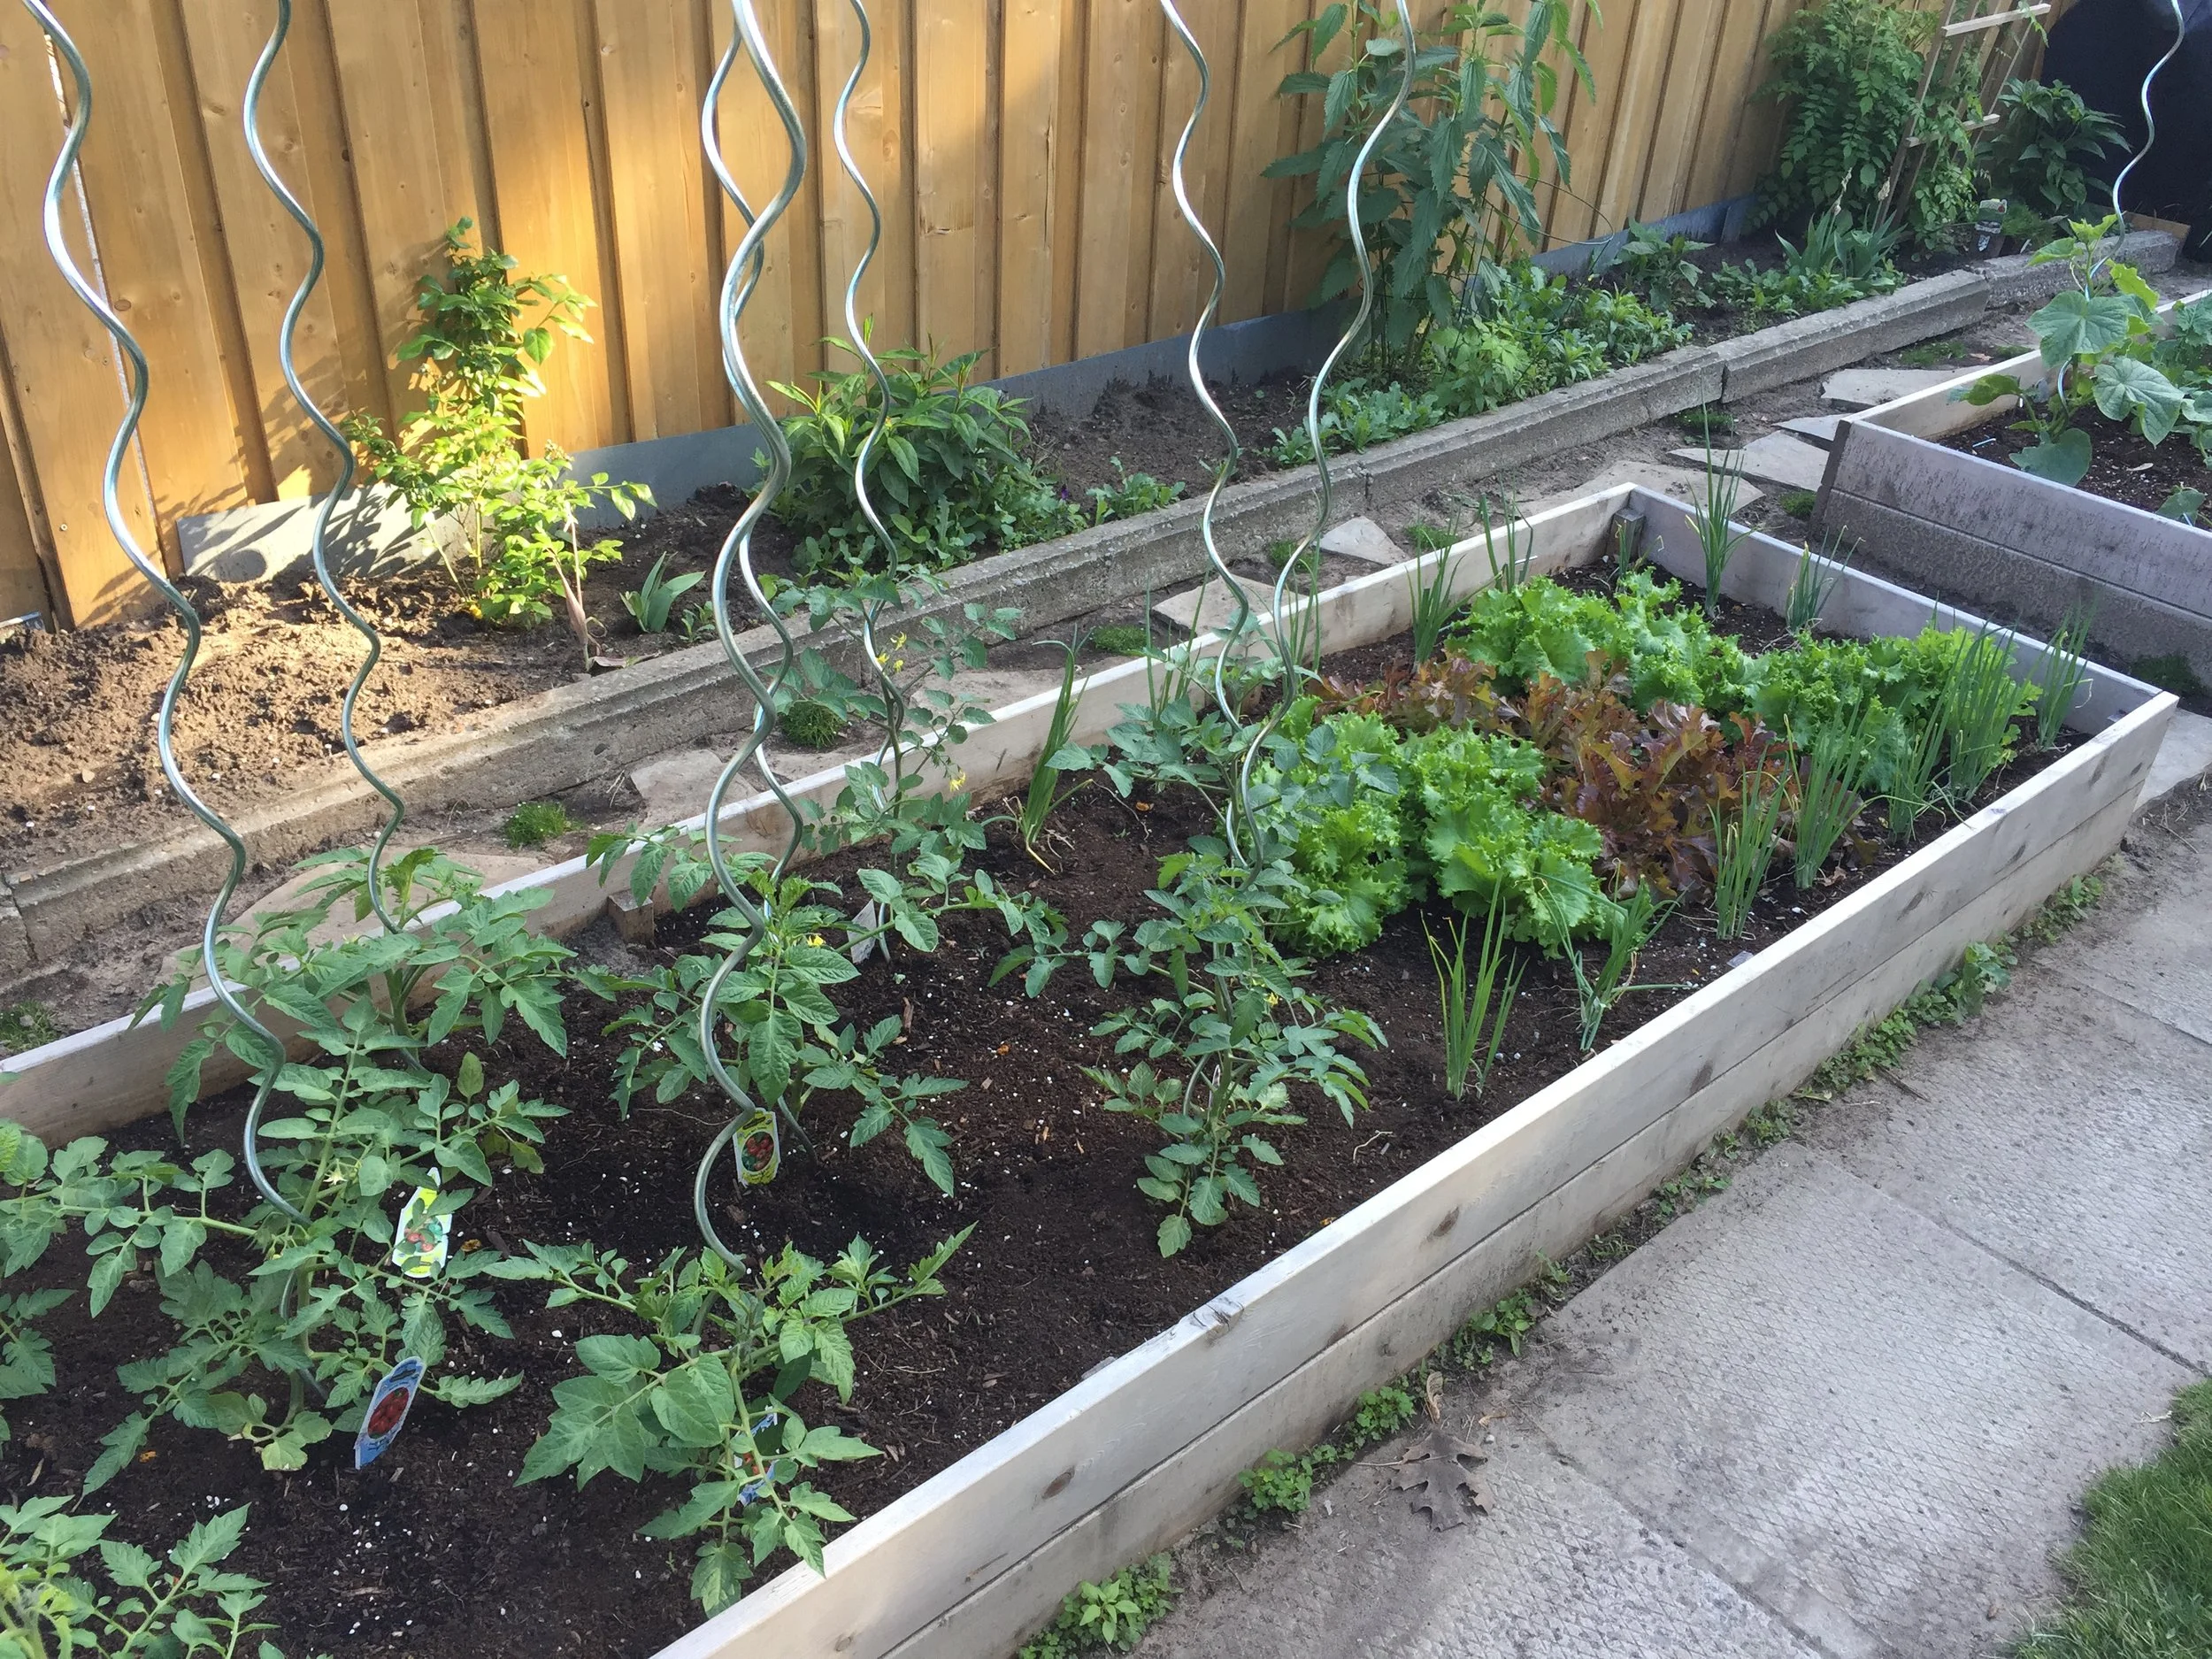
If you like to grow vine plants like Tomatoes or Cucumbers, spiral stakes are a must have. Using a stake for each plant drastically reduces the amount of space each plant takes up and allows for the fruit to hang off the vine avoiding the rot that happens when they sit along the ground.
Once again, these Tomato Spirals were a Lee Valley purchase and cost $24.50 for a set of 5 steel stakes. I have seen similar stakes for $2 at Dollaramma, but would hesitate to buy these, as you never know what type of metal was used. Since these stakes will be in your garden with rain water running over them into your soil, it's important that they don't have any harmful toxins, like lead, used in the production of them.
Note: We tried these for squash last year and found that the weight of the squash was too much and they didn't grow well. Best to allows these heavier veggies to be ground crawlers.
Hope you enjoy these must haves as much as I do. I'll be sure to share some other gardening tips and tricks over the next few weeks.
Good luck with your garden!
- Care
*This is not a sponsored post.

Fifty-Seven Comes to Parkdale! - This Little Piggy
I'm very excited to announce a new collaboration with This Little Piggy.
I'm very excited to announce a new collaboration with This Little Piggy.

Starting in June we will be offering our very popular Infant CPR & Family Safety Workshop to the parents of Parkdale!
This Little Piggy is one of my favourite shops in the city for expectant and young families because they focus on selling tons of amazing local brands. Check it out if you haven't already! They have a great online shop that's easy to use. Plus you can follow their beautiful Instagram feed to see their adorable products and stay up to date on in-store events.

*Don't wait to register! Space is very limited and these workshops always sell out fast. Register Online Here or contact info@fifty-seven.ca or 416.972.9367 for any questions or assistance registering.
Looking forward to meeting lots of local Parkdale families.
Warmly,
- Care
Super Simple, Healthy & Delicious Treats! (Baby, Toddler, Preschooler & Adult Approved!)
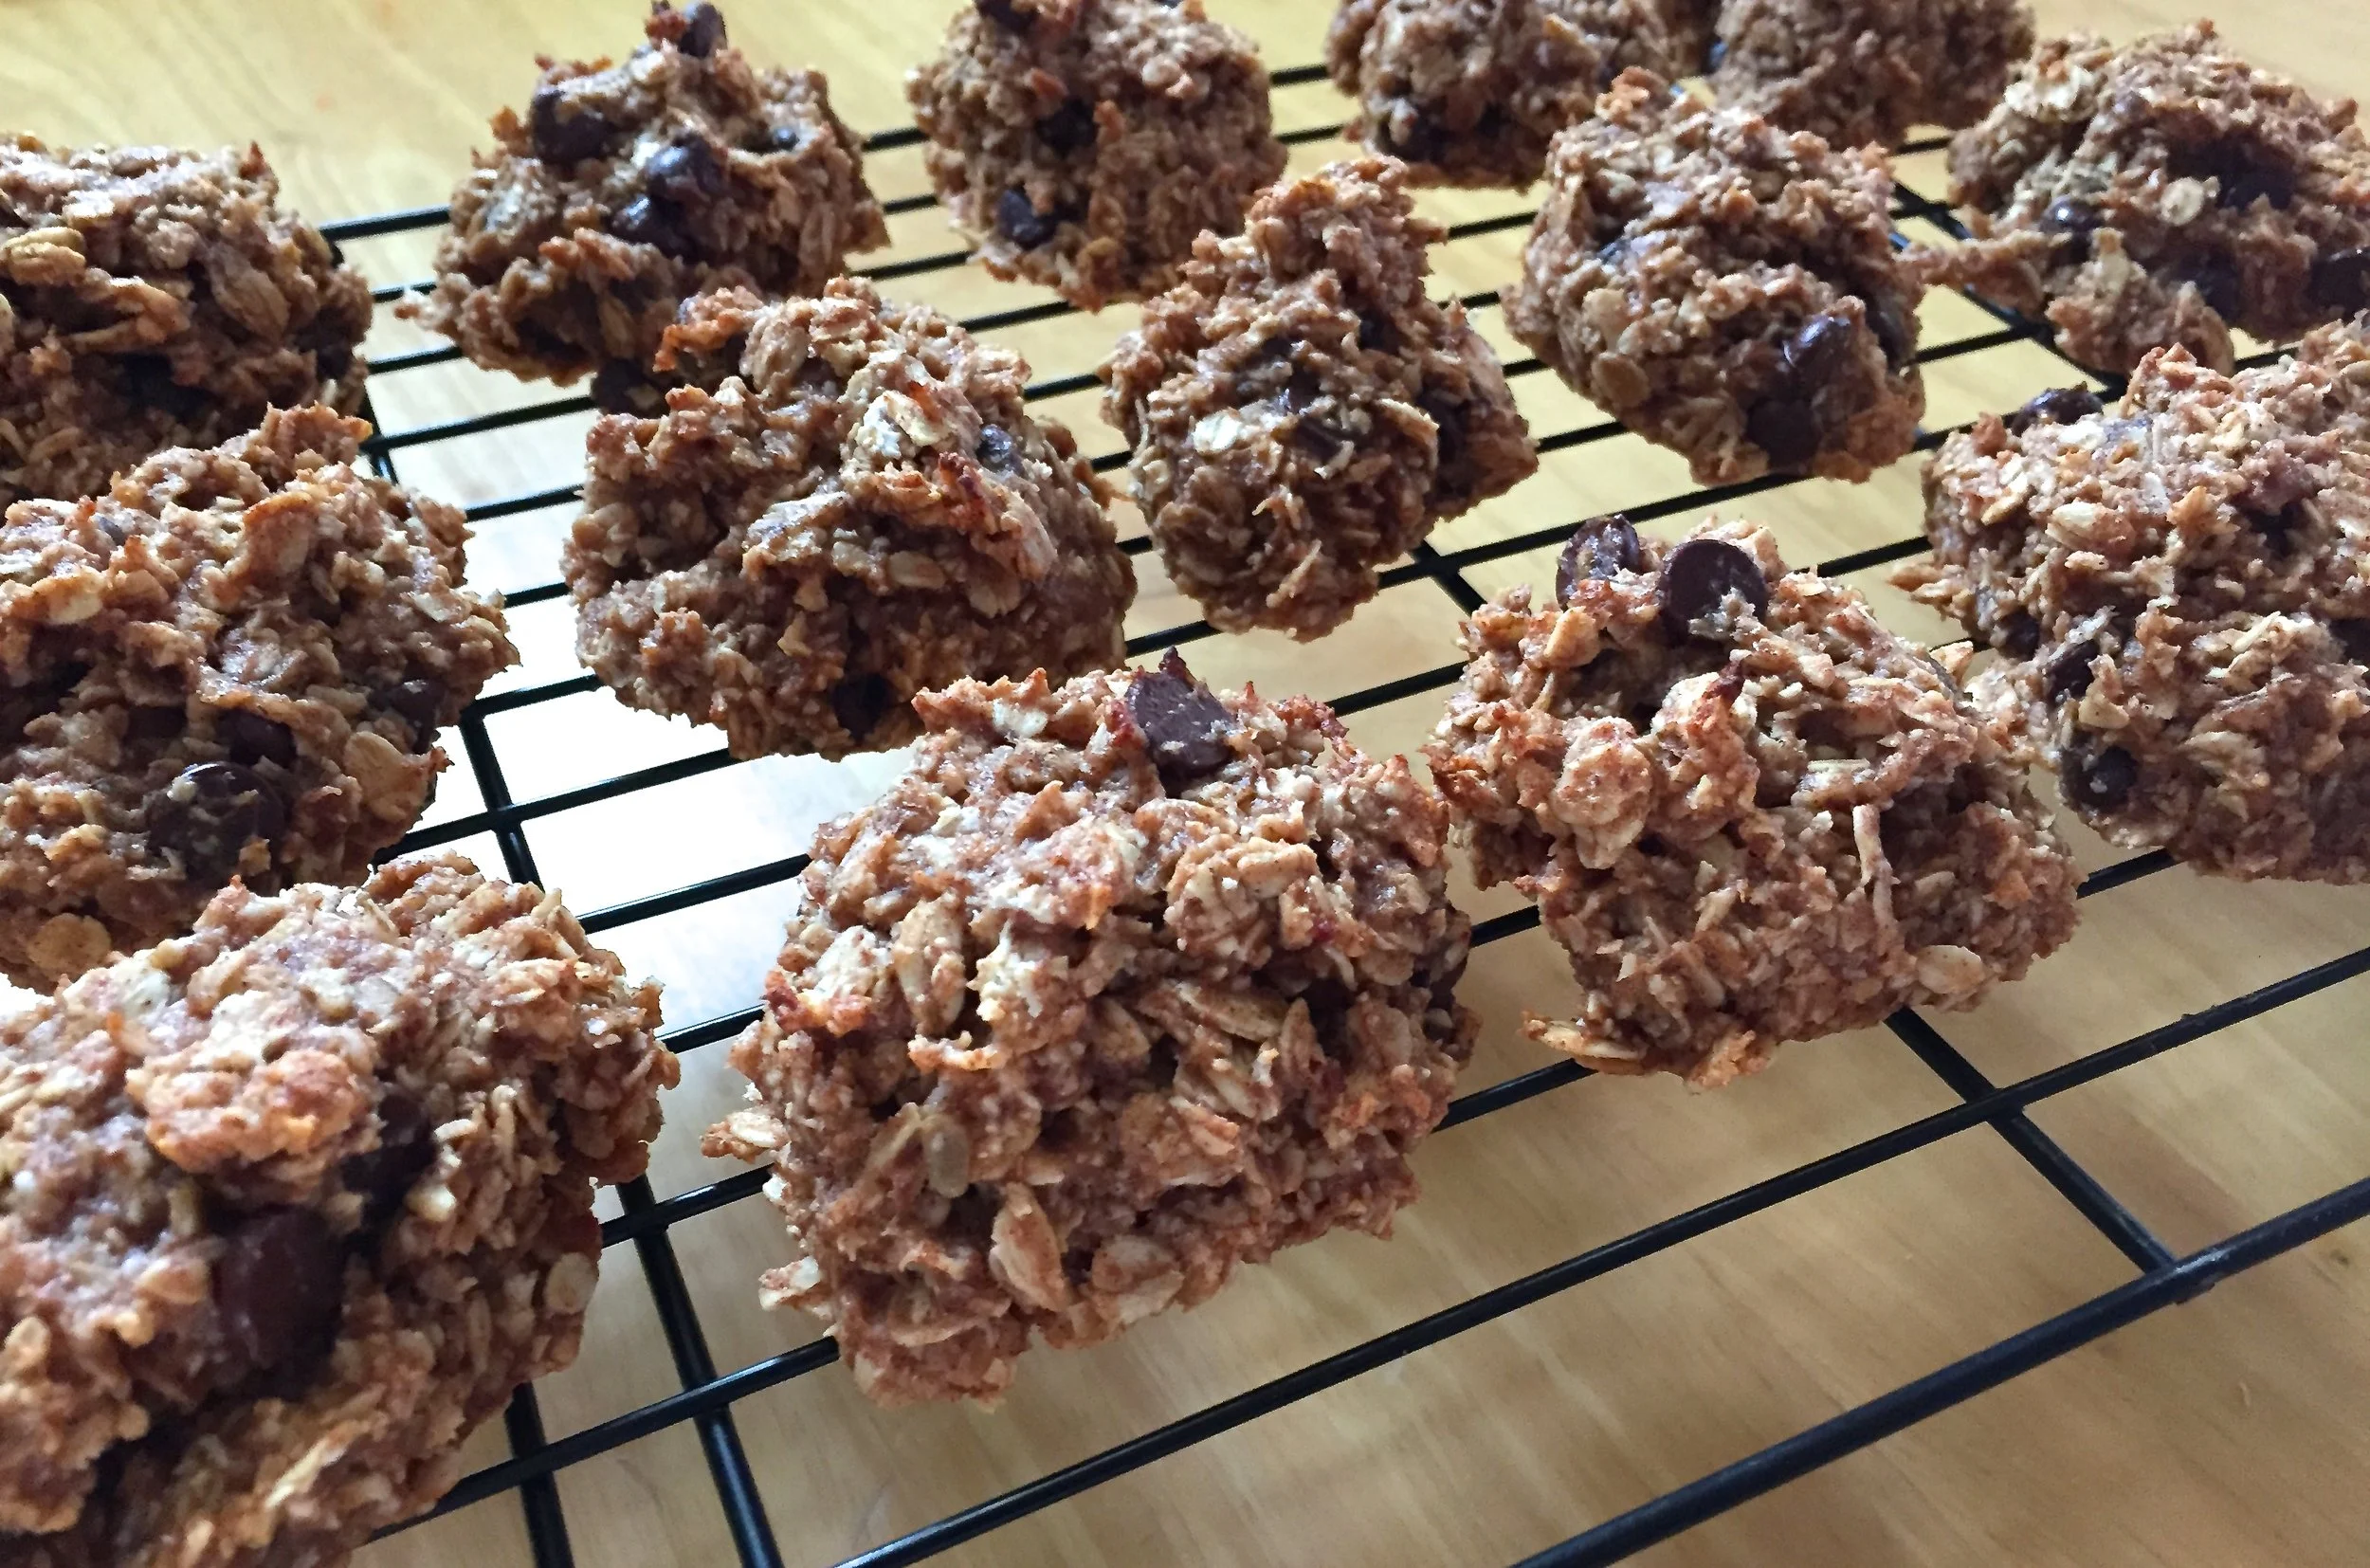
When I find a recipe I love, that's also super simple and healthy, I tend to make it over and over and over again. Well that's exactly what happened with these AMAZING Banana Bread Muffin Tops from Oh She Glows that I was introduced to last week by my good friend Kate (Thanks Kate!). I'm not embarrassed to admit that I have made 5 batches of these in the last week and a half.
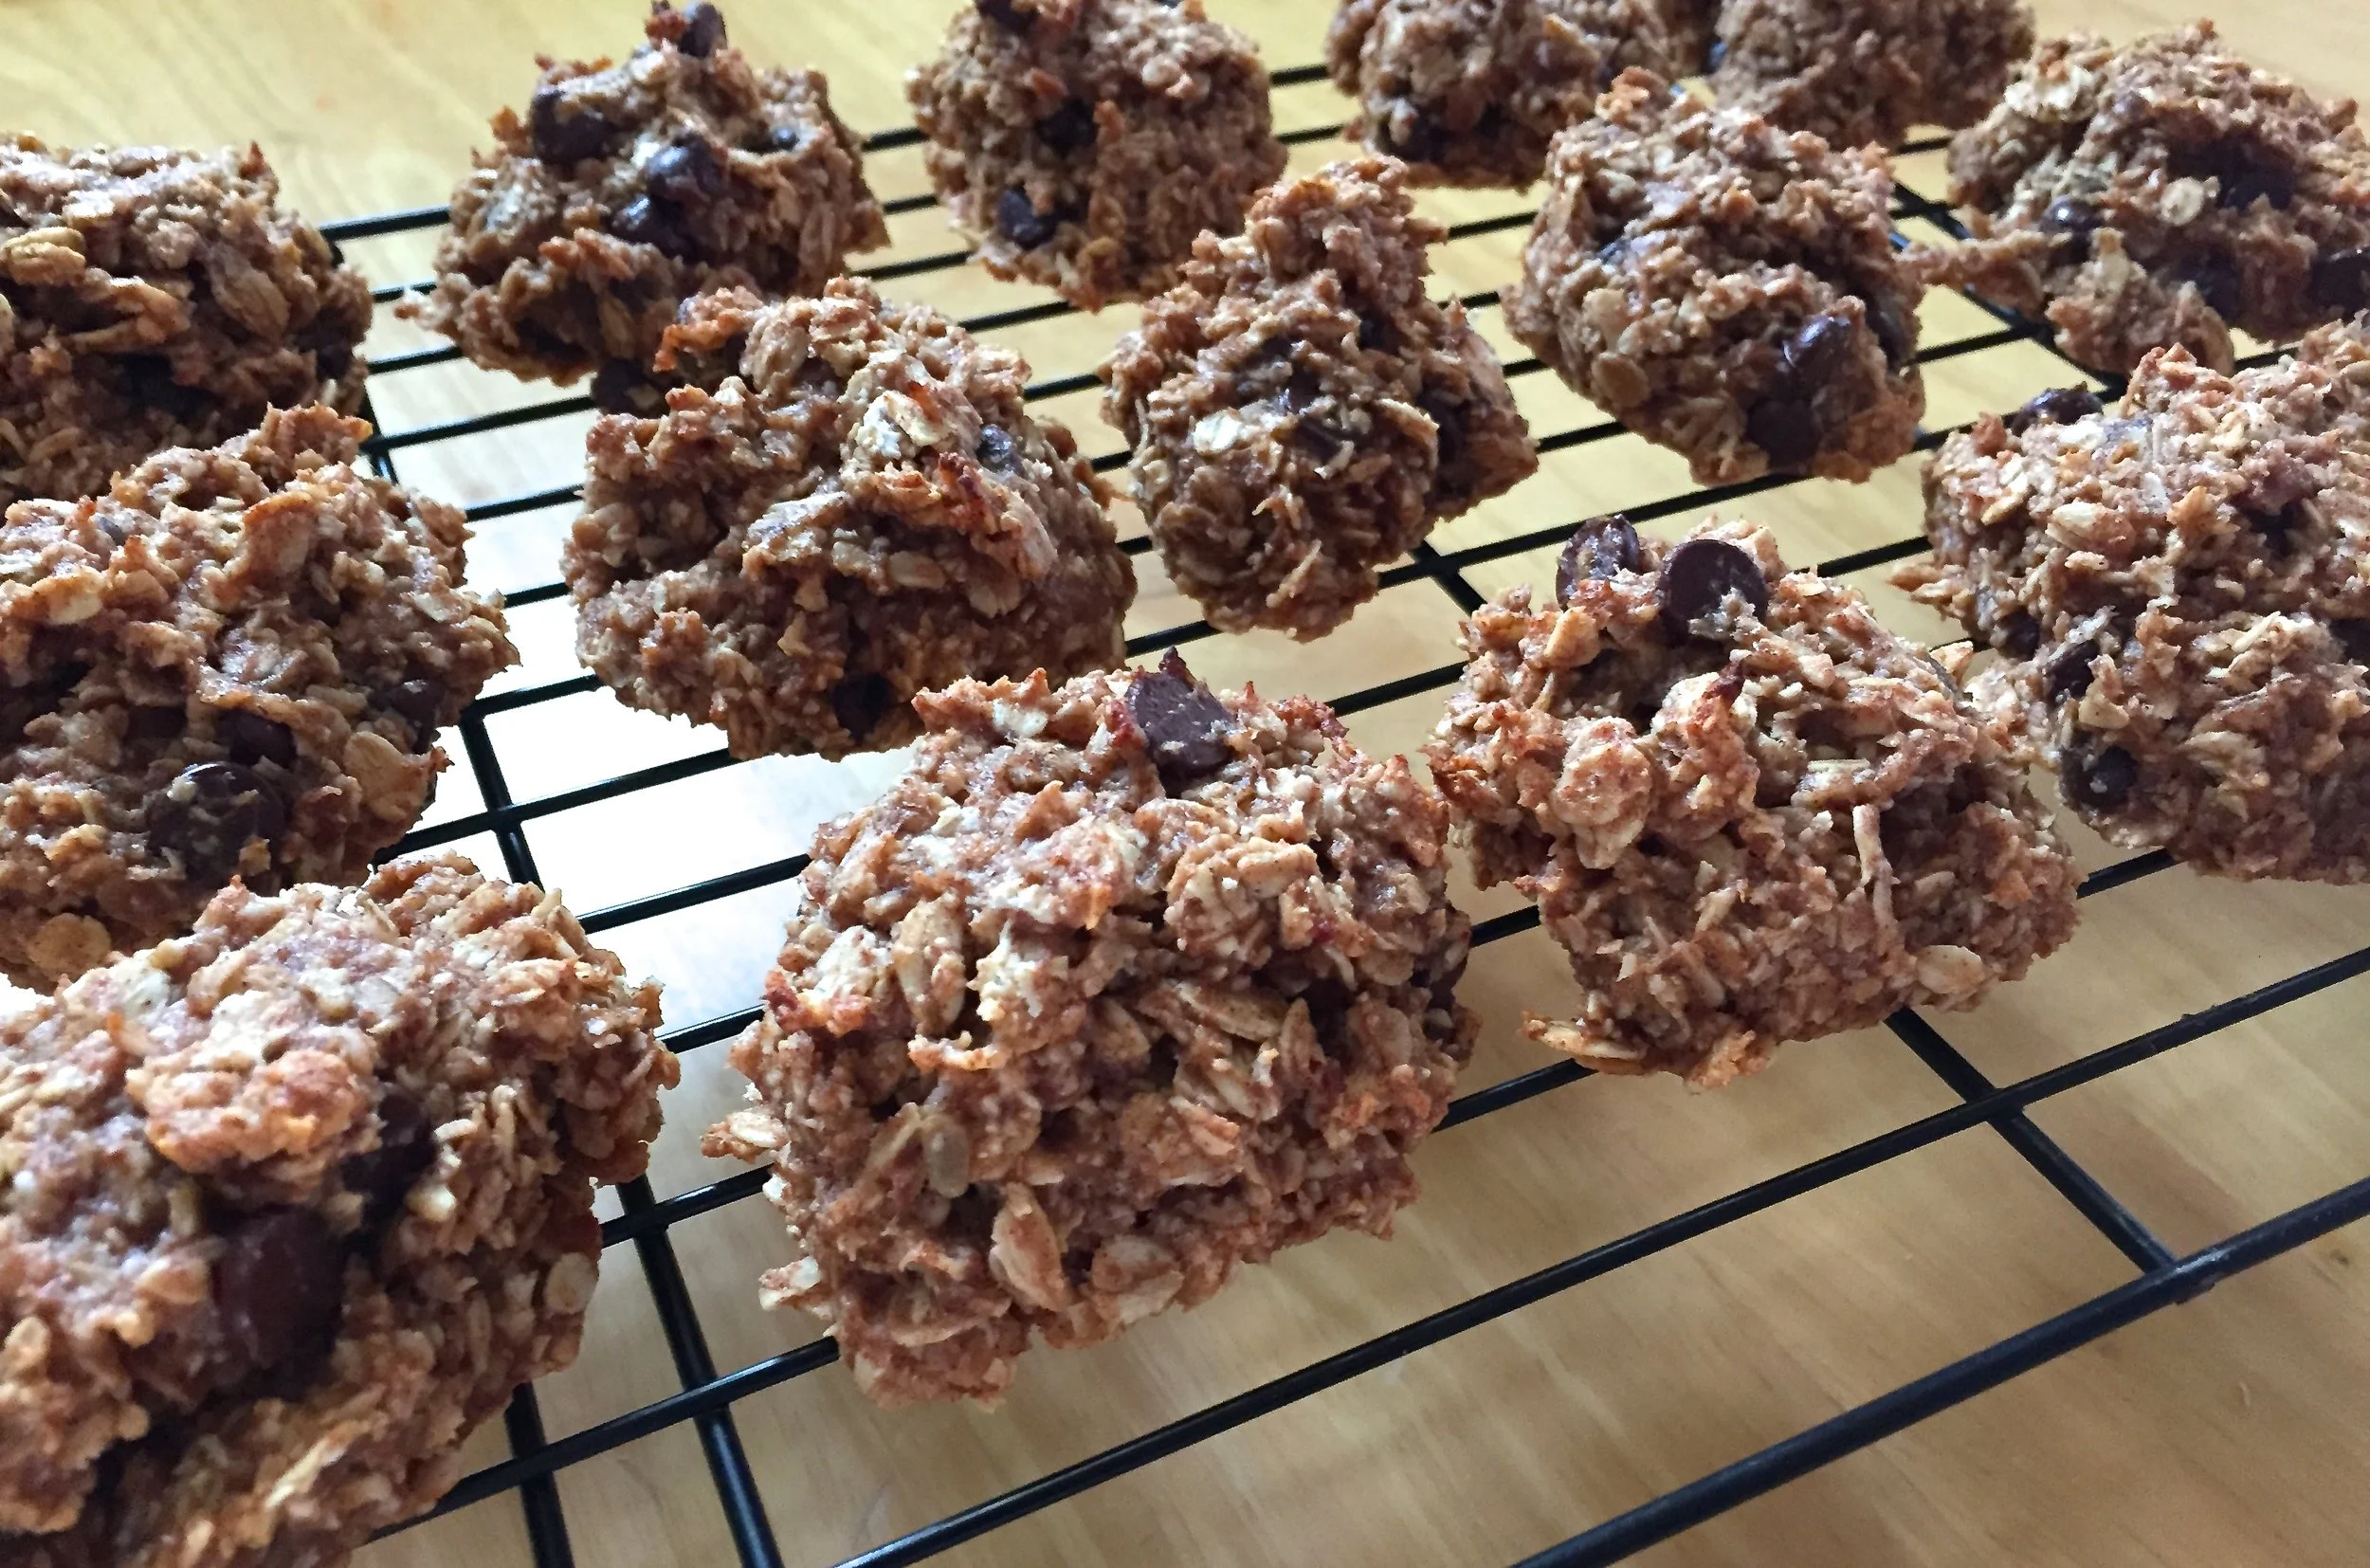
When I find a recipe I love, that's also super simple and healthy, I tend to make it over and over and over again. Well that's exactly what happened with these AMAZING Banana Bread Muffin Tops from Oh She Glows that I was introduced to last week by my good friend Kate (Thanks Kate!). I'm not embarrassed to admit that I have made 5 batches of these in the last week and a half. Everyone who has tried them has loved them. My son even asked for them instead of cake for his birthday this summer. That's definitely a sure sign of yumminess!
The best part about these homemade treats is that they're made out of simple ingredients that many of us have in our pantry and have no refined sugar added! I absolutely love these as a little power packed after school treat (or nap time treat for mommy). Plus they're nut free which is always helpful.
If you haven't checked out Oh She Glows I highly encourage you to do so. The beautiful award winning Canadian food blog is full of delicious healthy recipes and everything I've tried has been amazing!
Hope you and your family love these little treats as much as we do!
Warmly,
Care

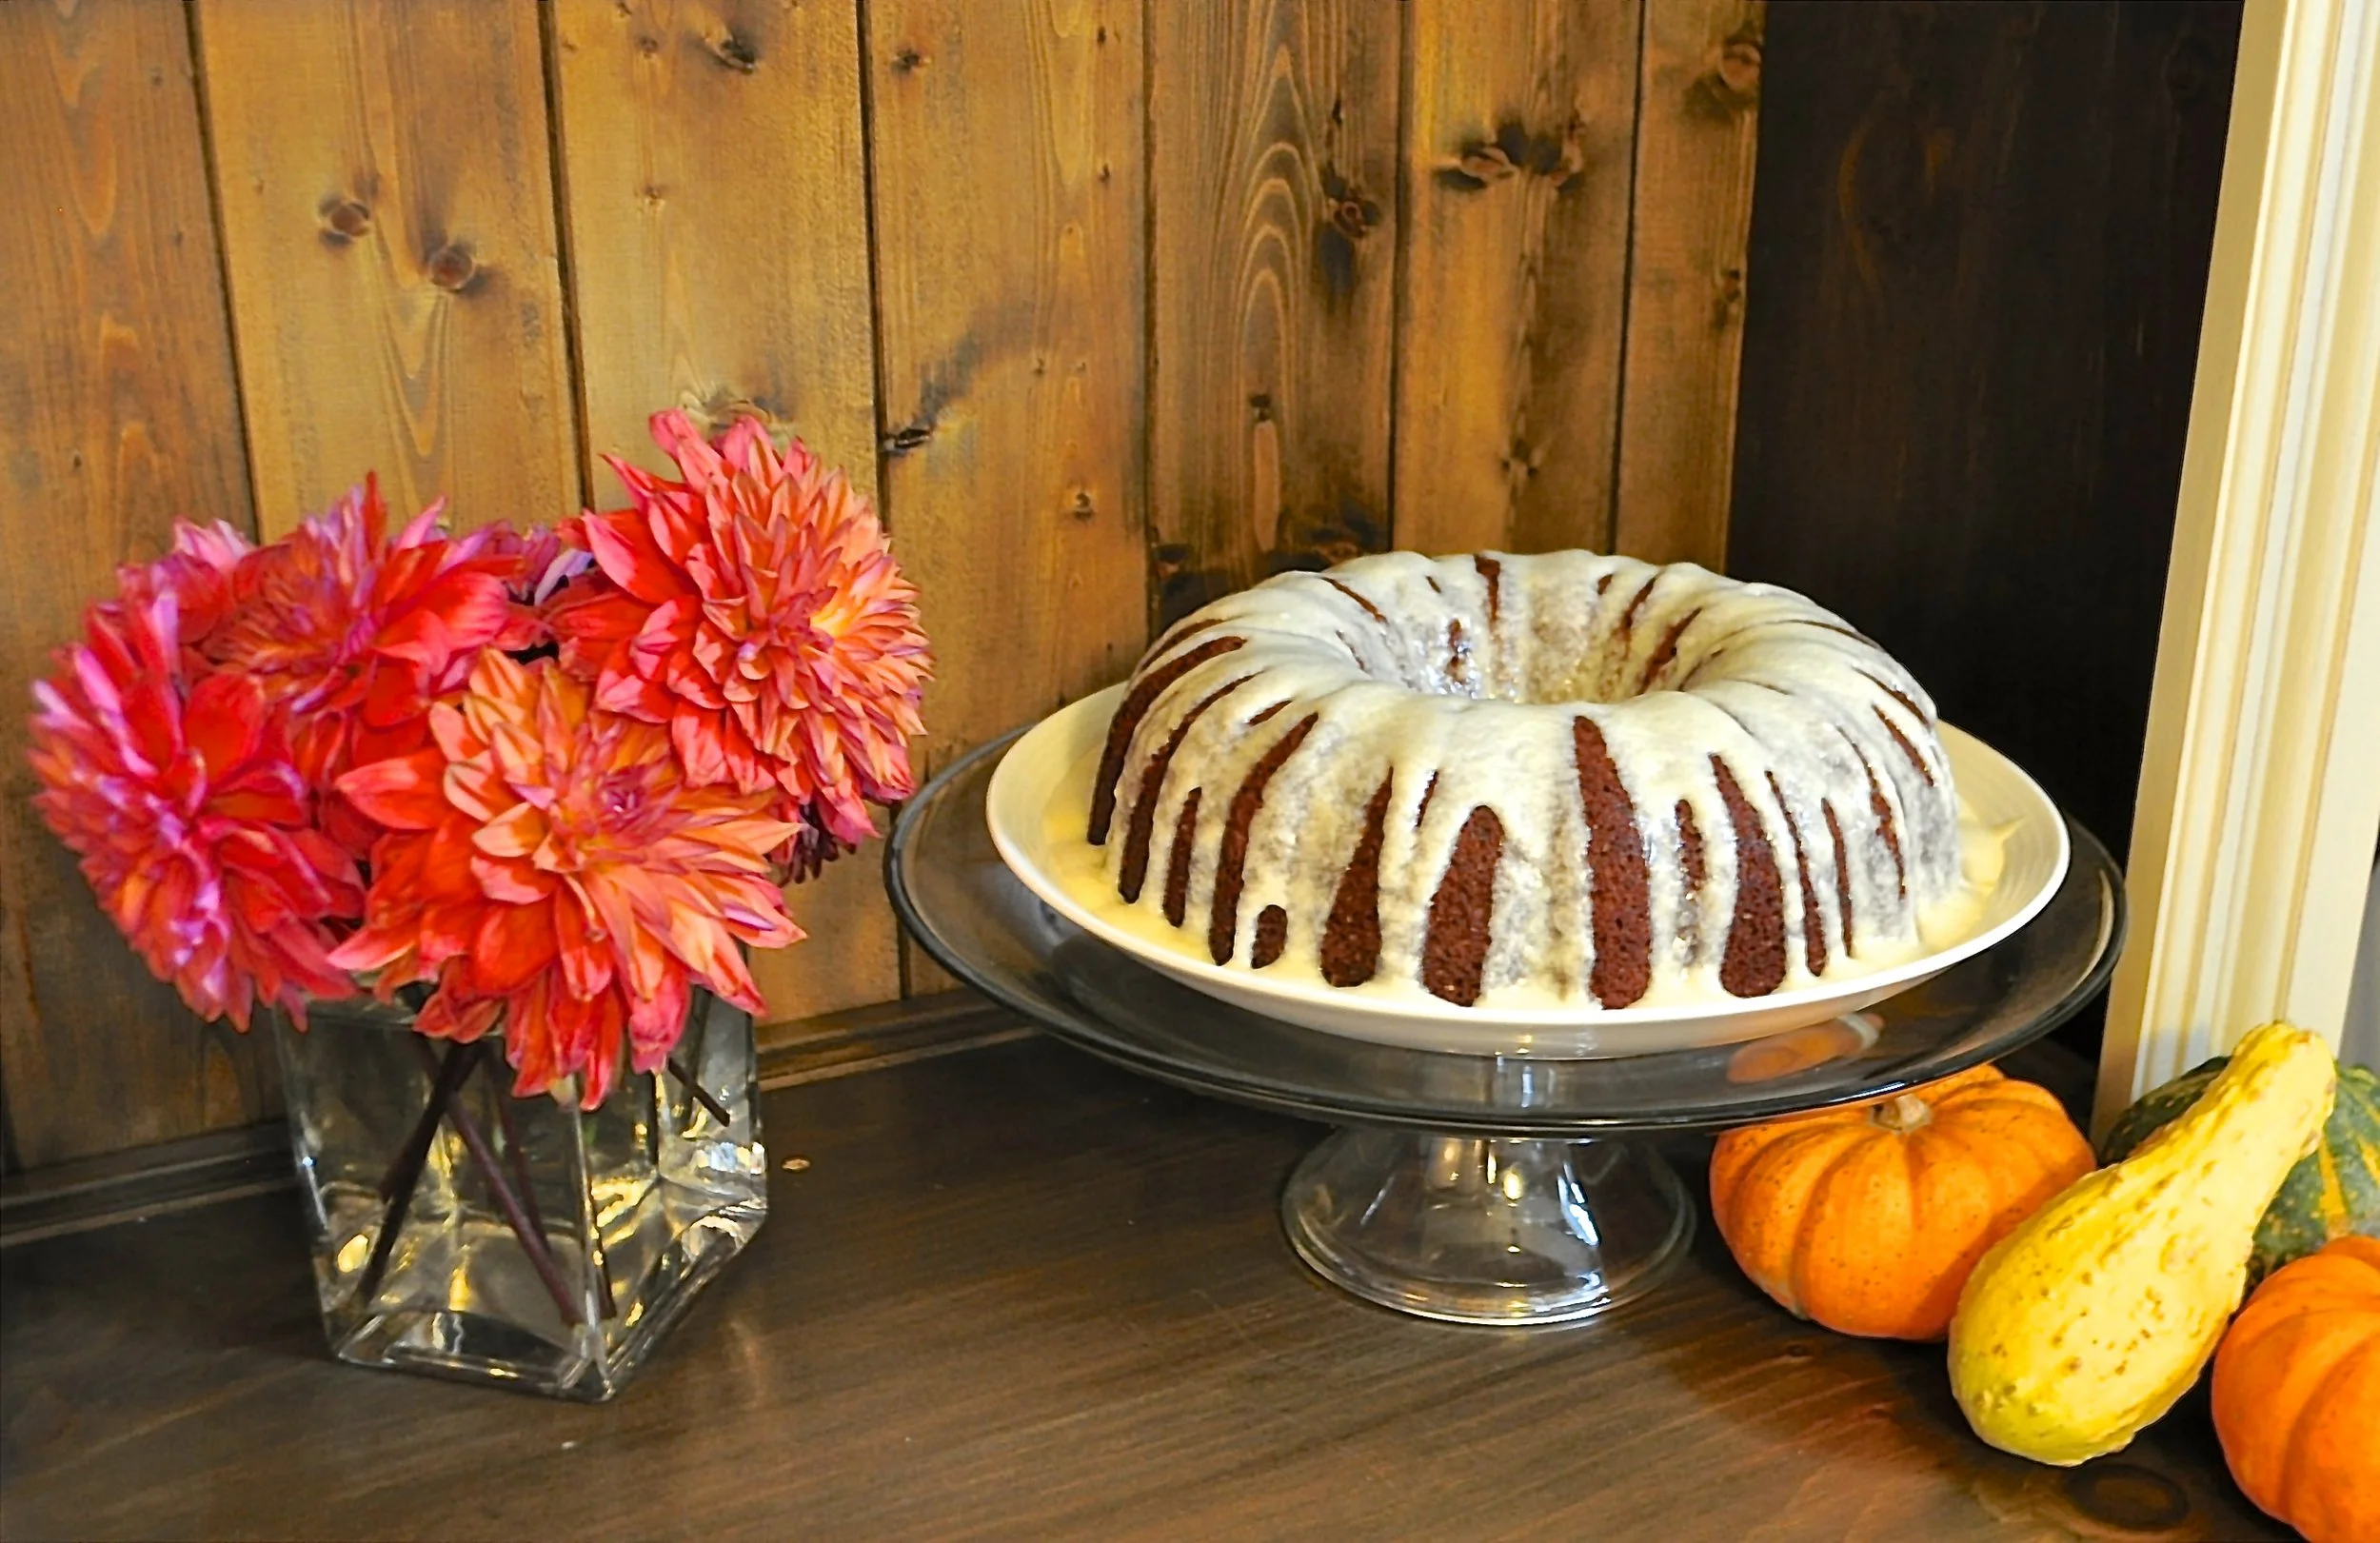
The Groaning Cake - Spiced Apple Cake
At this time of year when delicious local apples are in abundance the Groaning cake is the perfect dessert. This spiced apple cake is a traditional "birth" cake, hence the name.
The customs surrounding the history of the Groaning cake are different around the world...
At this time of year when delicious local apples are in abundance the Groaning cake is the perfect dessert. This spiced apple cake is a traditional "birth" cake, hence the name.
The customs surrounding the history of the Groaning cake are different around the world. In some cultures the Groaning cake was baked by women in early labour to pass the time. In other areas the cake was made by friends and family and brought to the woman as a gift. Either way the cake is intended to provide the postpartum mother with a delicious treat that has some good sources of energy, healthy fats, iron, fibre & immune boosters.
The combination of honey, coconut oil, molasses, whole grains, fruit & spices is really incredible. You can leave the cake bare (more like a loaf) or you can add a simple vanilla glaze, cream cheese frosting, or dust with powdered sugar. As an avid hater of cream cheese frosting, I refuse to ruin this beautiful cake with it, but others assure me it's a great combo. My husband is a cream cheese frosting lover and says I ruin it for everyone. Good thing I'm the baker in the house ;)
I make this cake for the final class in my 4-week prenatal class series as a little graduation treat and the parents always love it. If you've got some apples laying around give this one a try. I'm sure you won't be disappointed. Also a great gift for a new family in their early days postpartum.
Enjoy!
- Carolyn
The Groaning Cake
Ingredients
- 2 1/2 cups whole wheat or spelt flour
- 2 tsp. baking powder
- 1 tsp. baking soda
- 2 tsp. cinnamon
- 1/2 tsp. ground cloves
- 1 1/2 cups peeled grated apple
- 3 eggs
- 1/2 cup coconut oil
- 1/2 cup orange juice
- 1 tsp. grated orange zest
- 1/4 cup black strap molasses
- 1 cup honey or alternative sweetener
- 1 tsp. pure vanilla extract
- 1/4 cup dried fruit or chopped nuts optional
- Cream cheese or vanilla icing optional or dust with powdered sugar
Instructions
- Heat oven to 350 with rack in middle of oven
- Lightly grease pan (bundt pan, two 9x5 loaf pans or two standard size muffin pans)
- Combine the flour, baking powder, baking soda, cinnamon & ground cloves in a large bowl. Stir in grated apple (and any dried fruit or nuts) and set aside.
- In a separate bowl lightly beat the eggs & add oil, orange juice, orange zest, molasses, honey & vanilla.
- Pour wet ingredients into dry ingredients & mix well.
- Scrape into prepared pan & bake until toothpick inserted in the center comes out clean ~20-25 mins for muffins, ~30-40 mins for loaves & ~40-50 mins for bundt cake.
- Cool in pan for 10-15 mins, then invert onto wire rack & cool completely before storing in an airtight container for up to 3 days or freeze to enjoy later.