

Have A Bump Or A Baby? Don't Miss The Bump To Baby Show 2017!
Spring is here and that means it's baby show season! With so many shows and so little time, it can be tough to decide which ones make the cut. If you want to skip the huge crowds, long line ups and over zealous vendors, you need to check out The Bump to Baby Show.
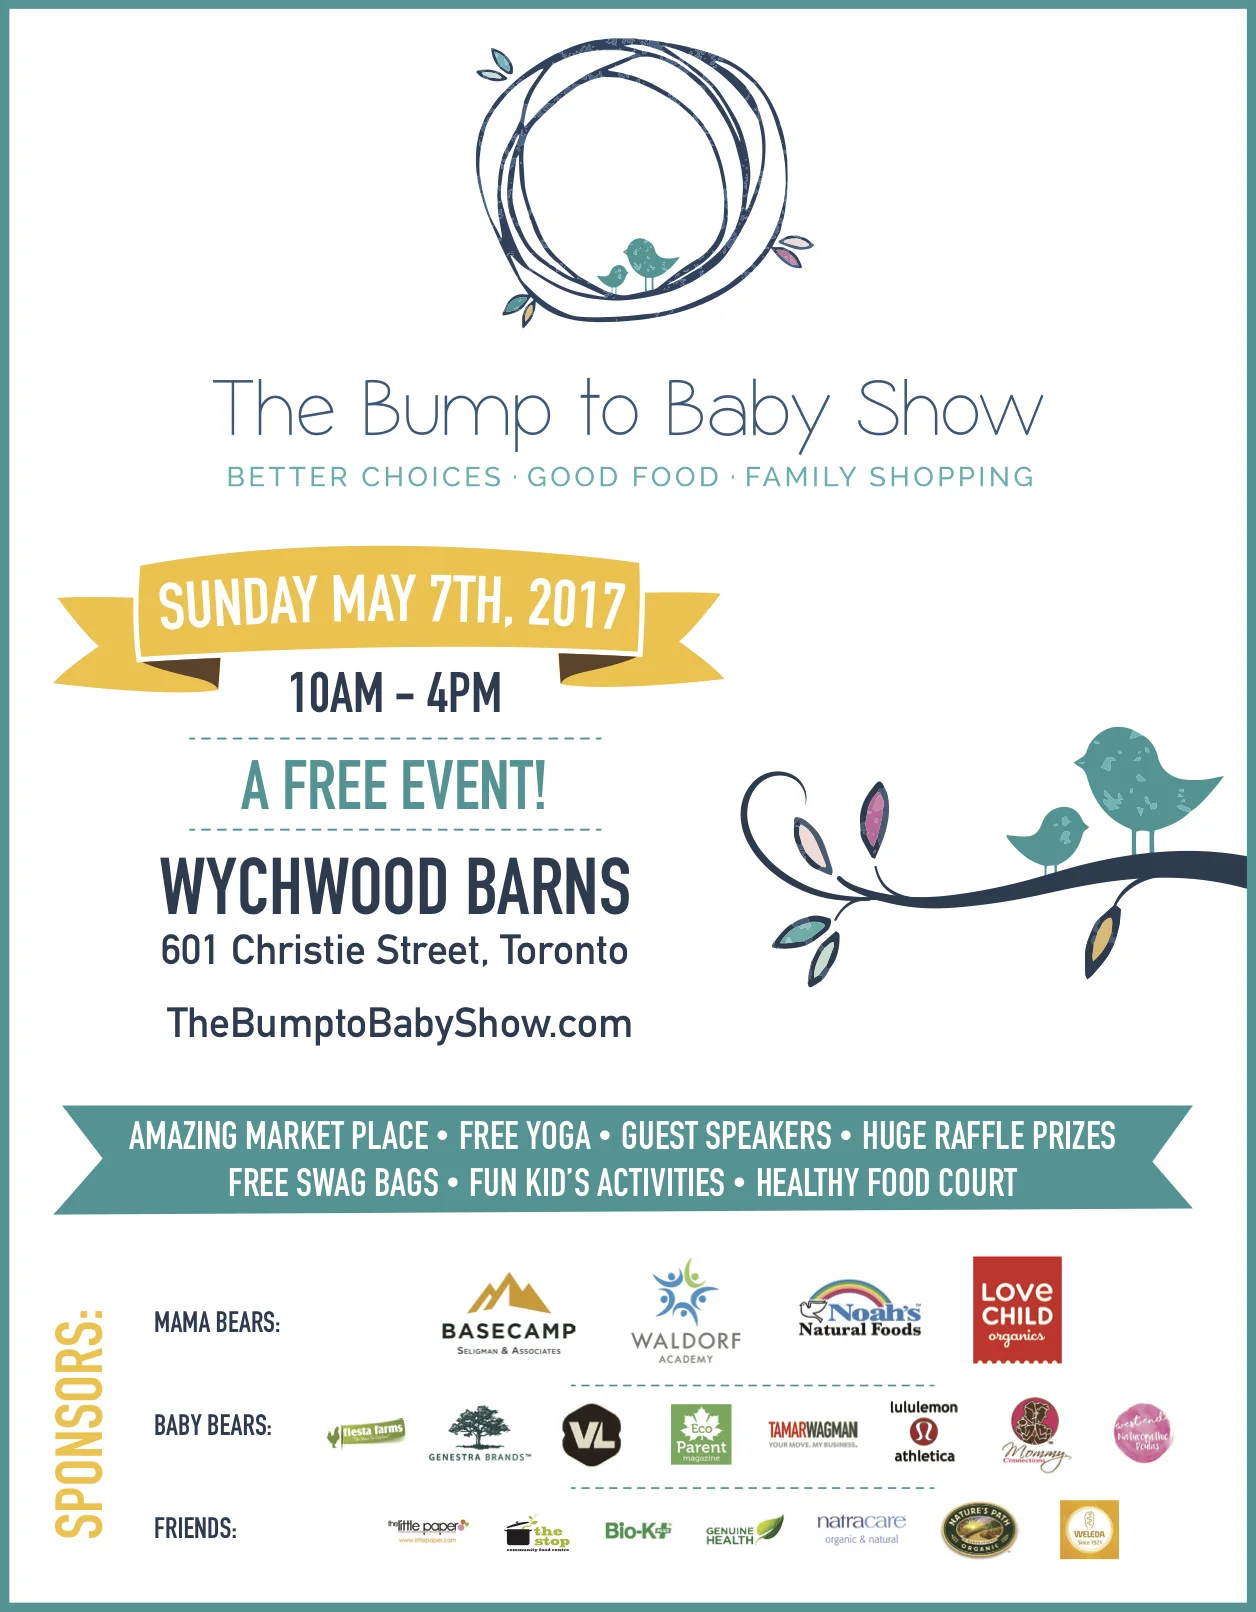
Spring is here and that means it's baby show season! With so many shows and so little time, it can be tough to decide which ones make the cut. If you want to skip the huge crowds, long line ups and over zealous vendors, you need to check out The Bump to Baby Show. This highly curated event held at the beautiful Wychwood Barns brings together the best vendors from around our city, all with a focus on helping parents make healthy choices for their families. Plus it's FREE!! You can't get much better than that.
In addition to an amazing marketplace (*Full List of 60 Marketplace Vendors) the show has expert speakers and fun family friendly events. I am so honoured to be one of the speakers at the show, alongside my amazing colleague Taya Griffin (Lactation Consultant) & Joy McCarthy of Joyous Health.
Attendees can check out a Prenatal Yoga Class with & She Moves (pre-registered event), a Family Yoga Class with Spynga, a fun Puppet Show with The Waldorf Academy, as well as a music class for kids ages 0-4 years with Music Together. Check out the Play & Learn page for full schedule, details and registration.
The Bump to Baby Show is like no other in the city. So if you're expecting a little one, or have a young family, don't forget to add this amazing event to your calendar.
Hope to see you on May 7th between 10am and 4pm for the family friendly baby show you can't miss.
Care
5 Favourite Signs for Mealtime with Baby
Baby sign language is a great way to increase communication with your baby before oral language skills are developed. I love using sign language with our babies and have found it hugely helpful in reducing frustration in their non-verbal days.
Baby sign language is a great way to increase communication with your baby before oral language skills are developed. I love using sign language with our babies and have found it hugely helpful in reducing frustration in their non-verbal days.
I often get asked when we started signing, and how we developed and added to our repertoire over time. I'll be sharing more about our journey with Baby Sign Language over the next few months, but for now I thought I would share a few of our favourite signs for mealtime.
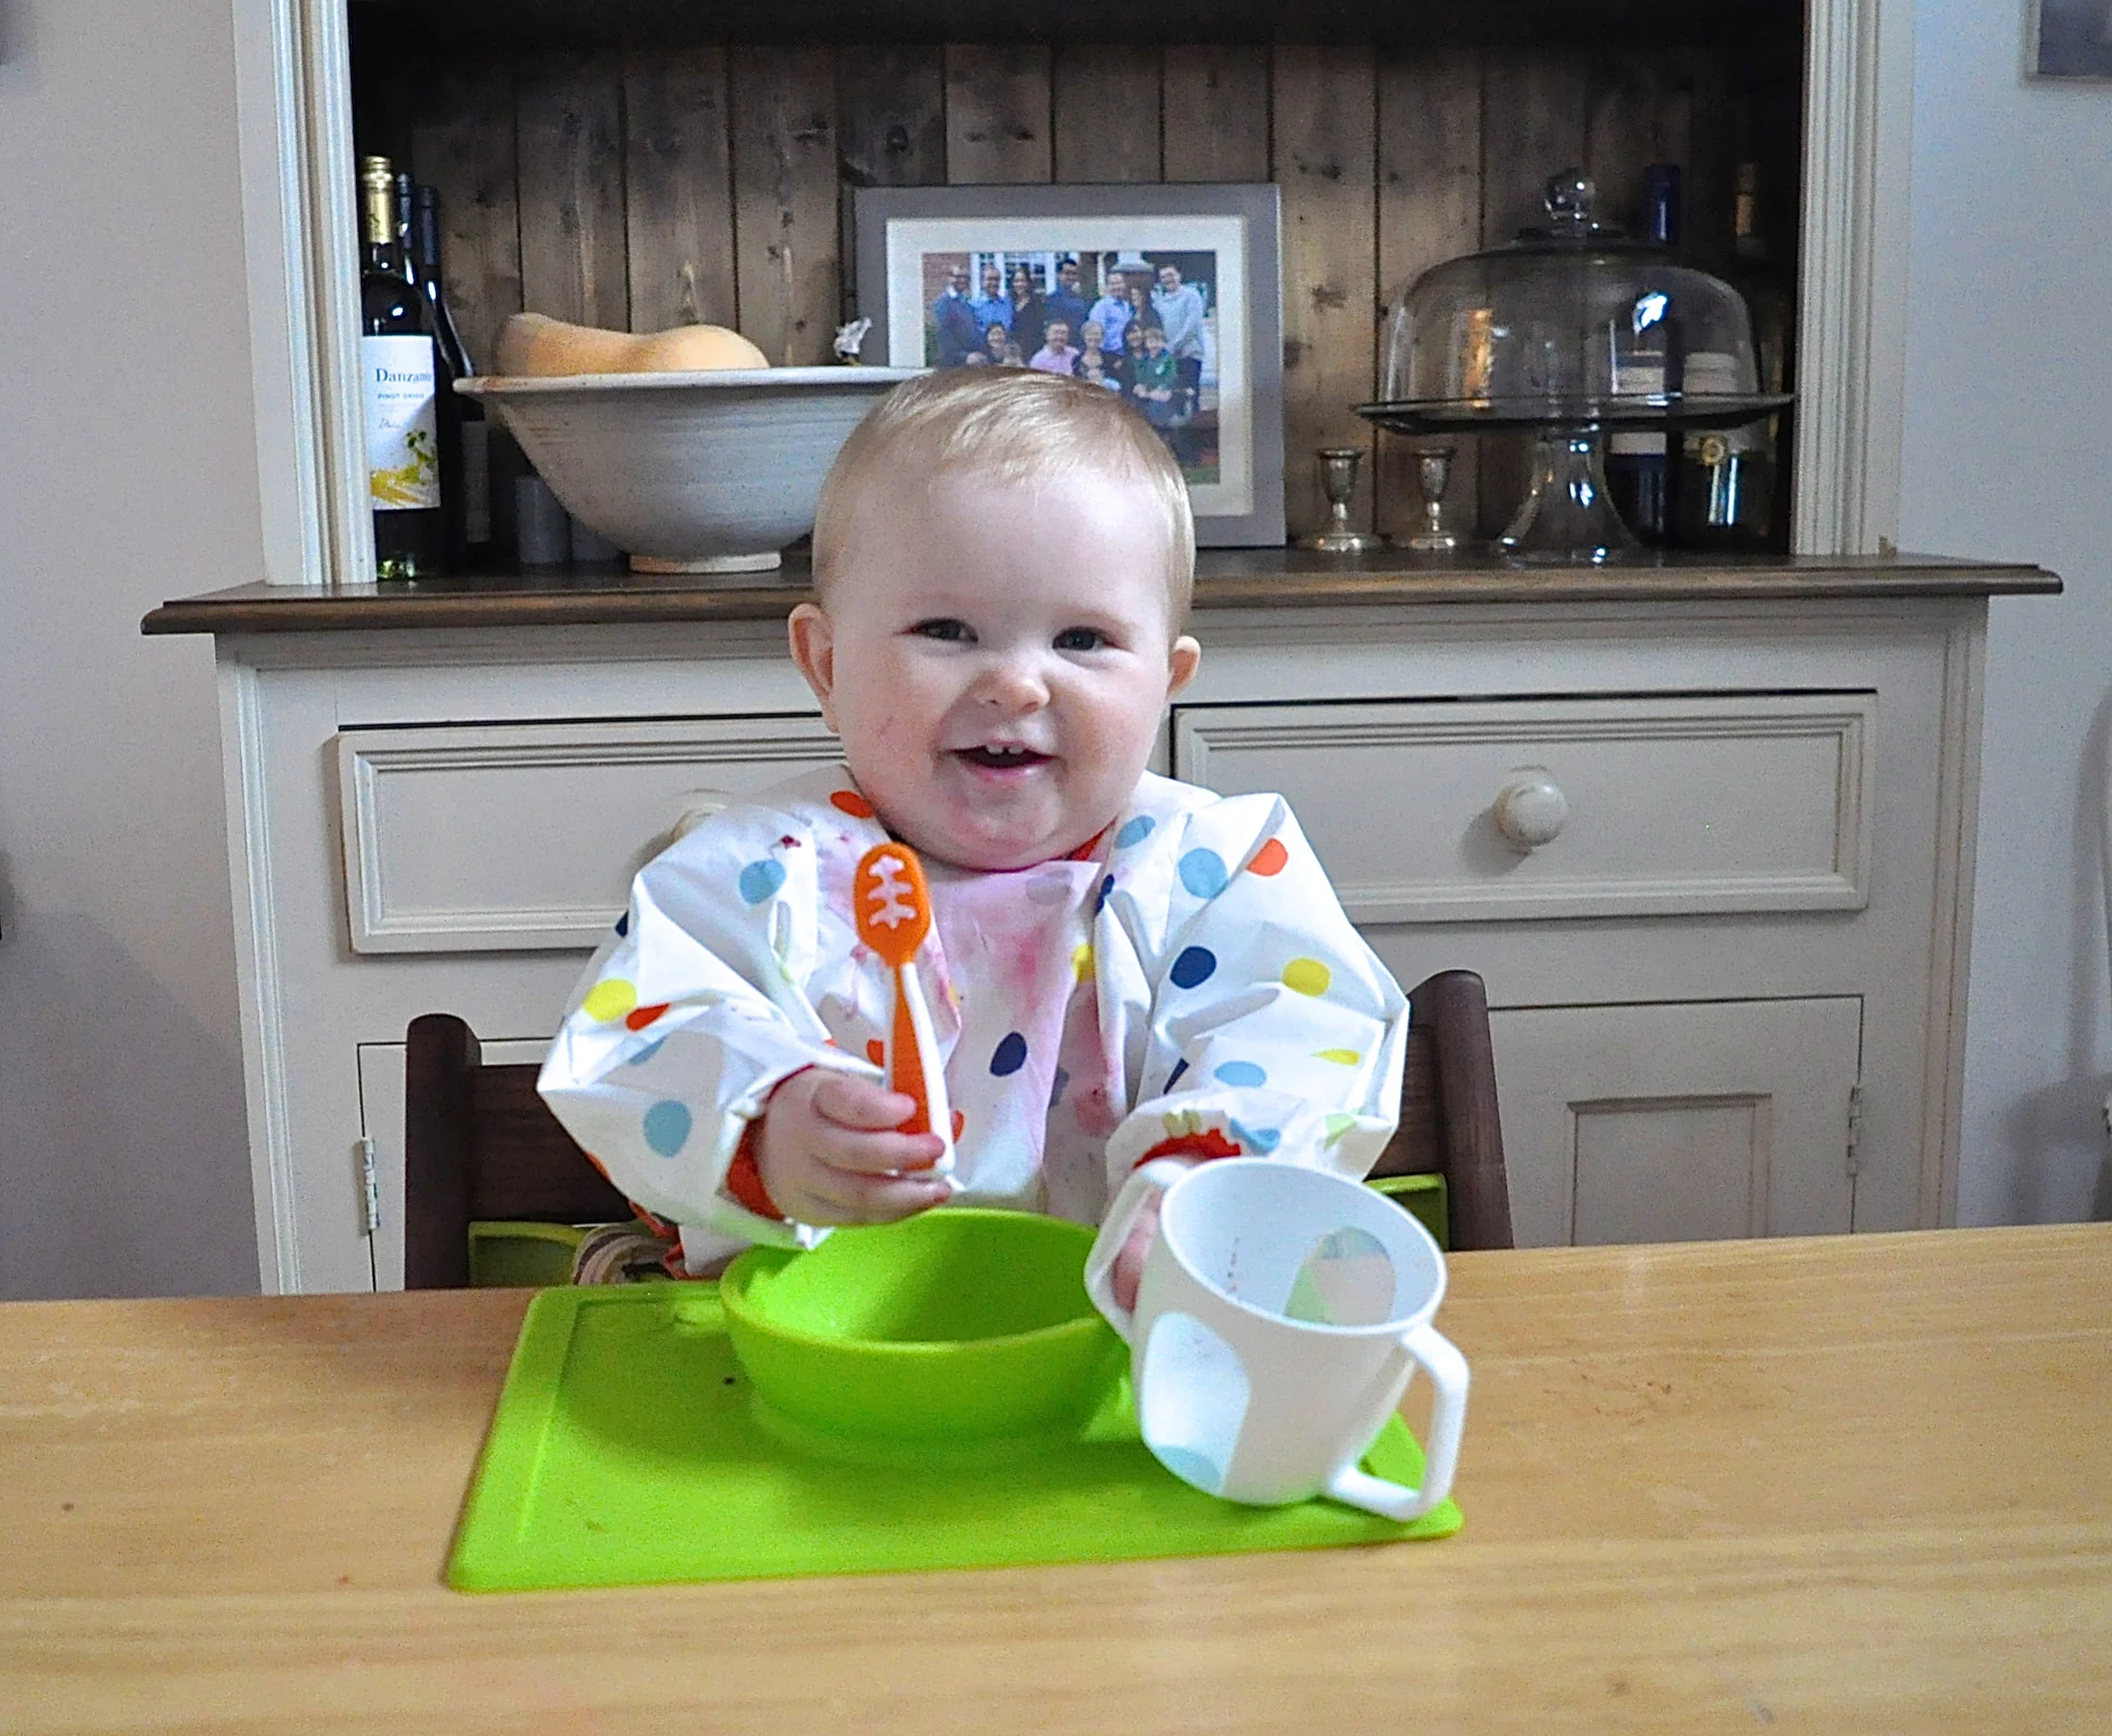
One of the ways that we naturally increased our sign language vocabulary was adding signs as we encountered new situations or started new routines for our babies. Starting Solids is a great time to introduce basic signs like food and drink, as well as signs that help baby tell us that they want more, or have had enough. These signs are especially important so we can ensure that we are always listening to our baby, and giving them full control over what, and how much, they eat.
Watch this video of Penny to see one of our favourite Baby Led Feeding Breakfasts. Plus learn 5 of our Favourite Signs for Mealtime with Baby.

To learn more Subscribe to my YouTube Channel (more videos to come soon!) and check out my Starting Solids Workshops. Don't hesitate to contact me if you need any help registering, or have questions about group or private sessions. Have fun signing!
Care
*This post is not sponsored.
Simple No Knead Artisan Bread
I often yearn for fresh baked bread as the fall weather settles in and we start making more soups, stews and warm hearty meals. My mom introduced me to Artisan bread baking years ago when I was in university, but at the time I didn't truly appreciate how amazing and easy the method was.

I often yearn for fresh baked bread as the fall weather settles in and we start making more soups, stews and warm hearty meals. My mom introduced me to Artisan bread baking years ago when I was in university, but at the time I didn't truly appreciate how amazing and easy the method was. Last week a fellow babywearing Instagram mom of 3 @ellerowley (owner of Sollybaby Wraps) shared her favourite simple artisan bread recipe and it peaked my interest. I had to try it. **Please note: the original recipe used is no longer available. Here is a similar 4 ingredient no-knead artisan bread recipe version.
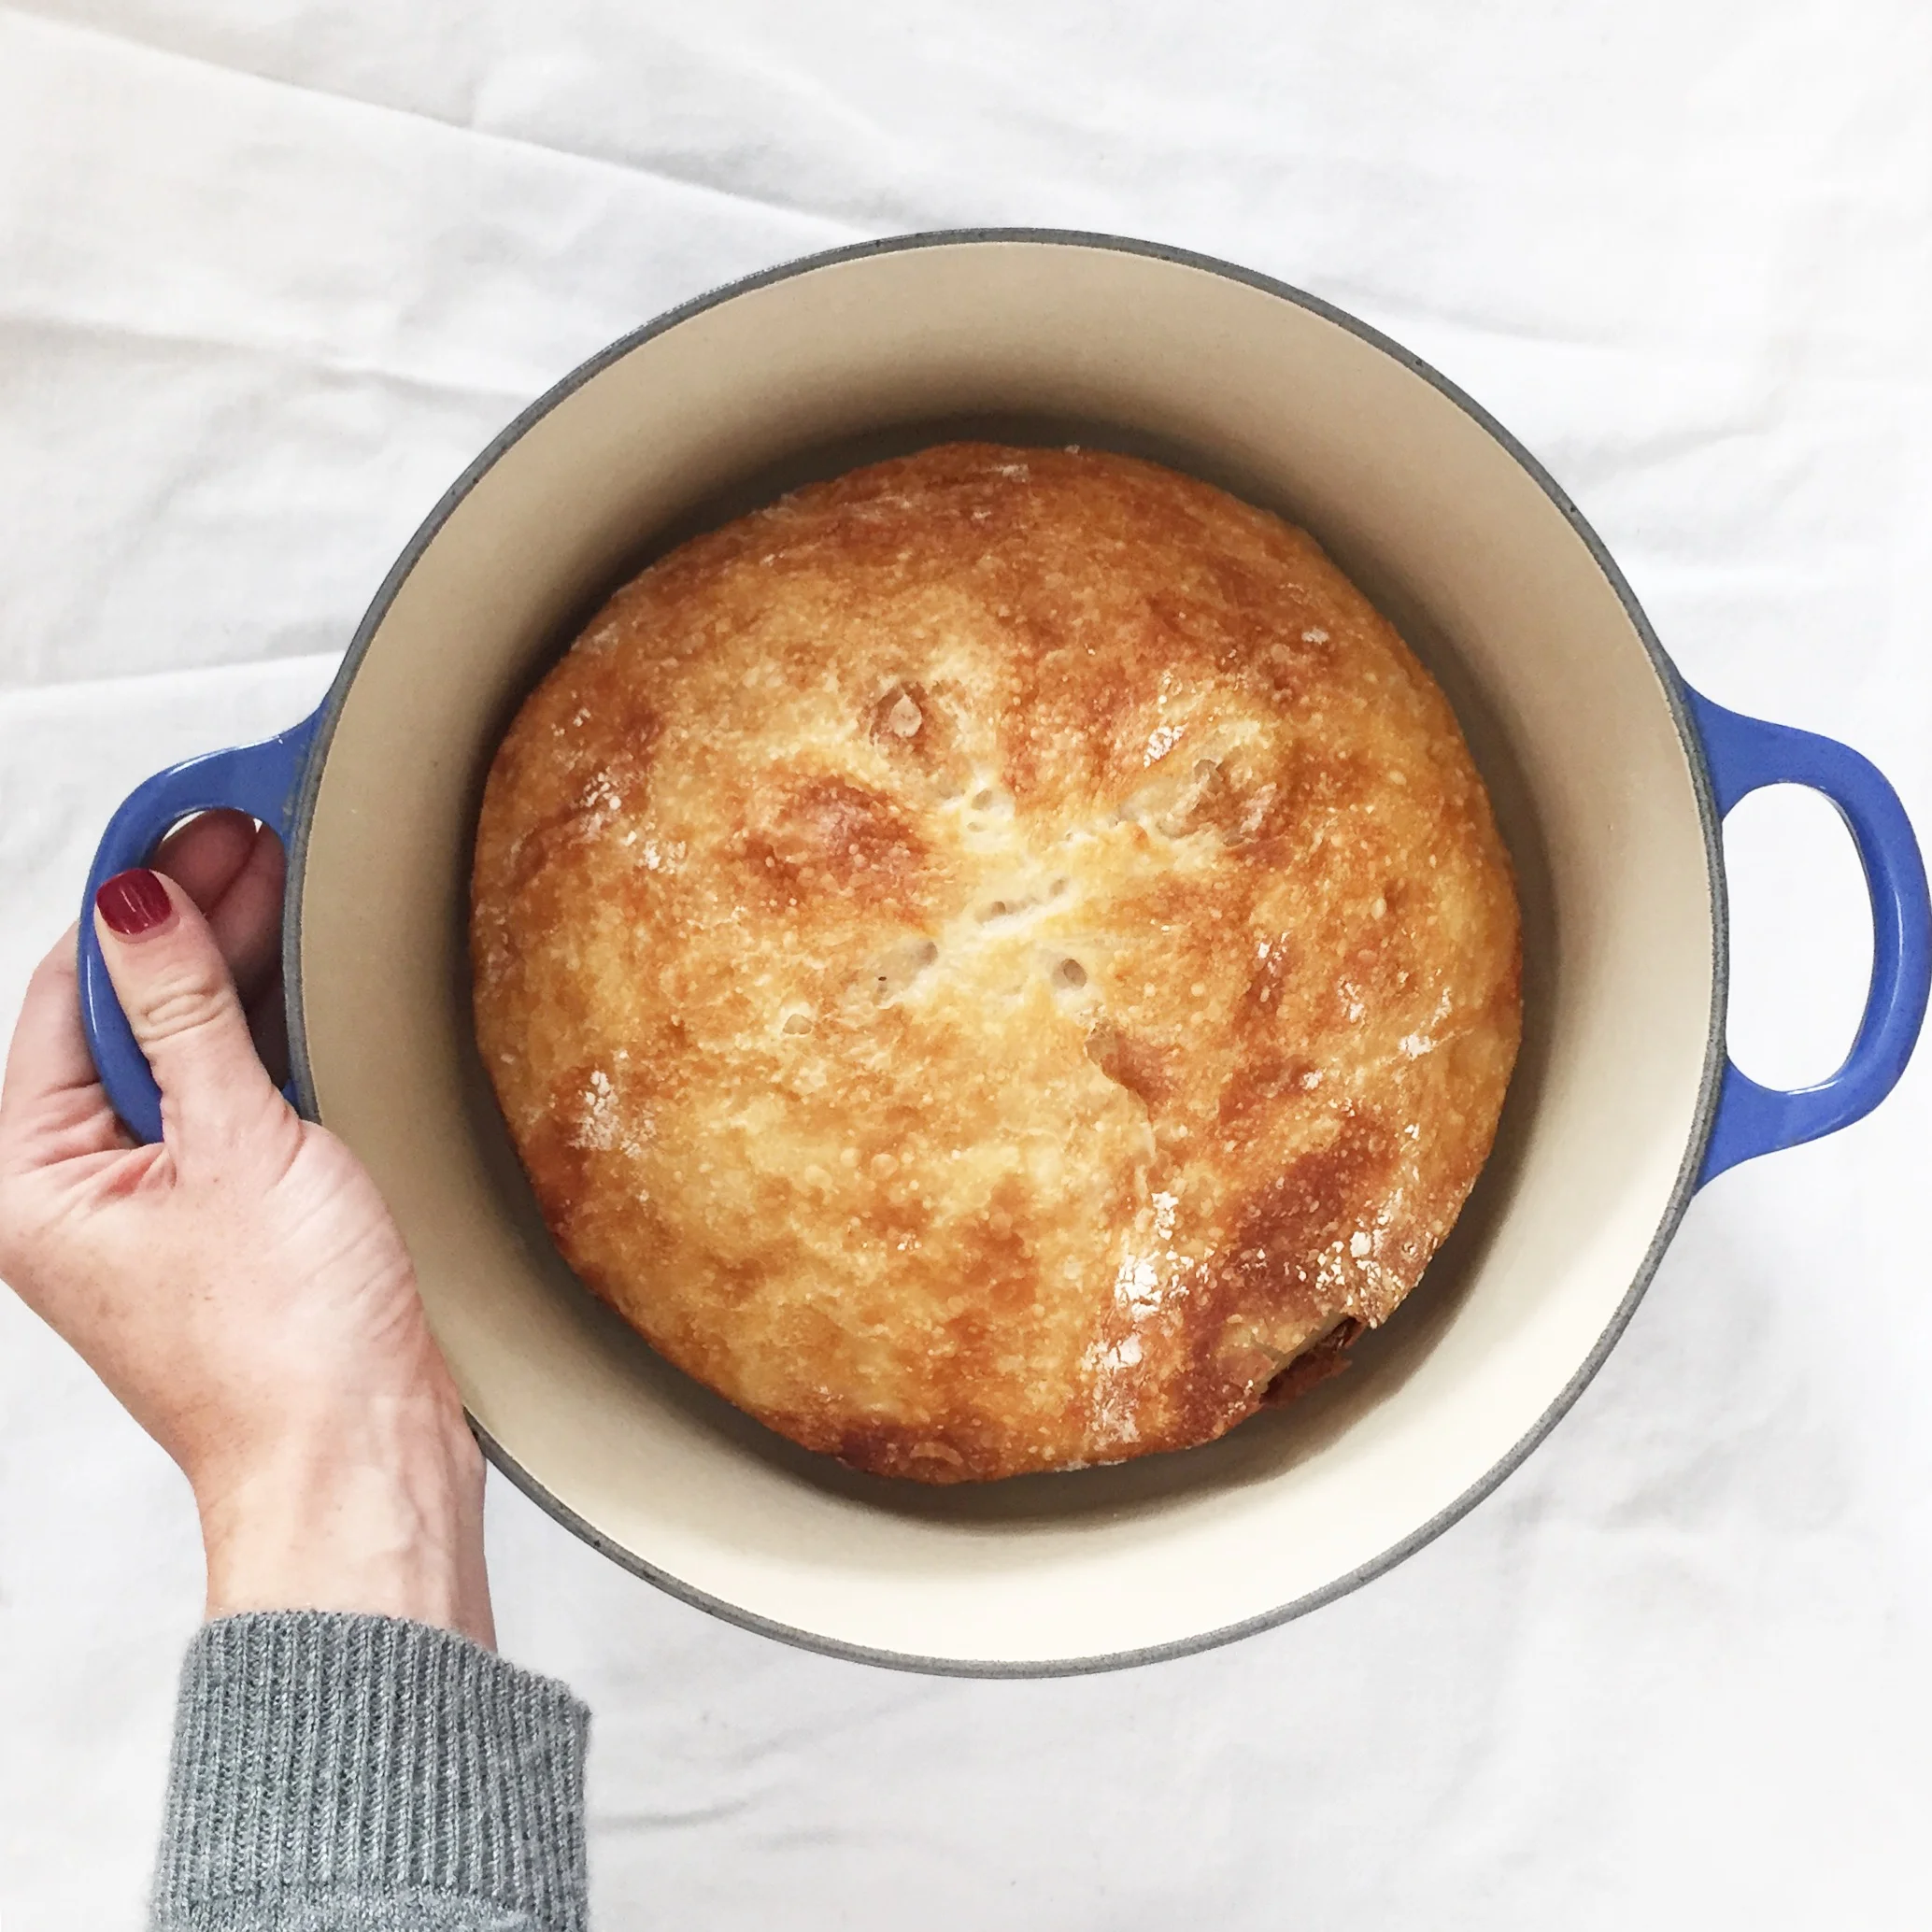
Last night I made a batch of dough (a 5 minute process that involves mixing 4 ingredients with a spoon, no kneading!), I let it rise overnight, and today I baked it. All I can say is, you won't be disappointed if you make this bread. It is absolutely delicious. It has a perfect crusty shell with a soft light centre that melts in your mouth. Plus your house will smell like a french bakery. Mmm...
I baked the bread it in our Le Creuset Enamel Cast Iron French Oven. I was concerned about the handle of the lid and couldn't find solid advice on whether it could withstand the 475 degree temp, so I decided to play it safe and used tin foil to cover the pot instead. It worked brilliantly. Hope your family enjoys this bread as much as ours did.
Happy Baking!
- Care
*In case you need something to go with your bread...Here's a delicious Roasted Squash Soup recipe from a few years ago that is still a favourite in our house. Enjoy!

Parmesan Asparagus Barley Risotto
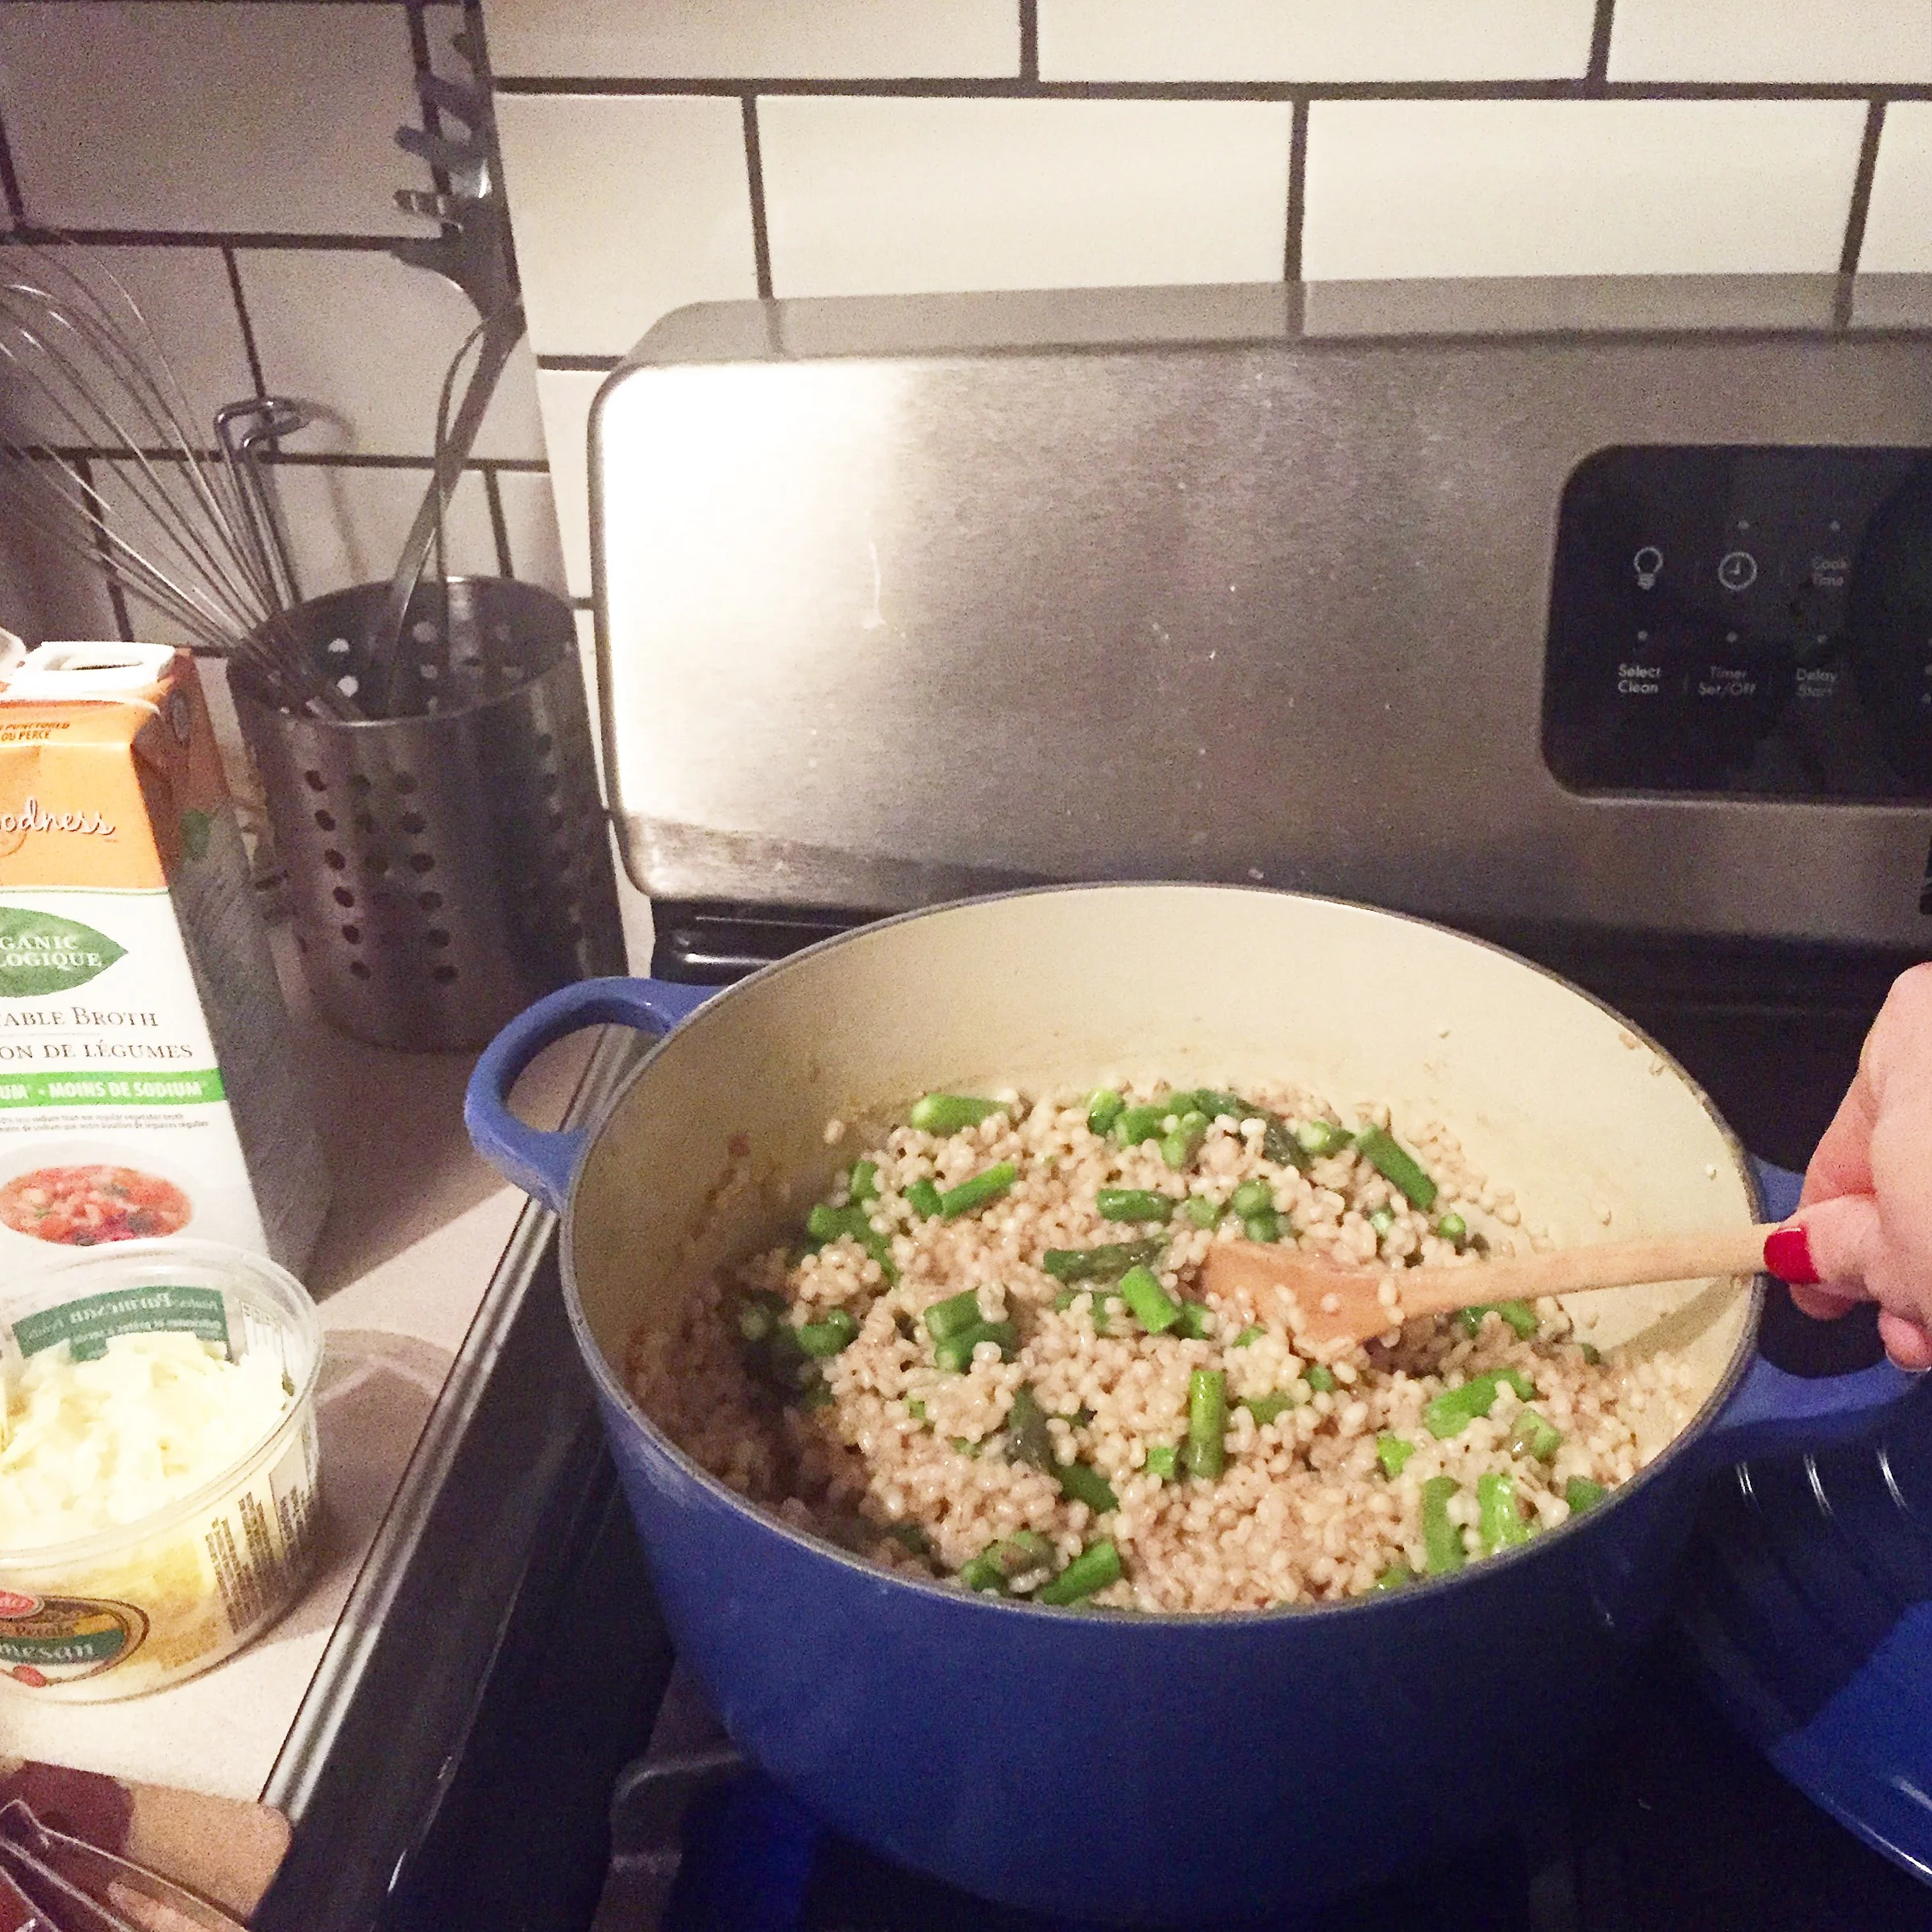
With winter weather making its appearance this week, it seems like the perfect time for some cozy and hearty meals. Here is one of our all time favourites, a delicious Parmesan Asparagus Barley Risotto. A great alternative to rice risottos and a little more forgiving when cooking. Hope you enjoy it as much as we do.
With winter weather making its appearance this week, it seems like the perfect time for some cozy and hearty meals. Here is one of our all time favourites, a delicious Parmesan Asparagus Barley Risotto. A great alternative to rice risottos and a little more forgiving when cooking. Hope you enjoy it as much as we do.
Ingredients
- 2 Tbsp olive oil
- 1 large onion, finely chopped
- 1 large clove garlic, finely chopped or crushed
- 1 ½ cups pearl barley
- 1 cup white wine
- 4 cups vegetable broth
- 1 bunch asparagus
- salt & pepper to taste
- ½ -1 cup grated parmesan
Instructions
- Heat oil in a large pot over medium heat and sauté onion until soft, about 5 minutes. Add garlic and cook 1 minute more.
- Add barley and cook stirring frequently for 2 minutes. Add wine and cook until absorbed. Add ½ cup broth at a time while stirring frequently and allow barley to absorb broth well before adding more.
- Add asparagus with last ½ cup broth and cook until liquid is absorbed. Remove from heat, add parmesan and season with salt and pepper to taste. Serve with fresh parmesan topping.
- Great for leftovers : )
- Care

My Top 6 Must Haves For Camping With Kids - Part 1 of 2
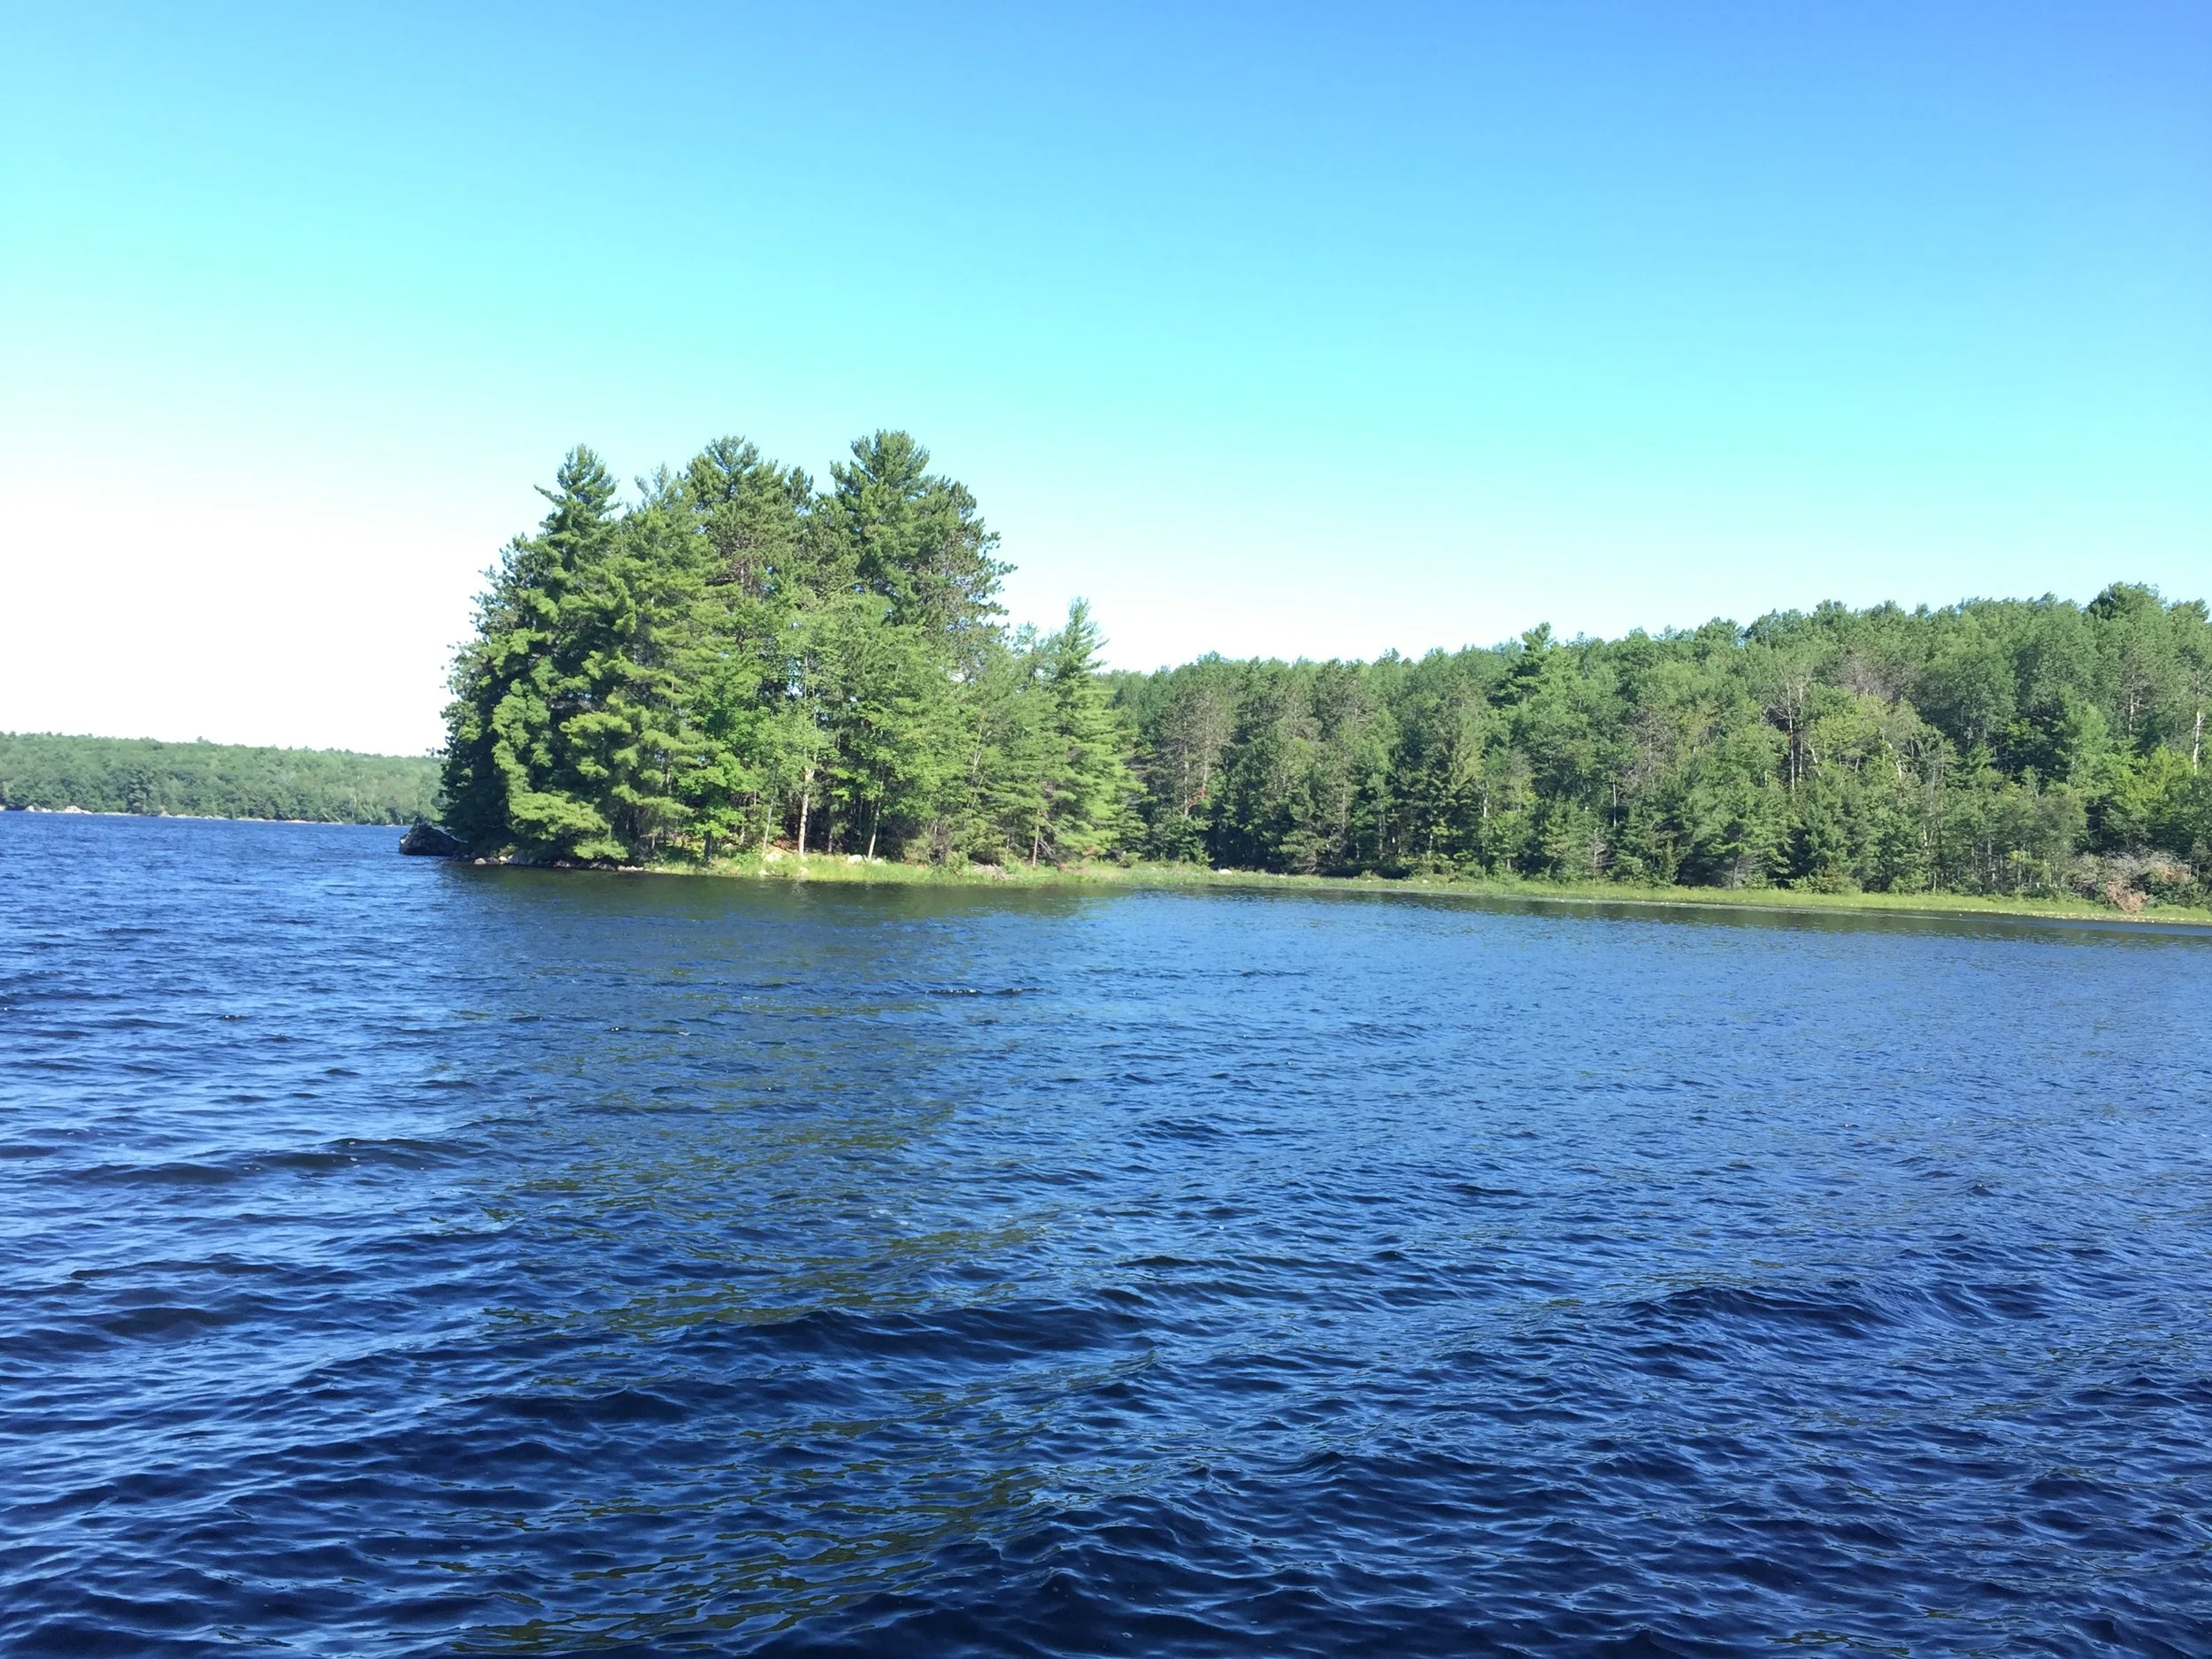
My hubby and I both grew up loving camping, and have been camping together since we started dating 10 years ago. We have now successfully completed canoe trips while 34 weeks pregnant with a toddler in tow, and recently this July with our 2 little ones, ages 4 years and 21 months.
My hubby and I both grew up loving camping, and have been camping together since we started dating 10 years ago. We have now successfully completed canoe trips while 34 weeks pregnant with a toddler in tow, and recently this July with our 2 little ones, ages 4 years and 21 months. I recognize that camping is not for everyone, but for those of us who love it, there is nothing better than introducing your kids to the great outdoors through a fun family camping trip.

Camping is always a messy adventure, but one we would never trade. Heading into the backcountry gives us a much needed break from technology and work. Time to slow down, enjoy nature, and spend a few days connecting with our kids & the simple pleasures of life. Some of our best family memories have been made camping, and it's amazing to hear our little guy already counting down the days to next summer's trip. He's a camper at heart and it makes his daddy and I so proud.
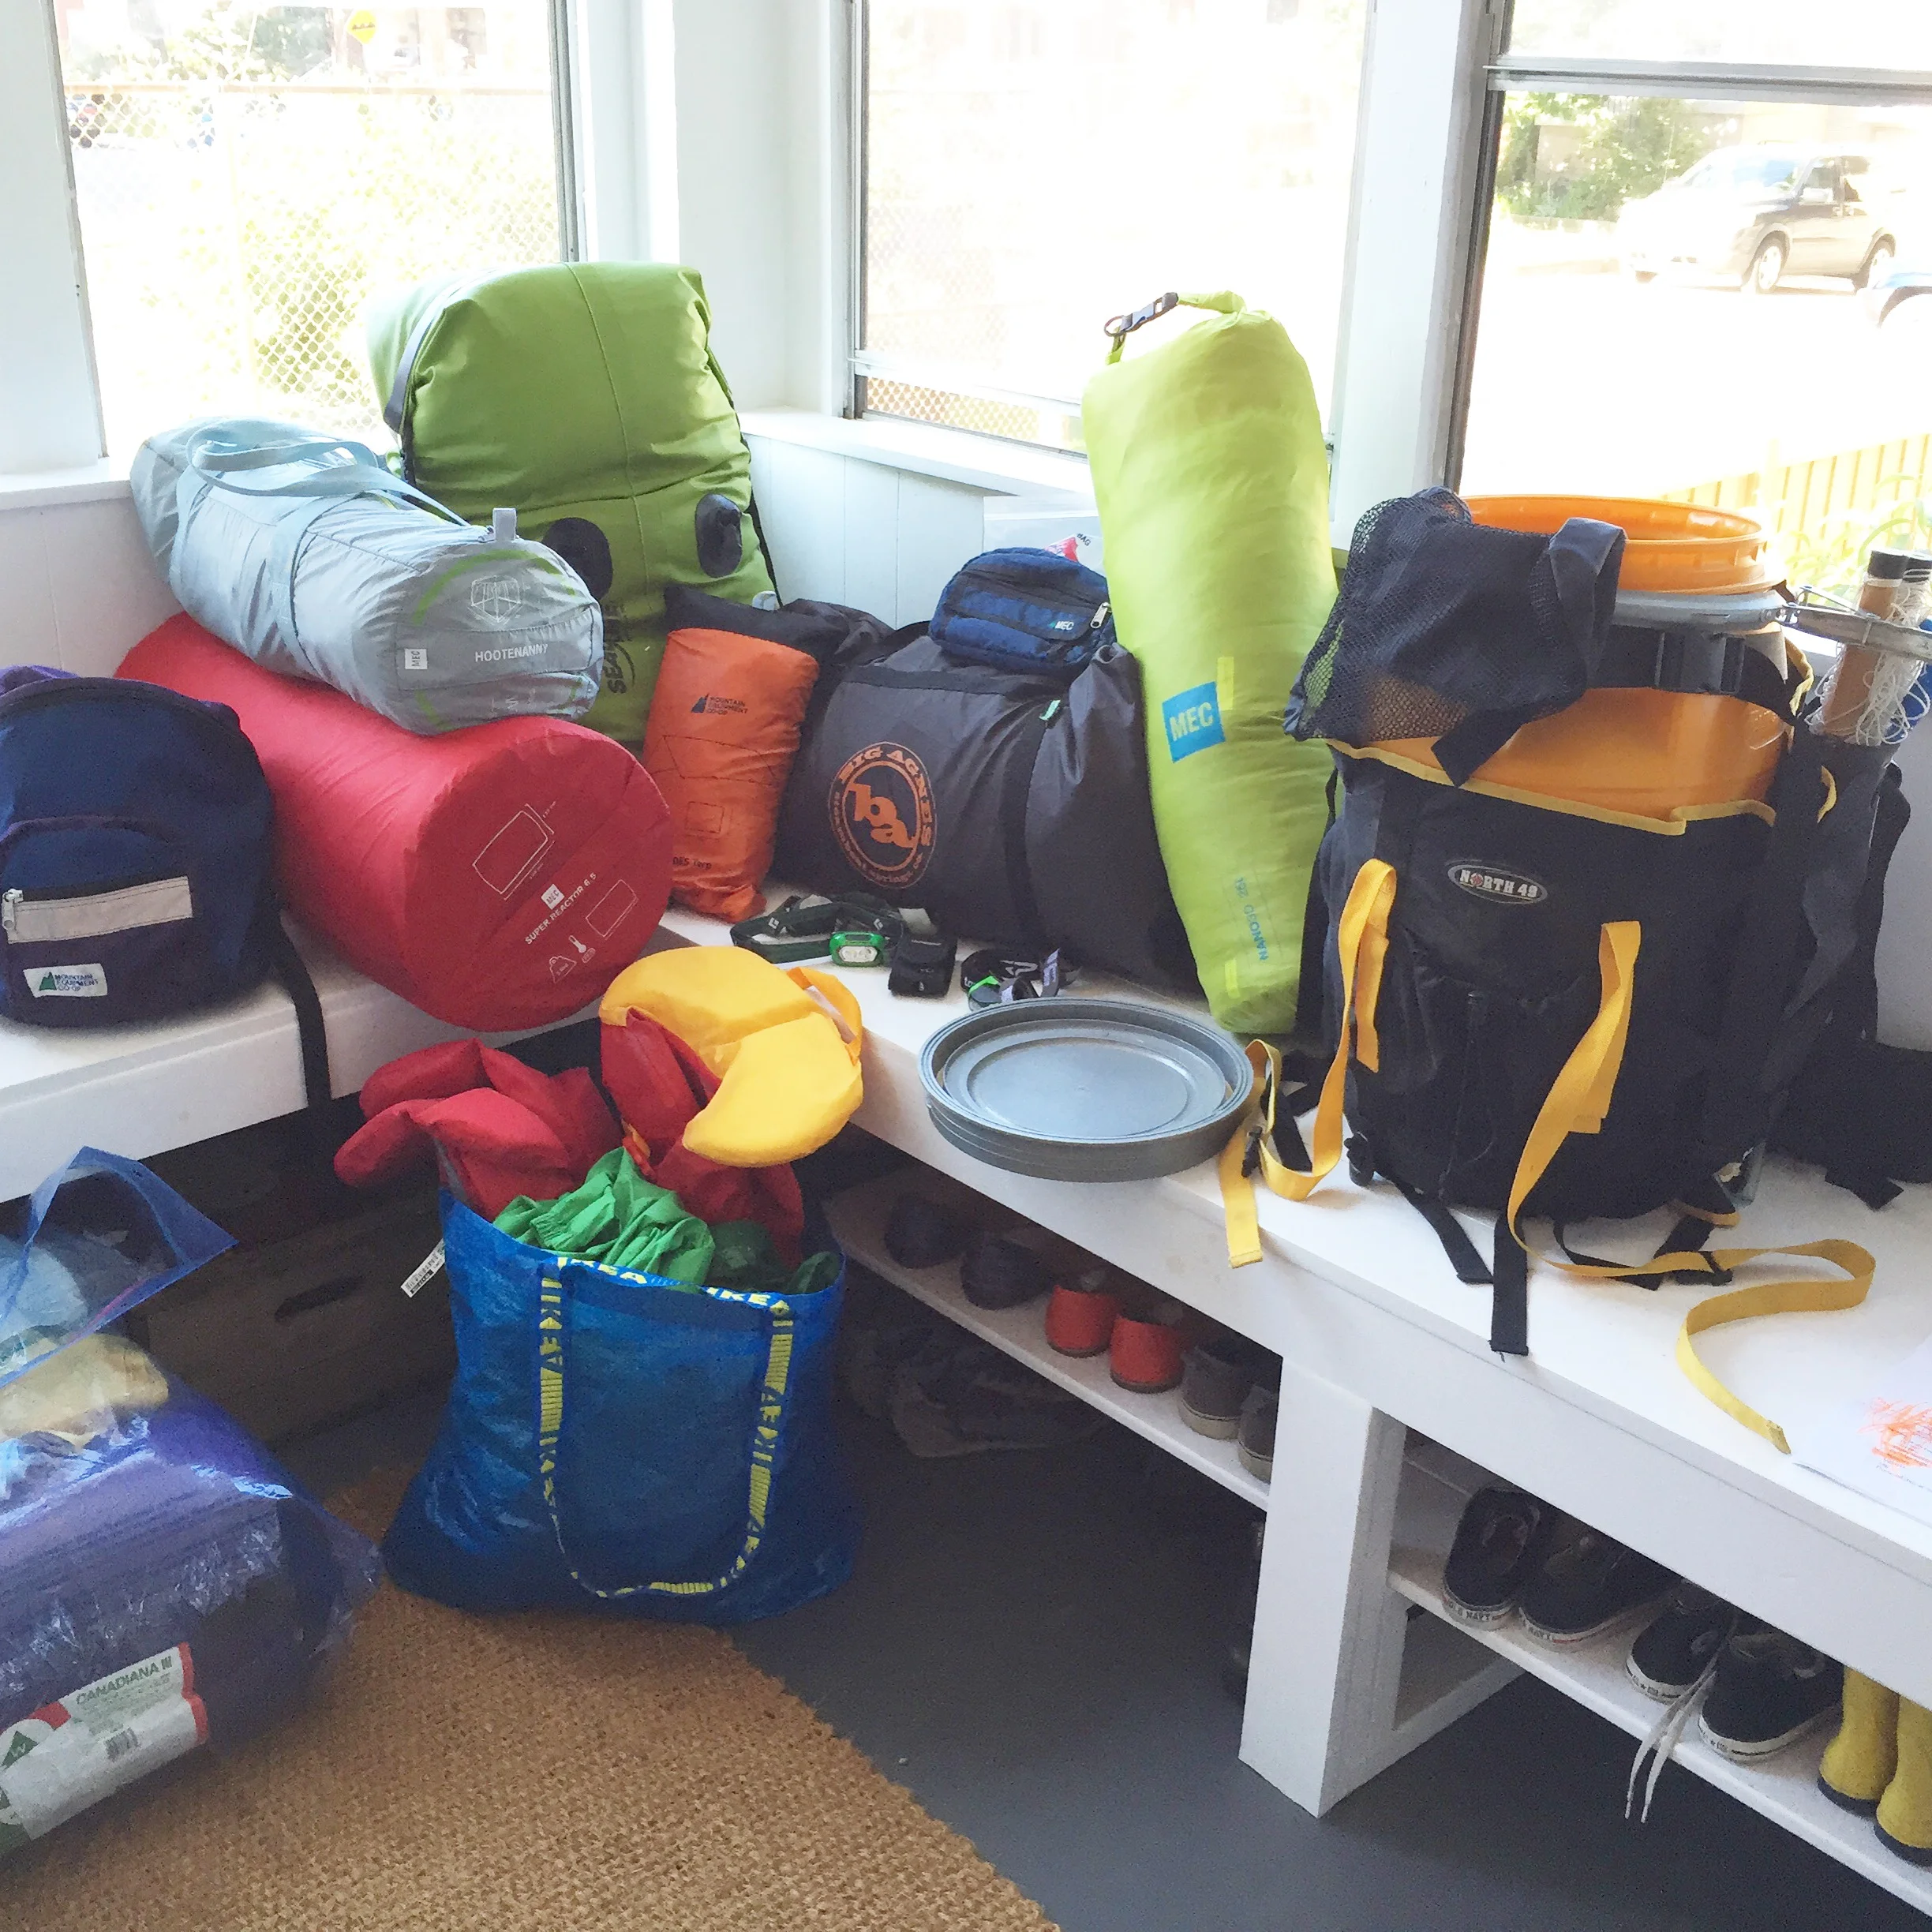
In order to enjoy camping it's important to prepare in advance and pack well. There are lots of camping packing lists available online (I promise to share mine one day soon), but I want to focus instead on a few key pieces of equipment that I believe can make your family camping experience a great one.
My Top 6 Must Haves for Camping with Kids:
1. Family Size Mattress - Sleep is central to having fun with kids, no matter where you are, so don't forget this key piece of equipment. Last summer we upgraded and purchased the MEC Super Reactor Double Size Mattress and we LOVE it! No more rolling off of our single sized mattresses onto the floor of the tent and no more cold drafts. Plus it rolls up and stores relatively small for a family size mattress (red cylindrical bag in photo) and offers excellent comfort. So worth it!
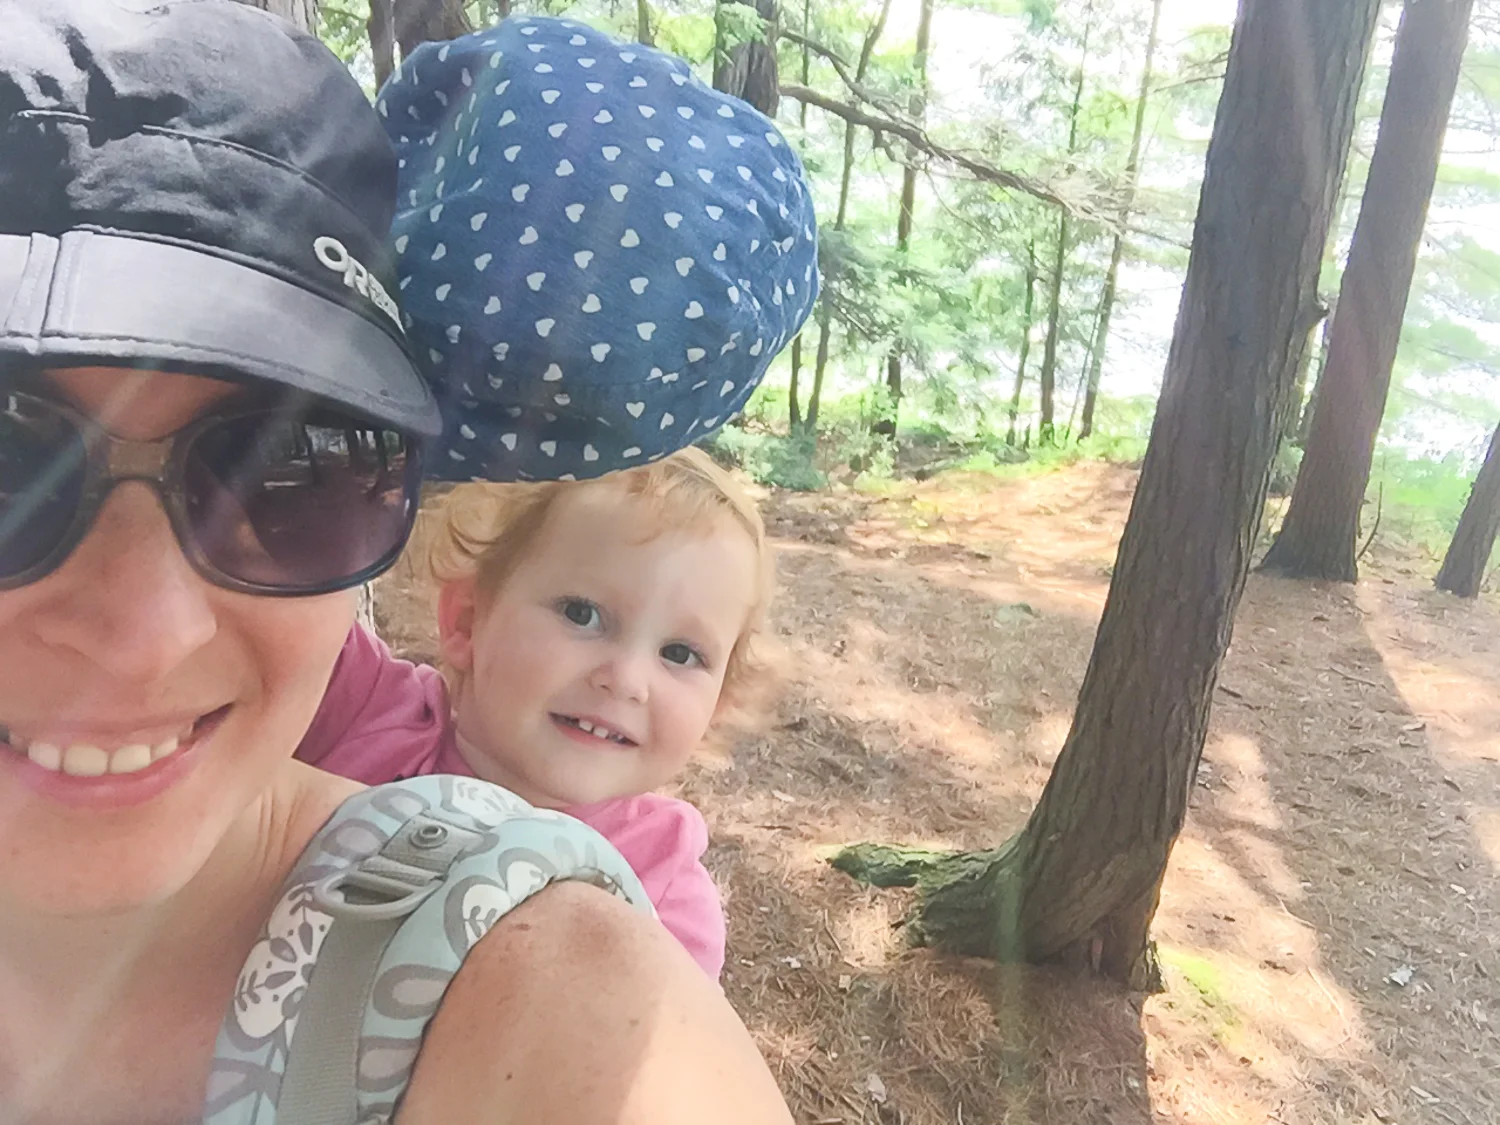
2. Baby Carrier - Tossing your kiddo up onto your front or back (depending on age, carrier, skill etc) can be a great way to keep them safe while walking a portage, around water or to keep them away from fire or sharps at mealtime prep. If your little one is used to being rocked to sleep at night, walking along the water with the sounds of the waves is a great way to lull them to sleep before transferring them into your tent. *Please make sure to wear supportive shoes while babywearing, especially on uneven ground, to avoid falls.
3. Bug Shelter - Ontario summers are pretty buggy and little ones can have a terrible reaction to bug bites (as we found out this summer with our little Lucy). In order to enjoy our meals and have a place to escape the bugs we always bring our MEC Hootenanny Bug Shelter. It was a big purchase initially, but one that has definitely been worth it on our recent trips. I can't even imagine how many bites Lucy would have had without it!

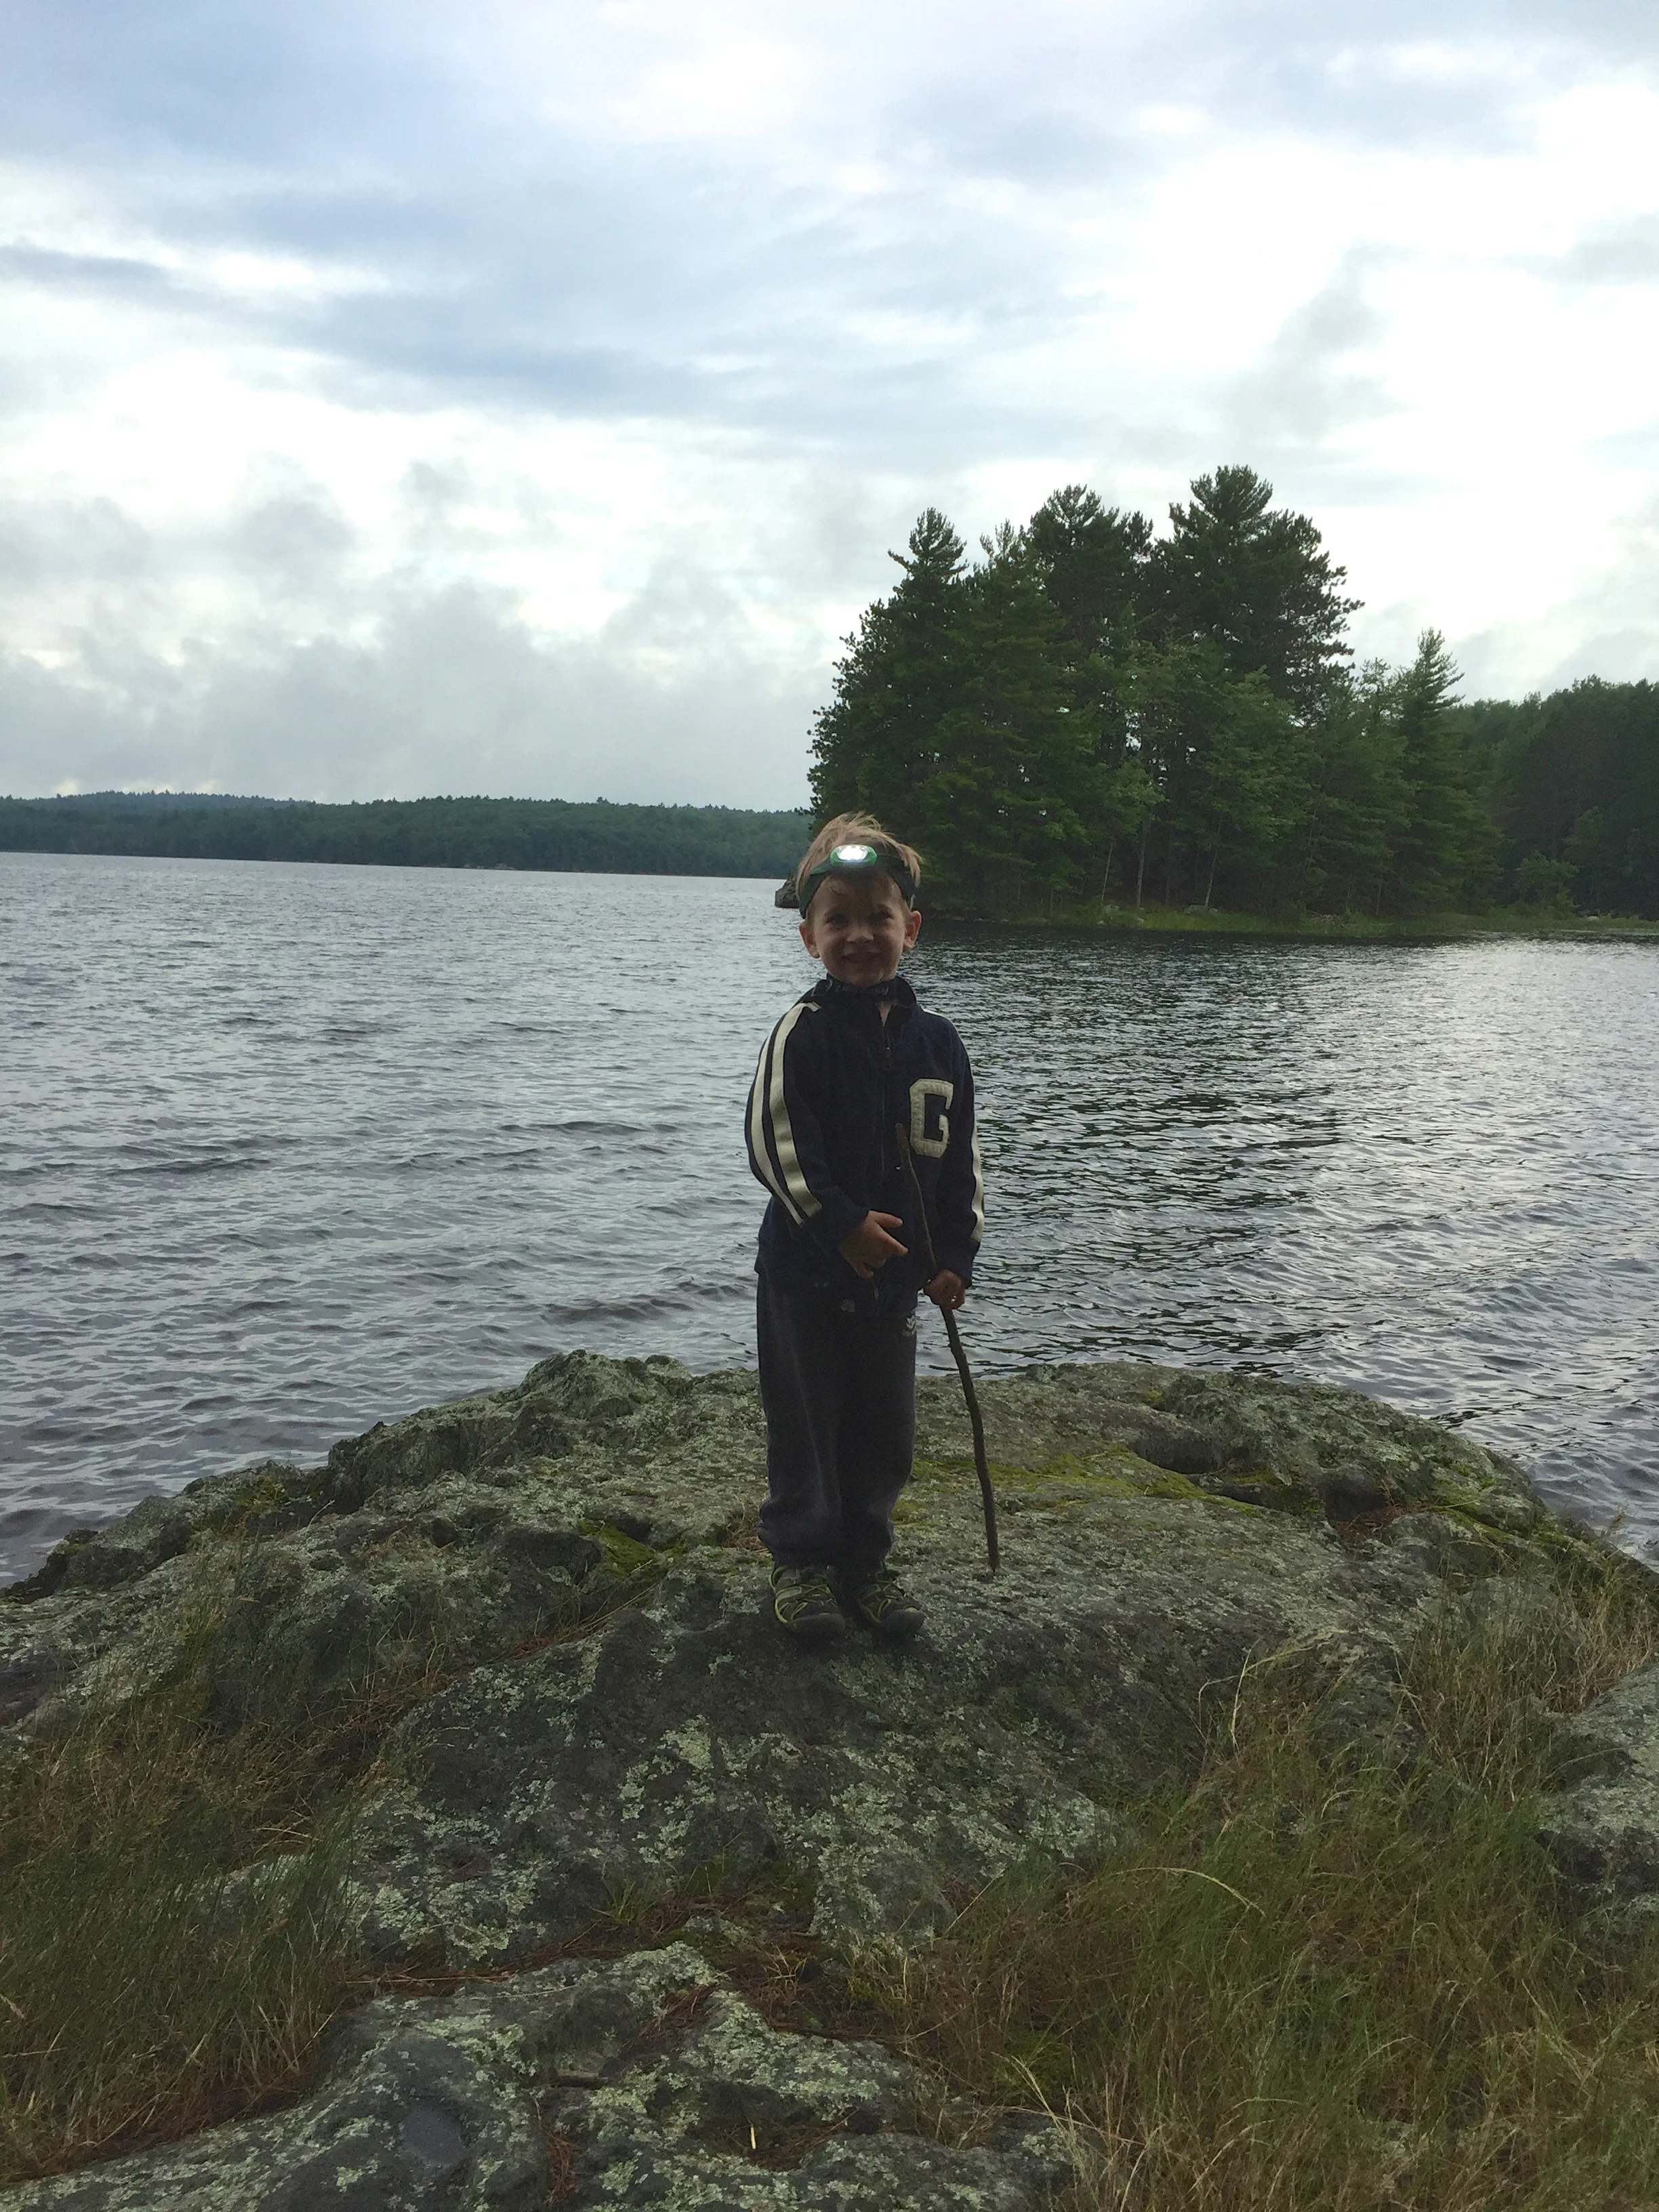
4. Headlamps - It's freaking dark in the wilderness at night (unless you happen to go camping during a full moon), so be prepared with some good lighting. Headlamps make everything easier, especially when you're dealing with messy kids. Having handsfree while changing a dirty diaper in the dark, or trekking out to the bathroom with a little one at night is so essential. Plus kids LOVE them! *Make sure to check your batteries before each trip and pack a few extras just in case.
5. Booster Seat - Feeding little ones can be a difficult task while camping, so to make it easier bring along a collapsable booster seat. They clip easily onto picnic tables found at most camp sites and mean you can keep baby off your lap while eating so you can enjoy your meal too! Lucy loved it on last years trip.

6. Rainy Day Activities - Although you hope to get perfect weather while camping it can't be guaranteed, so make sure to pack some fun rainy day activities. MEC has some amazing resources on their Camp Big site for families, including some great colouring & activity pages you can print and bring along. Some other great activities that we like to pack include travel board games, cards, board books, play doh and a few toy cars packed in the car caddy I made Ben years ago. You don't need to go overboard but definitely want to be prepared.

I hope my Top 6 Must Haves for Camping With Kids help you in your camping adventures this summer!
Check out Part 2 of this series My 7 Tips & Tricks For Camping With Kids, plus get my Complete Family Camping List & my Downloadable Family 1st Aid Kit List
- Care

Garlic Scape Basil Pesto
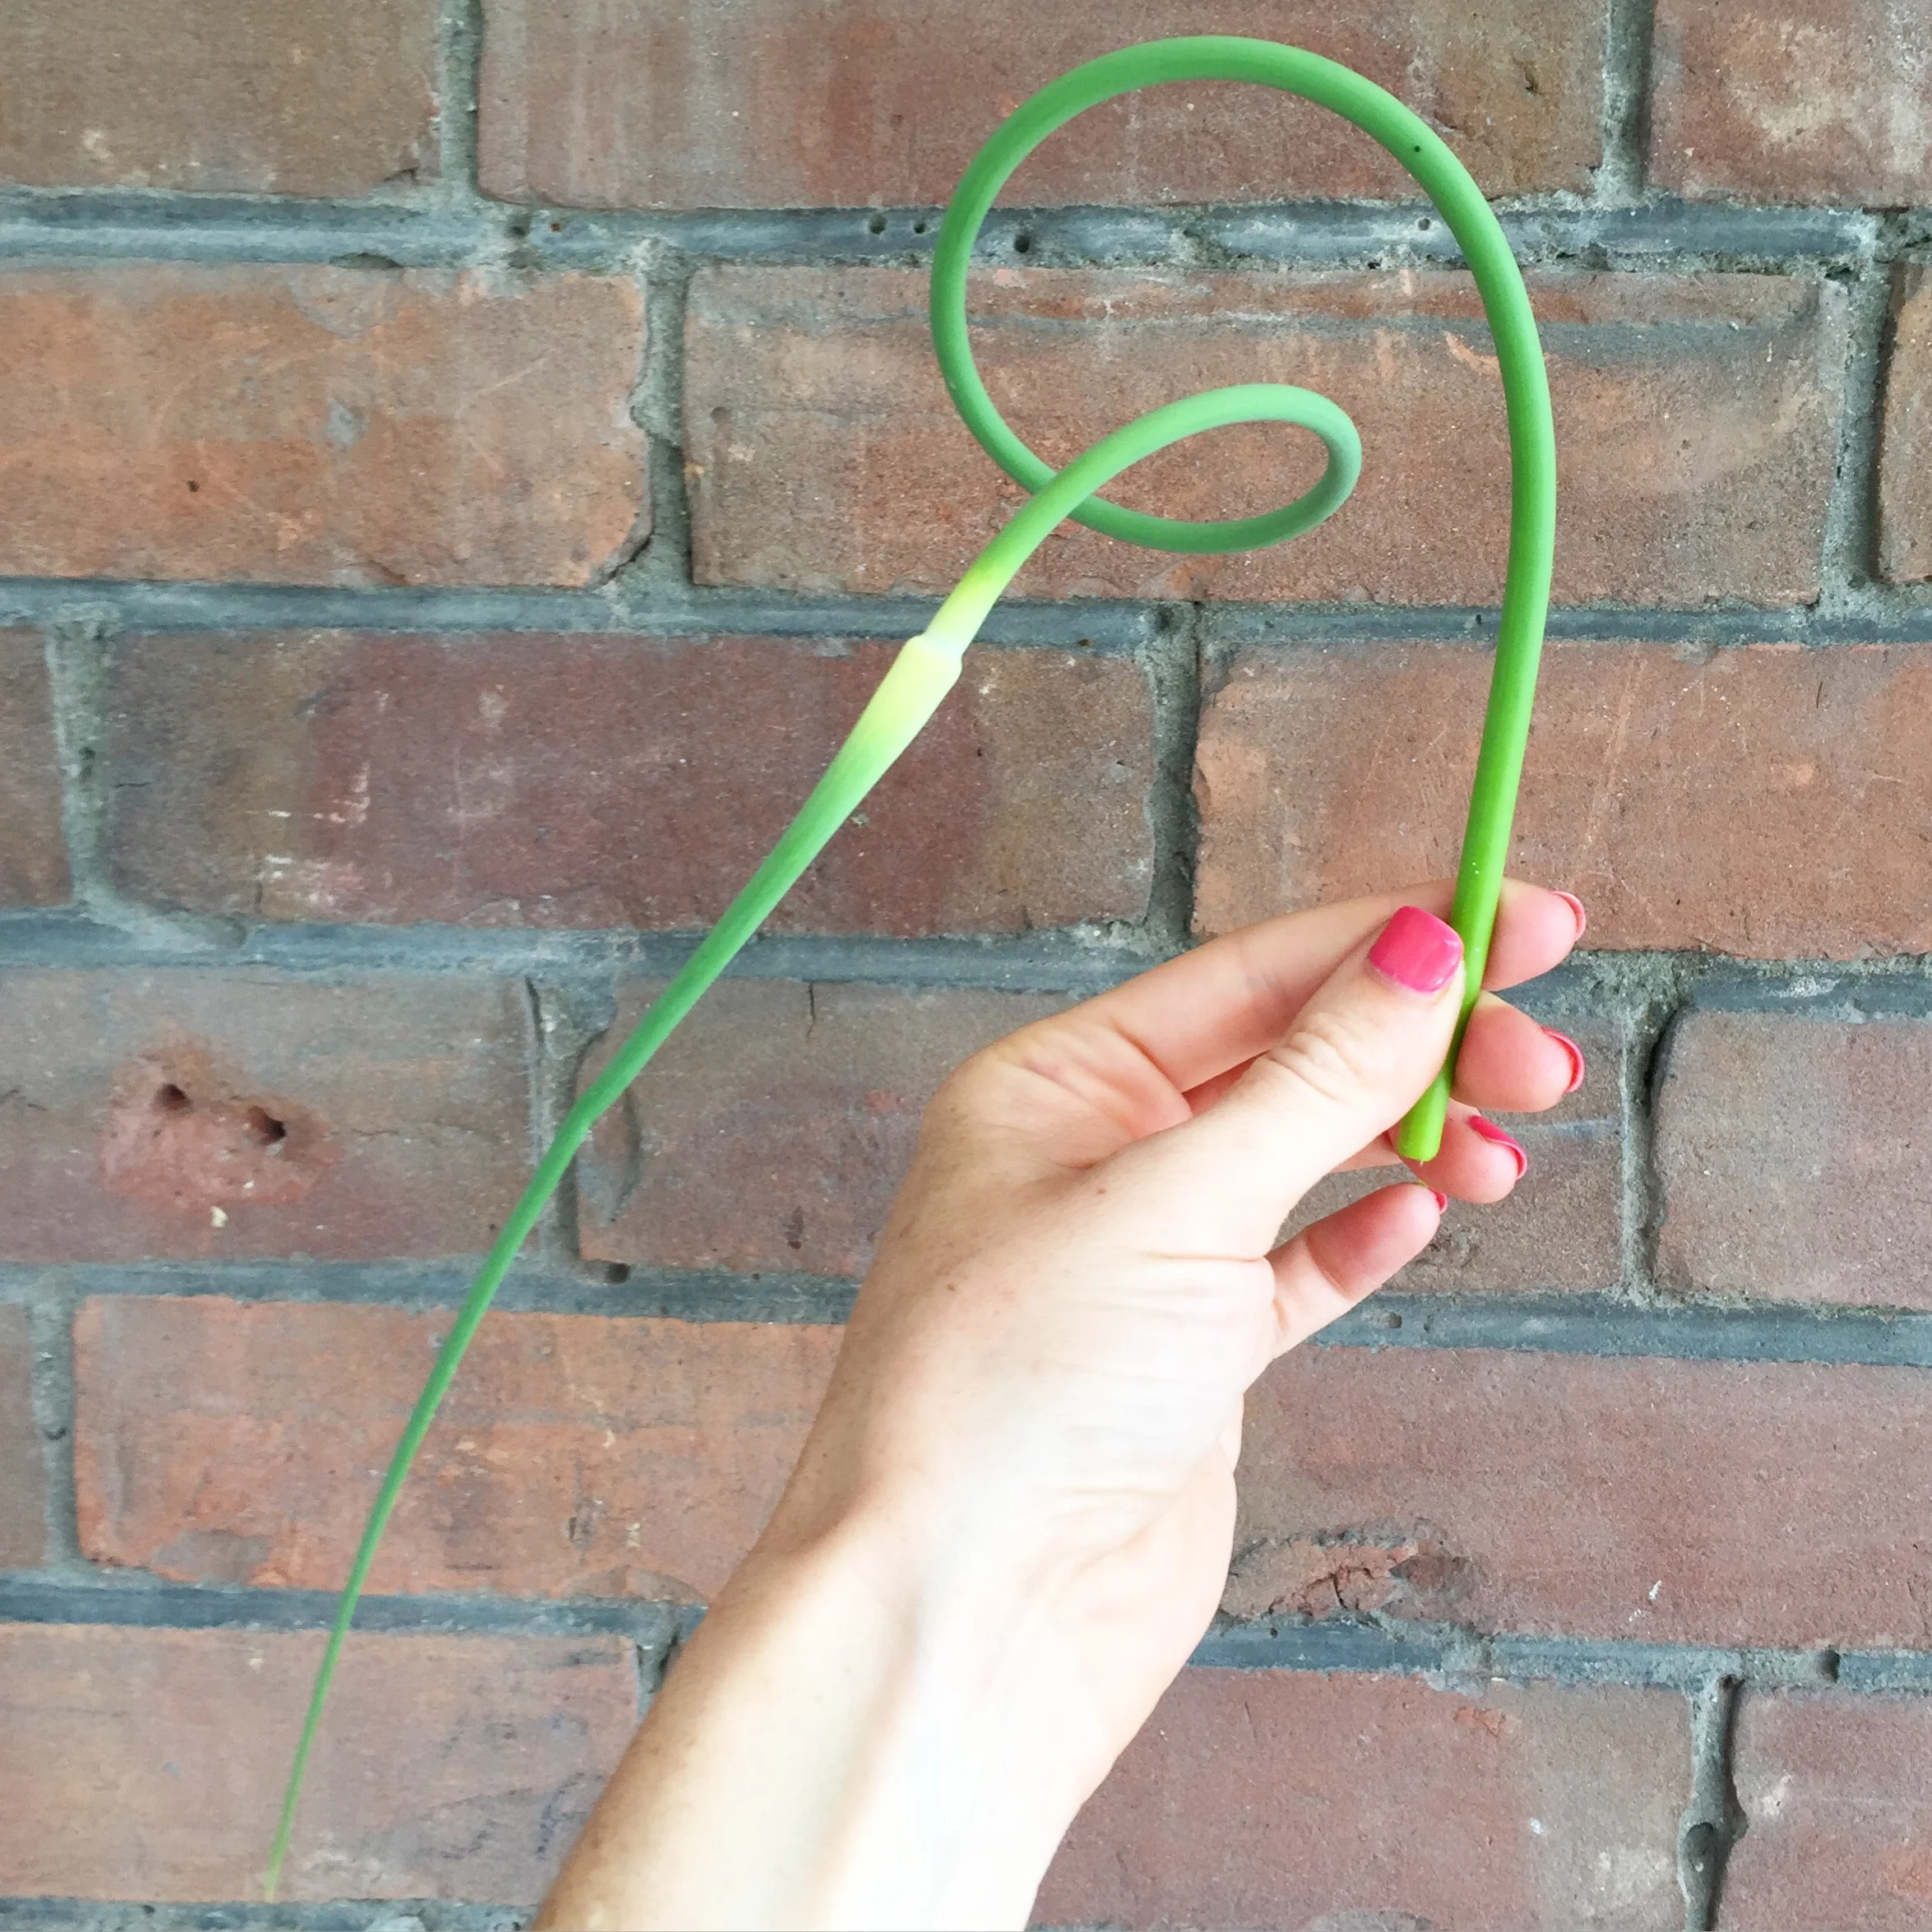
It's Garlic Scape season, so I thought I would share a yummy scape recipe with all of you. It's our first year with homegrown scapes, so after harvesting them, I busily researched all of the great things you can make with these delicious garlic greens. I decided to make pesto, so that the scapes could be preserved and savoured later in the year when they're long gone.
It's Garlic Scape season, so I thought I would share a yummy scape recipe with all of you. It's our first year with homegrown scapes, so after harvesting them, I busily researched all of the great things you can make with these delicious garlic greens. I decided to make pesto, so that the scapes could be preserved and savoured later in the year when they're long gone.
Although I found several versions of garlic scape pesto online, none were exactly what I wanted, so I combined a few to create this recipe. It's hands down one of the most delicious things I've ever made. I'm extra proud since we grew the scapes & basil ourselves. If you have some scapes lying around in your garden, or find some at you local farmers market I highly recommend making this. You won't regret it! Best part, it uses 7 simple ingredients and takes only minutes to mix up.
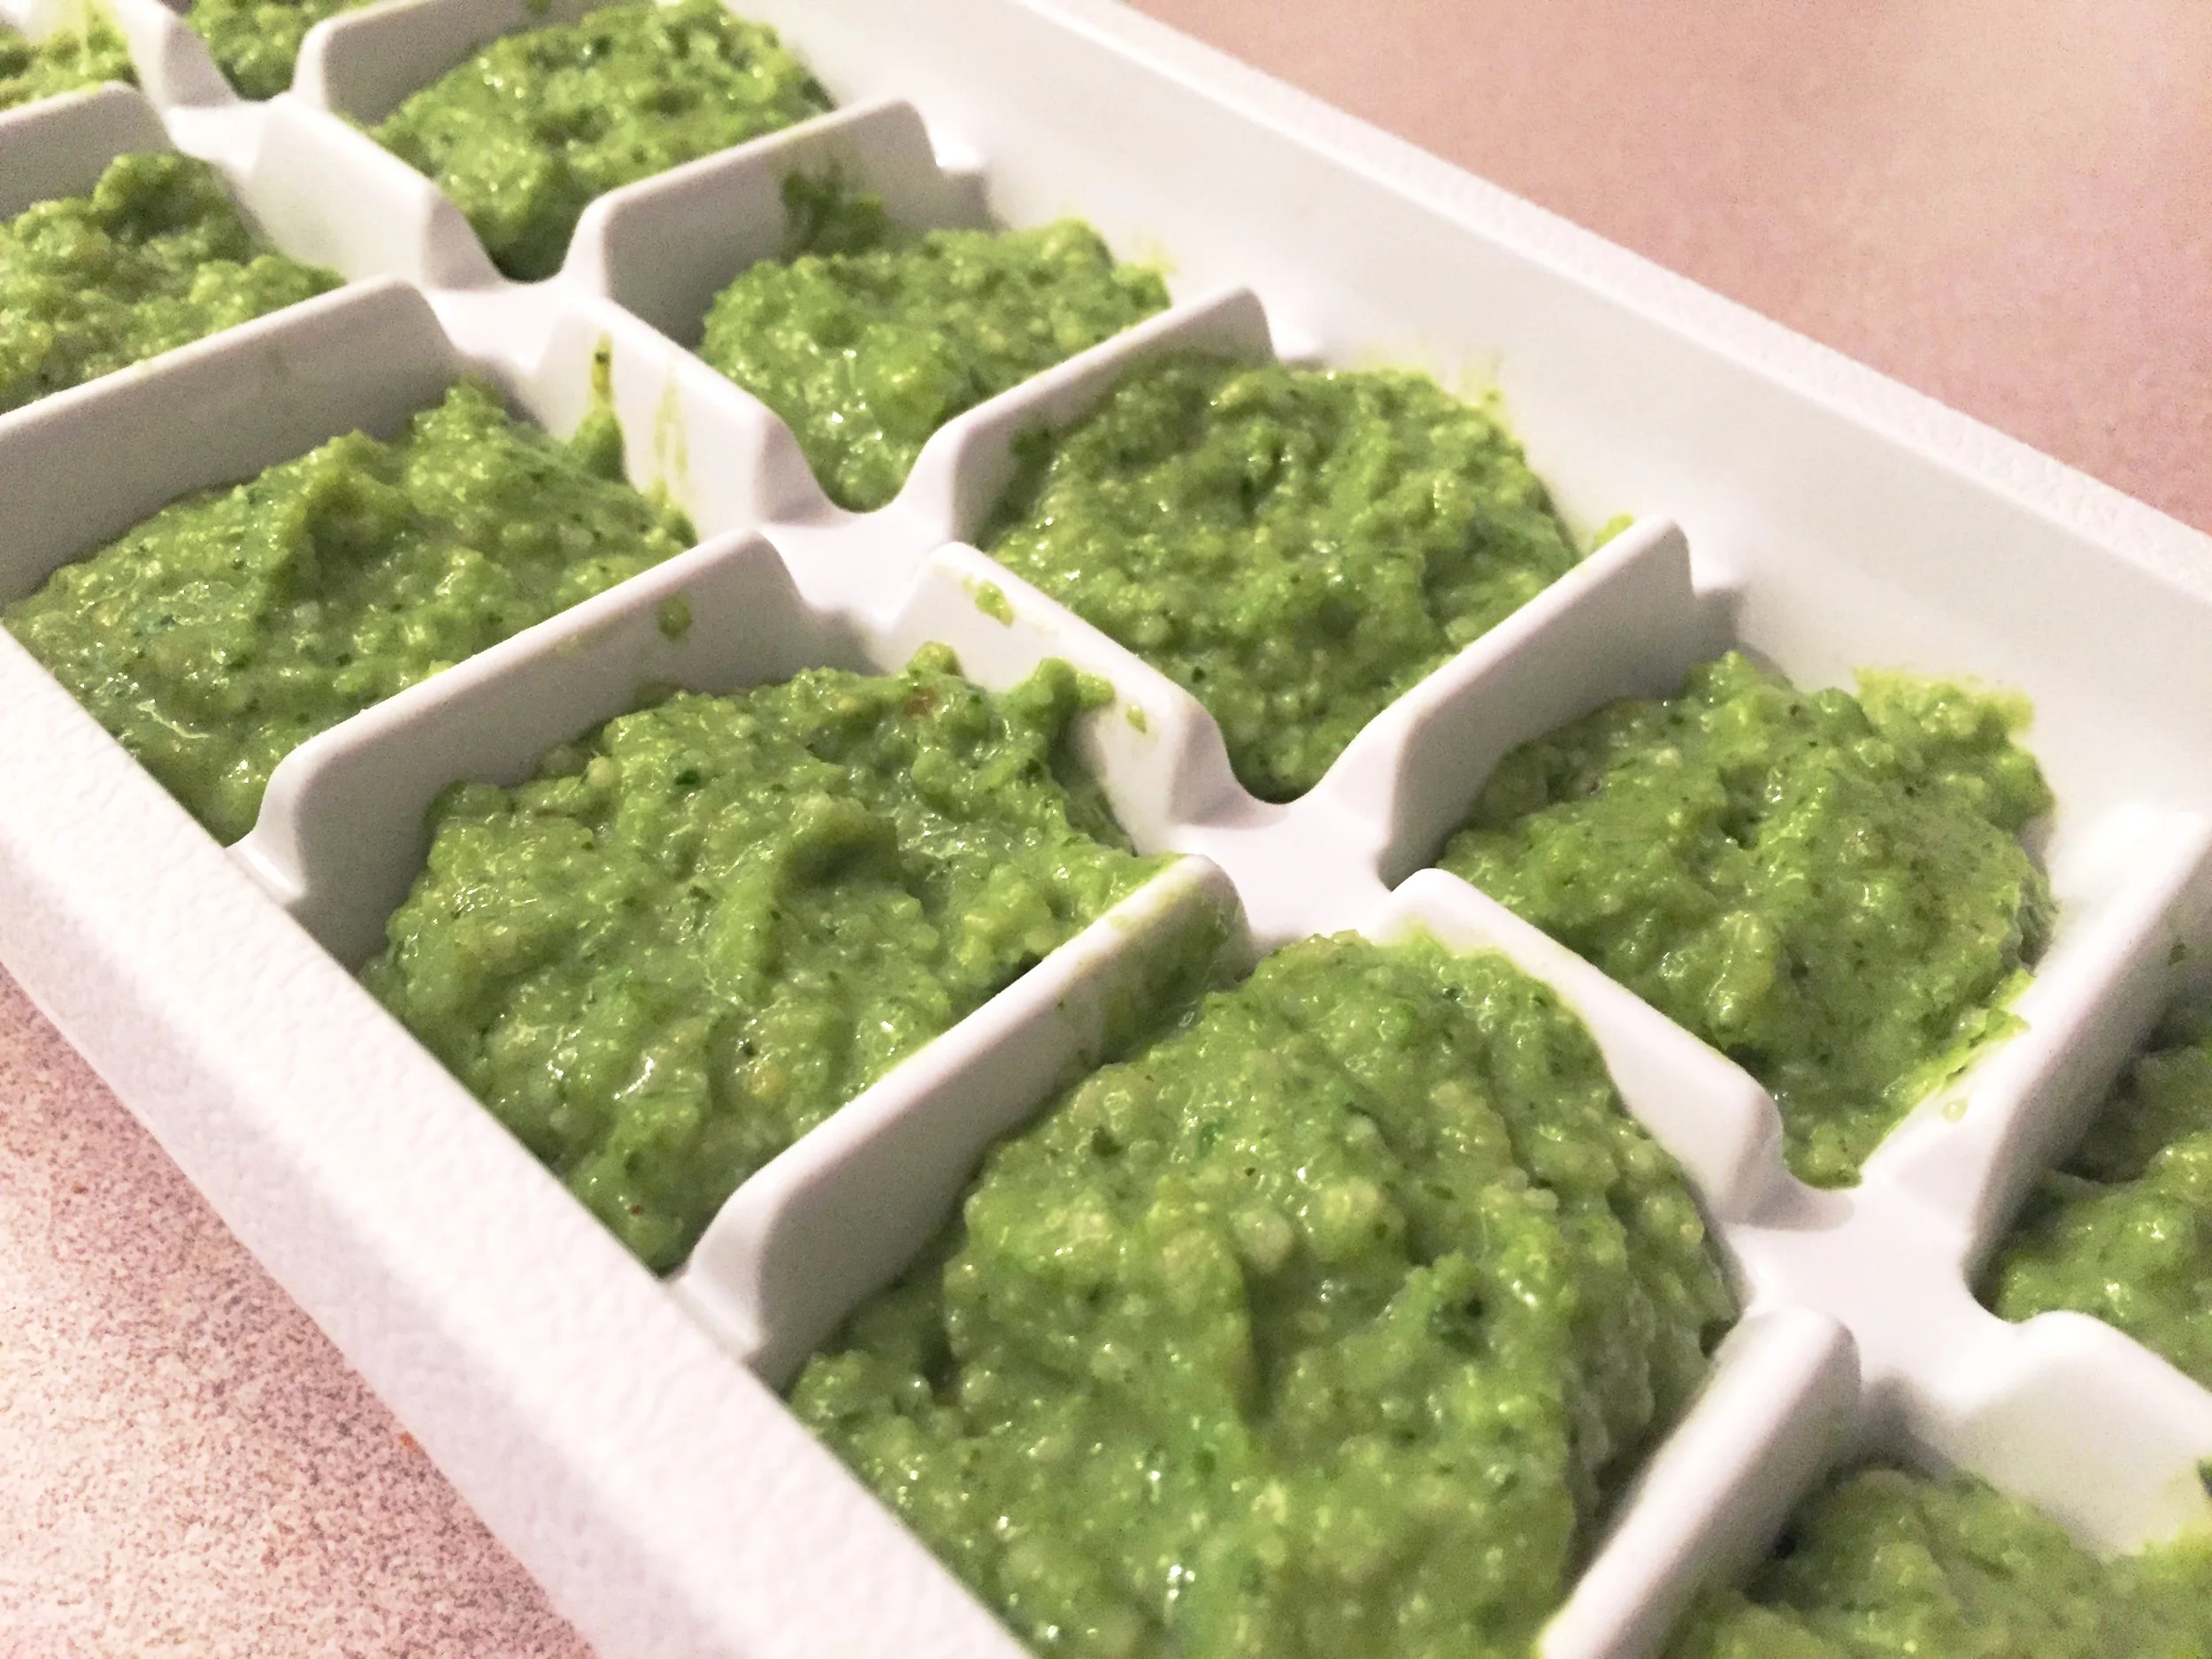
*Note: Freeze your pesto in an ice cube tray and then pop out cubes and store in an airtight freezer safe container or freezer bag. Ideal for single use on sandwiches, salads or pasta.
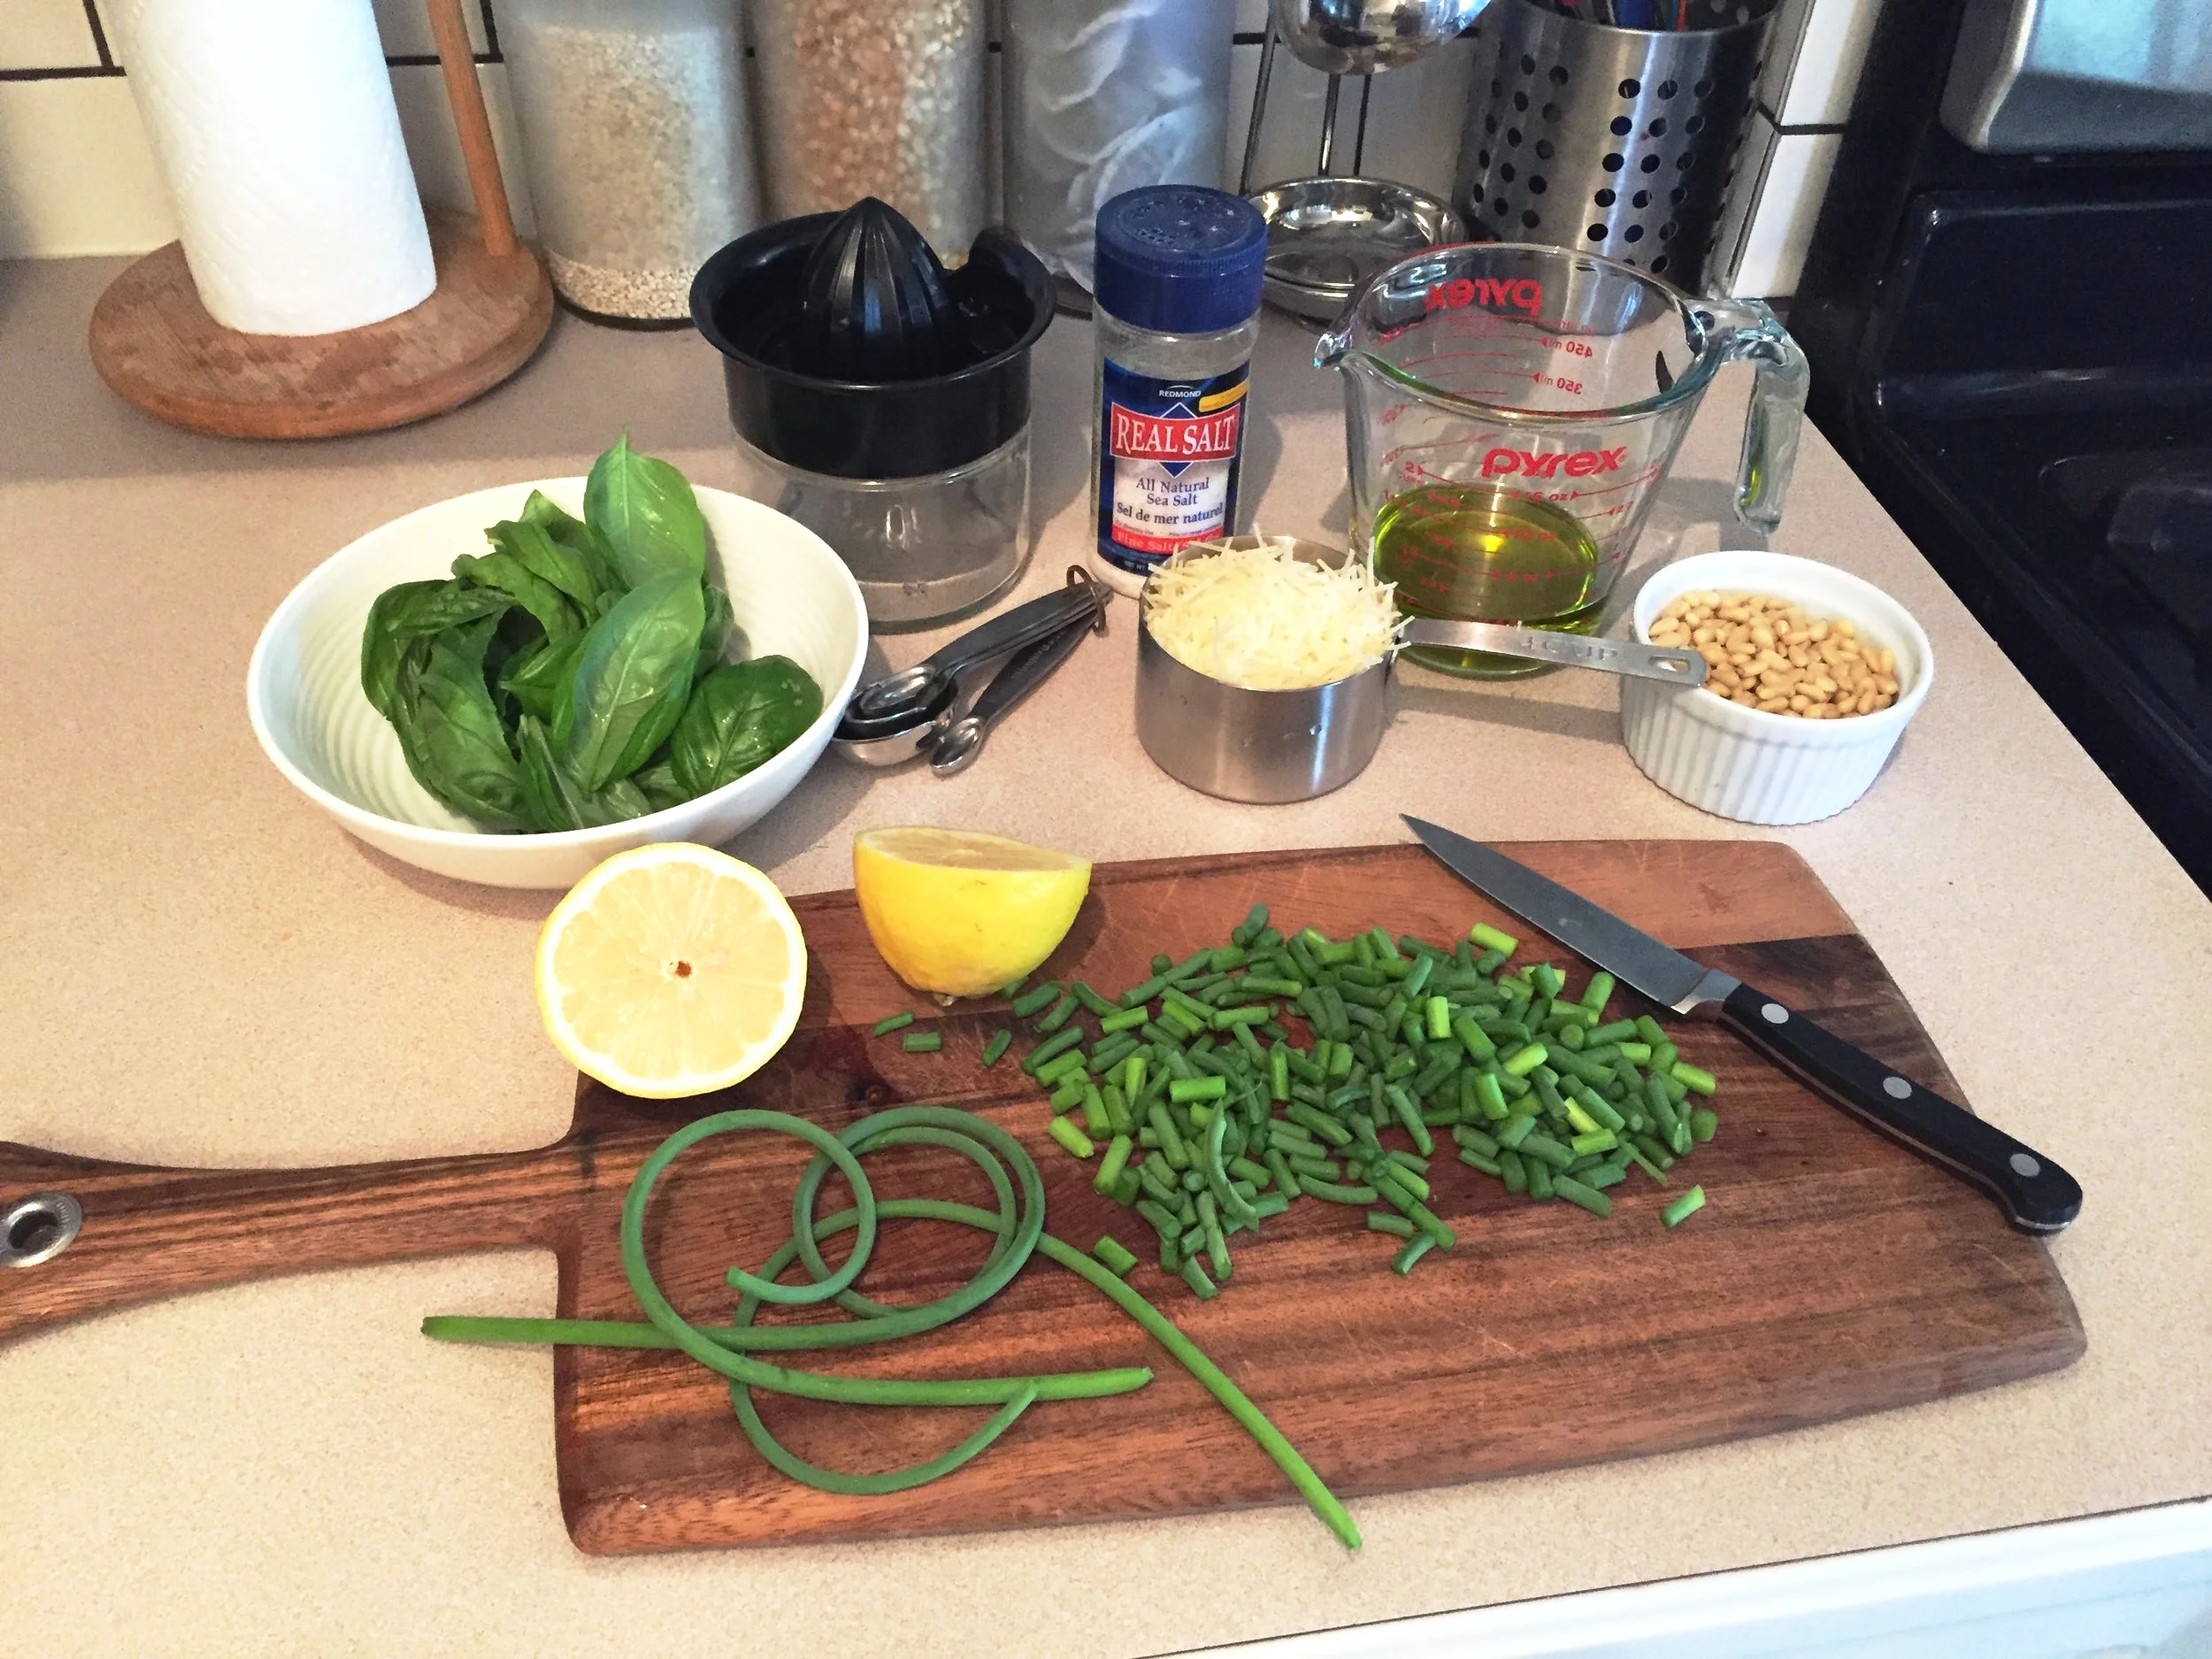
Ingredients:
- 1 cup fresh clean basil leaves
- 10 garlic scapes, cleaned, bud removed, and cut into 1" pieces
- 1/4 tsp sea salt
- 1/2 of a lemon juiced
- 1/2 cup olive oil
- 1/2 cup pine nuts
- 1 cup freshly grated parmesan
Instructions:
- Add basil, garlic scapes & salt to food processor and blend until almost smooth, scrape down sides with spatula.
- Add lemon juice, olive oil, pine nuts & parmesan and blend until smooth scraping sides with spatula.
- Pour pesto into ice cube trays, freezer bags or mason jars and freeze for several months, or keep pesto in the fridge if you plan to use it within a week or so. The flavours will meld together and mellow over time when frozen.
Excellent on pastas, sandwiches, or salads. Enjoy!
- Care

Delicious Honey Whole Wheat Banana Bread
Today is feeling like a perfect day for baking. This gloomy grey weather calls for the oven to be on and the sweet smell of cinnamon to be wafting through the house, so I decided to whip up some banana bread while the kids were content colouring and playing.
Today is feeling like a perfect day for baking. This gloomy grey weather calls for the oven to be on and the sweet smell of cinnamon to be wafting through the house, so I decided to whip up some banana bread while the kids were content colouring and playing.
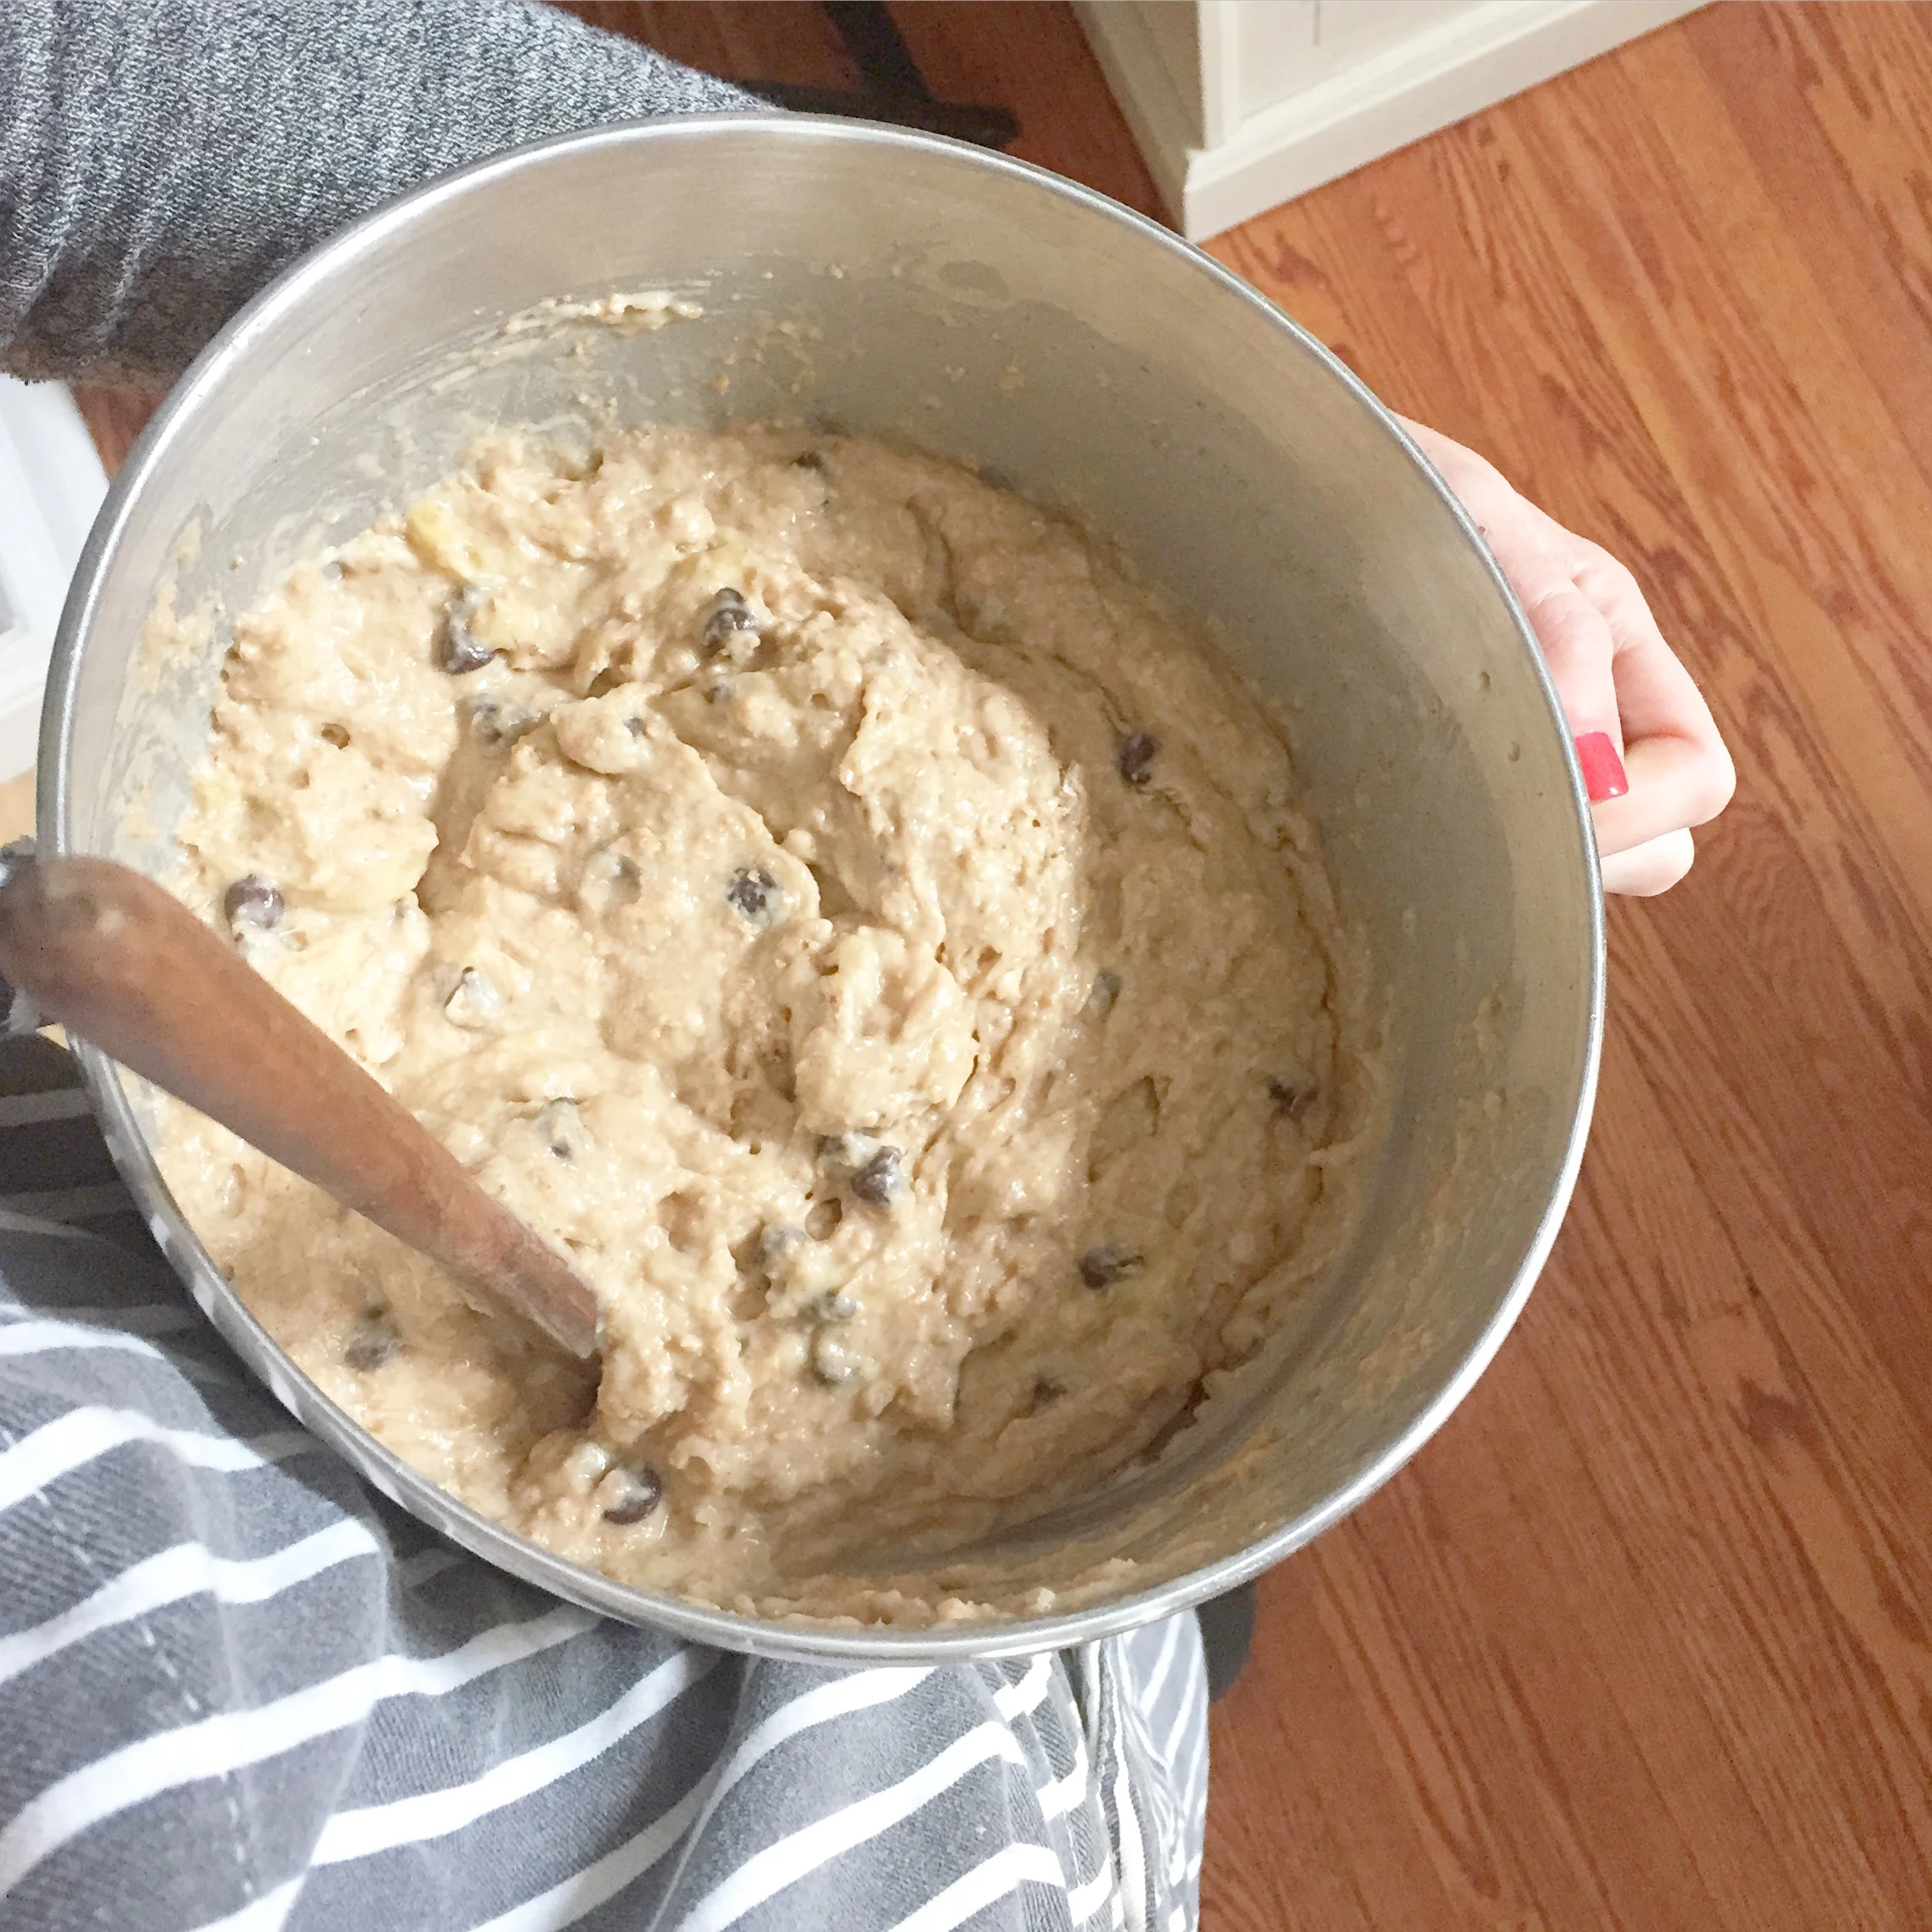
I went straight to my go-to banana bread recipe that I adapted from Cookie and Kate. This recipe isn't vegan, but it uses whole grain flour, coconut oil, full fat dairy & honey, which works for our family. If you're looking for a vegan recipe I highly suggest checking out Rachel Schwartzman's Best Vegan Banana Bread Recipe.
Hope you have a great long weekend and enjoy this recipe as much as we do.
- Carolyn
Honey Whole Wheat Banana Bread
Ingredients:
- ⅓ cup melted coconut oil (or butter or any other mild tasting oil)
- ½ cup honey
- 2 eggs
- 1 cup mashed bananas
- 1 teaspoon vanilla extract
- ½ teaspoon salt
- 1 teaspoon cinnamon
- 1¾ cups whole wheat flour
- 1 teaspoon baking soda
- 2 Tbsp of whole milk
- 2 Tbsp of full fat plain or greek yogurt
Instructions:
- Preheat oven to 325 degrees Fahrenheit (165 degrees Celsius)
- Grease a 9×5 inch loaf pan
- In a large bowl whisk your dry ingredients together and set aside - flour, baking soda, salt & cinnamon
- In a medium bowl beat oil and honey together. Add eggs and beat well
- Stir in mashed bananas, milk, yogur & vanilla
- Add wet ingredients to dry ingredients and mix just until combined.
- Fold in dark chocolate chips, nuts, dried fruit or any other addition you like
- Spread batter into the greased loaf pan
- Bake for 60 to 65 minutes. Be sure to check that the bread is done baking by inserting a toothpick in the centre. It should come out clean.
- Let the bread cool in the loaf pan on wire rack for 5 minutes, then transfer out of pan to wire rack to cool for 30 minutes before slicing.
Happy Earth Day! Ditch the Plastic Wrap & Try Abeego!
Happy Earth Day! On this very special day I want to introduce you to one of my favourite Canadian made, environmentally friendly products. Abeego! *Special Perk Included! If you're anything like me you feel guilty about the amount of waste your family produces...

Happy Earth Day! On this very special day I want to introduce you to one of my favourite Canadian made, environmentally friendly products. Abeego! *Special Perk Included!
If you're anything like me you feel guilty about the amount of waste your family produces. I'm always trying to reduce the number of garbage bags going out to the curb, but it's tough with the amount of packaging and plastics used these days.
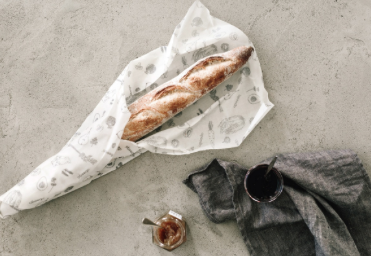
Moving away from plastic wrap and baggies is something I've been meaning to do for ages, but really didn't seem all that easy. So when I found Abeego, a reusable beeswax food wrap, I knew I needed to try it. I'm so happy I did! I am absolutely loving using Abeego and recommend it to everyone I know.


Why I Love Abeego
• It's reusable! Lasts up to a year if cared for properly.
• It's made from pure beeswax, jojoba oil, and tree resin, infused into a cloth made of hemp and certified organic cotton. All of those ingredients sound much better than plastic to me, and they actually help keep your food alive!
• It keeps cut avocados green for days saving us $$!
• The insulating & breathable qualities make it perfect for covering dough to rise or when fermenting foods. Calling all bakers!
• It comes in 4 sizes (Small, Medium, Large & Giant) to meet all my food storage needs.
• Great price point. A variety pack including 3 Abeegos (Small, Medium & Large) retails for $18+HST.
• Caring for your Abeego is super easy. Simply wash with cold soapy water (eco-friendly soap), rinse, and dry with a dish cloth or place over a dish rack to dry.
• Canadian Made! Created & manufactured in British Columbia
One trick I found is that you need to use the warmth of your hands to mold Abeego into place and then it stays put. You can't think of it as plastic wrap. It's so much better!
Here's a little video to show you how Abeego works:
Order Abeego Online & use Promo Code Mommies15 for 15% off!
You won't regret it. It even comes with a Money Back Guarantee!
Hope you enjoy Abeego as much as I do.
- Carolyn
*Full Disclosure: This is not a sponsored post. Abeego advertises with me at Movies for Mommies Humber Cinema but did not pay for this post. I fell in love with the product so much that I decided to feature it on my blog on Earth Day as a gift back to Abeego. Thanks for helping to make our earth a greener place Abeego!